Hands On: Loading Data from MySQL into Kafka with Kafka Connect

Tim Berglund
VP Developer Relations
Hands On: Loading Data from MySQL into Kafka with Kafka Connect
In this exercise, we’ll ingest information about the customers who are writing the rating messages created in the previous exercise. The customer data is held in a MySQL database.
View Customer Data in MySQL
-
You should have created and populated a MySQL database in the first exercise. If you didn’t, please return to that step and complete it before proceeding.
Remember that the MySQL database needs to be accessible from the internet.
-
Connect to MySQL and check that the customer data is present:
mysql> SELECT first_name, last_name, email, club_status
         FROM demo.CUSTOMERS
         LIMIT 5;
+-------------+------------+------------------------+-------------+
| first_name  | last_name  | email                  | club_status |
+-------------+------------+------------------------+-------------+
| Rica        | Blaisdell  | rblaisdell0@rambler.ru | bronze      |
| Ruthie      | Brockherst | rbrockherst1@ow.ly     | platinum    |
| Mariejeanne | Cocci      | mcocci2@techcrunch.com | bronze      |
| Hashim      | Rumke      | hrumke3@sohu.com       | platinum    |
| Hansiain    | Coda       | hcoda4@senate.gov      | platinum    |
+-------------+------------+------------------------+-------------+
5 rows in set (0.24 sec)
If necessary, return to the first exercise to populate the data into your database.
Create a Topic for Customer Data
Whilst the MySQL connector can create the target topic for the data that it ingests, we need to create it with certain configuration properties and therefore will create it explicitly first. This is in general a good practice anyway.
From the "Topics" screen of your Confluent Cloud cluster, click on Add topic.
Name the topics mysql01.demo.CUSTOMERS and ensure that "Number of partitions" is set to "6."
Click on Customize settings and then under Storage set the Cleanup policy to Compact.

Click on Save & create.
Create the MySQL connector
-
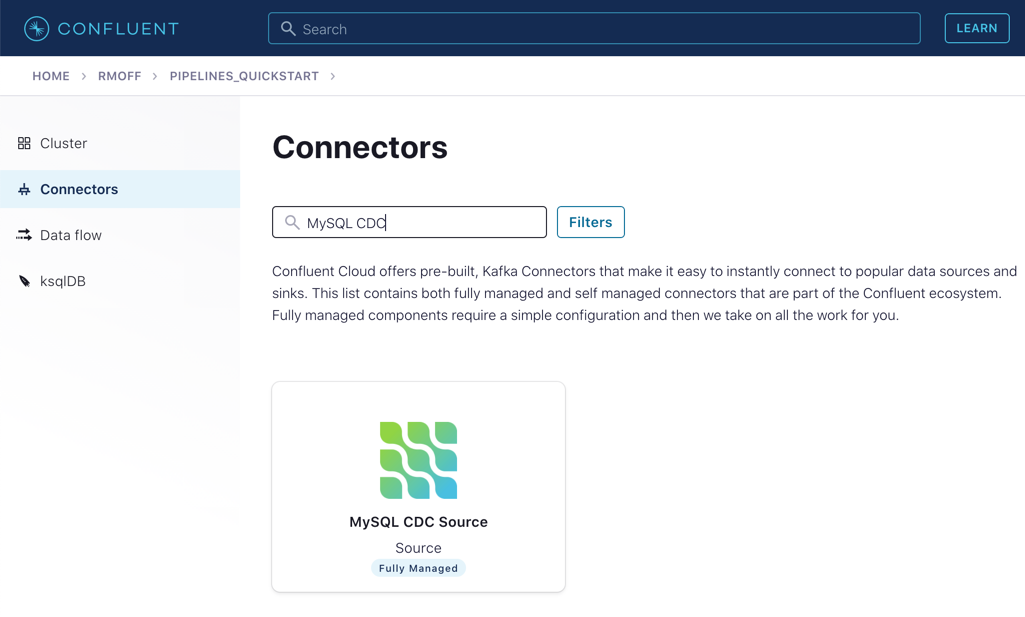
From the "Connectors" page in Confluent Cloud, click on Add connector and search for the "MySQL CDC Source" connector.

Click on the connector to add it.
Note
Make sure you select the MySQL CDC Source and not the similarly named "MySQL Source" connector.
-
Configure the connector like so:
Kafka Cluster credentials
Kafka API Key
Use the same API details as you created for the Datagen connector above. You can create a new API key if necessary, but API key numbers are limited so for the purposes of this exercise only it’s best to re-use if you can.
Kafka API Secret
How should we connect to your database?
Database hostname
These values will depend on where your database is and how you have configured it. The database needs to be open to inbound connections from the internet.
Database port
Database username
Database password
Database server name
mysql01
SSL mode
preferred
Database details
Tables included
demo.CUSTOMERS
Snapshot mode
when_needed
Output messages
Output message format
AVRO
After-state only
true
Number of tasks for this connector
Tasks
1
-
Click Next. Connectivity to the database will be validated and if successful you’ll see a summary screen of configuration. The JSON should look like this:
{
  "name": "MySqlCdcSourceConnector_0",
  "config": {
    "connector.class": "MySqlCdcSource",
    "name": "MySqlCdcSourceConnector_0",
    "kafka.api.key": "****************",
    "kafka.api.secret": "**************************",
    "database.hostname": "kafka-data-pipelines.xxxxx.rds.amazonaws.com",
    "database.port": "3306",
    "database.user": "admin",
    "database.password": "********************",
    "database.server.name": "mysql01",
    "database.ssl.mode": "preferred",
    "table.include.list": "demo.CUSTOMERS",
    "snapshot.mode": "when_needed",
    "output.data.format": "AVRO",
    "after.state.only": "true",
    "tasks.max": "1"
  }
}
Click on Launch.
-
After a few moments, the connector will be provisioned and shortly thereafter you should see that it is "Running" (alongside the existing Datagen connector that you created in the previous exercise):
 )
) -
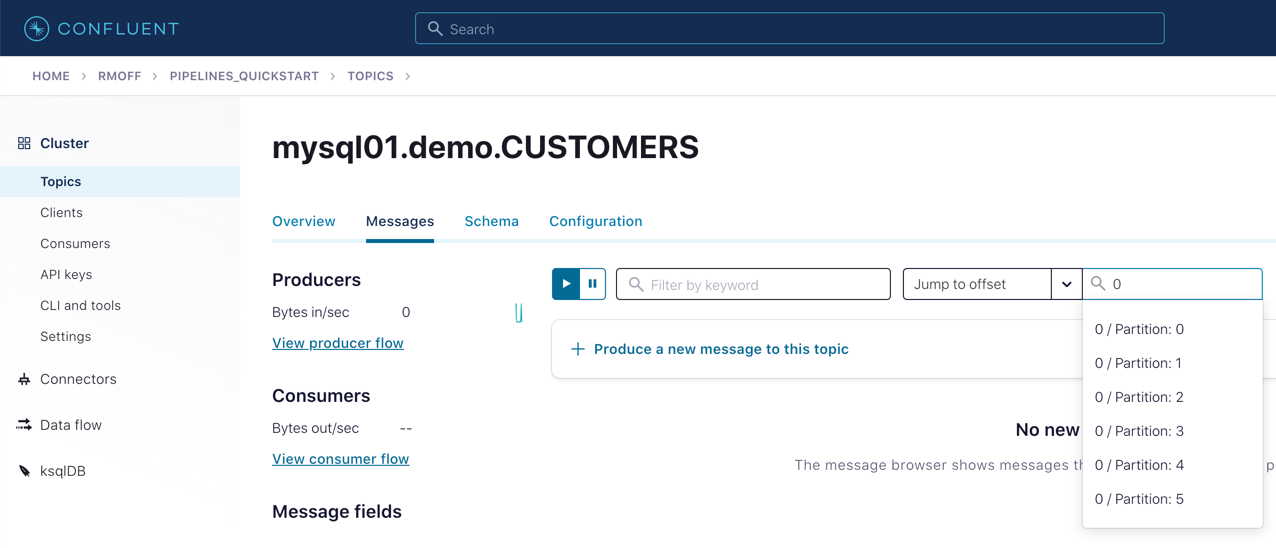
From the "Topics" list, click on mysql01.demo.CUSTOMERS and then Messages. Because there is currently only a static set of data in MySQL, there is not a stream of new messages arriving on the topic to view.
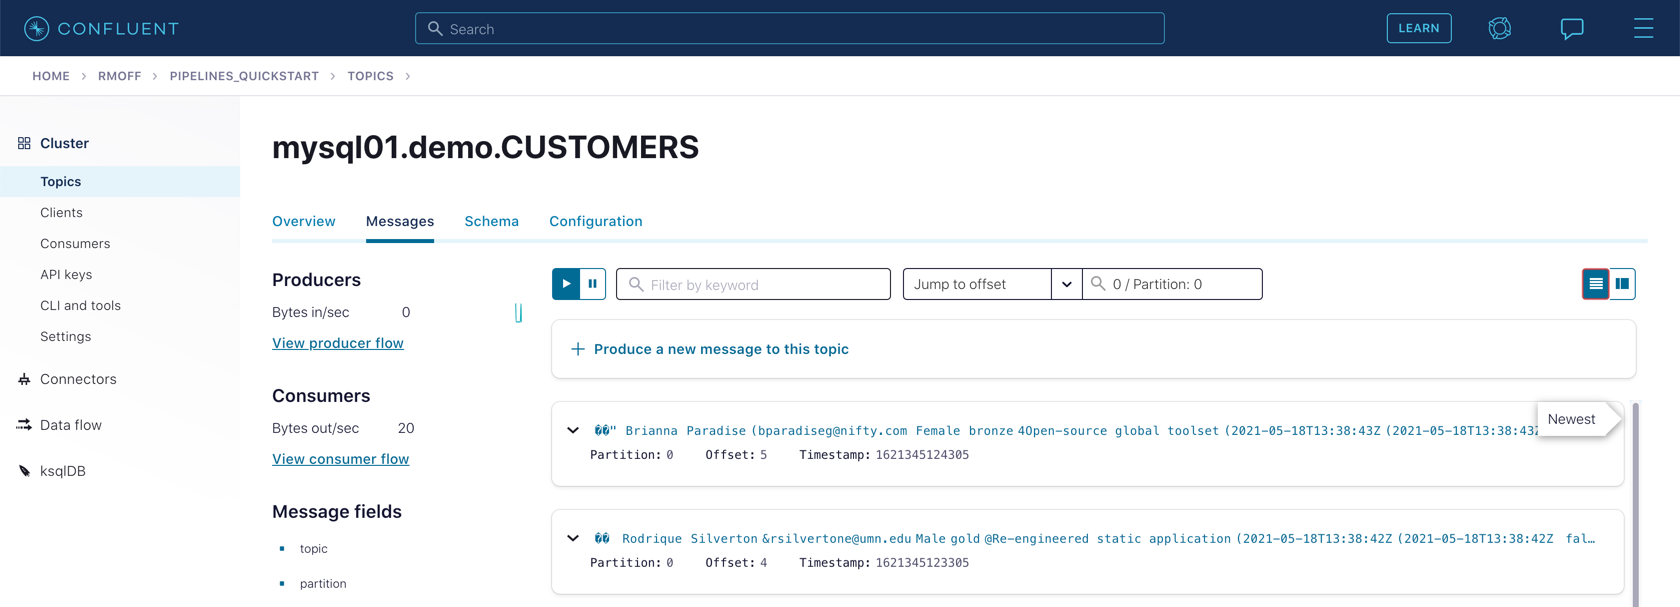
Click on offset, enter "0," and select the first option on the list.

You should then see messages present on the topic.

Use the promo code PIPELINES101 & CONFLUENTDEV1 to get $25 of free Confluent Cloud usage and skip credit card entry.
Hands On: Loading Data from MySQL into Kafka with Kafka Connect
In this exercise, we're going to ingest data from a MySQL database. From a table containing information about customers and get it into a topic in Kafka. Before we injest the data into Kafka from the database, check that the database has been set up with the data correctly. And that was the thing we covered in exercise one. Now from the topics page here in confluent cloud, we're going to create a new topic into which the customer data will be written. And we want to use the topic name specified please. And make sure that we've got six partitions there, that matters. We want to override one of the settings. So click customize settings. And set the cleanup policy to compact. And the reason for this is because this topic holds entity data. Customers are entities, they're things. Yes, they go through developmental processes. And their state changes and their names change. And their whole views of the world can change. You know, we might see a few fields change. But they're entities, and entities generally are in topics that are compacted topics. So click on save and create. Then head over to connect. And look for the MySQL CDC connector. Make sure it's the MySQL CDC source connector and not MySQL source. Naming things is hard. And you want to see CDC in the middle there. So click on the connector. That brings us to the config page. And you're gonna use the same API details as you did for the data gen connector. If you've lost those, I advised in that exercise to set them somewhere safe so you could use them in the future. If you've lost them, you can create a new one. There is, for the record, a ceiling on how many API keys you can create in any given cluster. And that varies with time. You know, your mileage may vary depending upon when you're watching this. But you don't want to just always create a new one. Try to be a little bit parsimonious with those API keys, if you can. So enter the databases connection details. Make sure the database can accept inbound connections from the internet, otherwise this isn't going to work. The database server name is an arbitrary label. But it's used in the topics names. So if you deviate from this, you'll need to amend the name of the topic that you created above when I told you to make sure you use this name. So just do as shown here. Your details are going to be different than what you see here, particularly the host name, obviously. But enter those details that correspond to the MySQL instance that you've got, maybe an RDS like we showed. Enter the name of the table to create some more config details and click next. And at this point, it's going to check connectivity to your database. It's possible to get things wrong at this point. So if it doesn't work, go back and check through all the details, you know, credentials, database name, the host name, all that stuff can potentially be wrong. This is an integration exercise so mistakes are common. You also might try to find some way of checking independently of connect that that database is accessible from the internet. So maybe if you've got like a local MySQL command line tools installed, you could try connecting to it using the credentials and the host name. And if that works, then you've ruled that problem out, go through that kind of process. Review the JSON config against what you've entered in the web UI, then click launch. And just like with the data generator connector, you have to wait for it to provision, which can take a minute or two. But once it's running, you'll get the telltale running status shown. And we can move on. So with the connector running, let's move to the topics page. Find the customer's topic and click on it through to the messages display. And it will be empty. Hmm, which is disconcerting because the data's already been ingested by this point. There are no new messages arriving. So there's no new thing to display. By default, messages is going to look at only the newest data and not rewind to the beginning of the topic. To view the data that's already there, click the offset menu and enter an offset. I recommend zero. And select a partition. I'm also going to recommend zero. You should then see the data that's coming from the database. Just like in the previous exercise, it looks a little weird because of the way that serialization is displayed. But that's just a UI thing. So there we go. We have successfully configured a CDC connector to get data into Kafka from a MySQL instance.
Be the first to get updates and new content
We will only share developer content and updates, including notifications when new content is added. We will never send you sales emails. 🙂 By subscribing, you understand we will process your personal information in accordance with our Privacy Statement.


 )
)
