How to Produce Messages (Hands-On)


Wade Waldron
Staff Software Practice Lead
How to Produce Messages to a Kafka Topic (Hands-On)
Note: This exercise is part of a larger course. You are expected to have completed the previous exercises.
In this exercise, we will create a simple REST endpoint that accepts data from a fitness tracker in the form of strings and pushes it to Kafka with no intermediate processing.
In the long run, this may be dangerous because it could allow a malfunctioning device to push invalid data into our stream. We probably want to perform a minimal amount of validation, prior to pushing the data. We'll see how to do that in a later exercise.
For now, this will be sufficient to get our feet wet.
Download the Code
You have two options for accessing the pre-existing code for the course: Local, or Gitpod.
If you are unfamiliar with Gitpod, the following video provides a brief introduction:
Introducing Gitpod for Confluent Developer
Option 1: Local
If you choose local development, you will need a suitable .NET environment, including:
- The .NET SDK
- An IDE such as Visual Studio or VS Code.
Clone the exercise repository from Github:

Option 2: Gitpod
If you choose Gitpod development, you can use the following link:

The Gitpod environment includes 3 terminal tabs:
- exercises
- ClientGateway
- HeartRateZoneService
Each of these tabs is opened to the corresponding directory.
It also includes a browser preview window. At the moment, this won't do anything, but later when the application is running, it will take you to the Swagger index page.
View the Cheatsheet
The code repo contains a file named cheatsheet.md. It contains snippets of code from the video lectures. Feel free to refer to this while working through the exercises.
Stage the Exercises
The repository includes the following folders:
- exercises - This is where you will do the majority of your work.
- solutions - Contains the solution files for each exercise. Use these for reference if you get stuck.
- staging - Contains source files needed for each exercise (you can ignore this folder).
The exercises folder contains two scripts:
- exercise.sh - Used to move between exercises on Mac/Linux.
- exercise.bat - Used to move between exercises on Windows.
To start with, we want to stage the current exercise. This will load any code required for the exercise. Run the following command:
./exercise.sh stage 06exercise.bat stage 06If at any point, you wish to automatically solve the exercise, you can execute:
./exercise.sh solve <exercise-id>exercise.bat solve <exercise-id>You can also copy individual solution files by executing:
./exercise.sh solve <exercise-id> <filename>exercise.bat solve <exercise-id> <filename>Note: Exercises are numbered with their absolute position in the course (including lecture videos). That's why this exercise is numbered 06.
Explore the Code
If you are using Visual Studio, open the exercises/Fitness.sln solution file. Otherwise, browse the code in your preferred IDE.
The code consists of two Microservice projects (and associated tests):
- ClientGateway - A REST API for accepting data from the Fitness Tracker clients.
- HeartRateZoneService - A backend application for computing Heart Rate Zones based on the Fitness Tracker data.
Familiarize yourself with both projects before moving on.
Create a New Topic
Our Gateway will push data into a Kafka topic. Let's create it in the Confluent Cloud Console
-
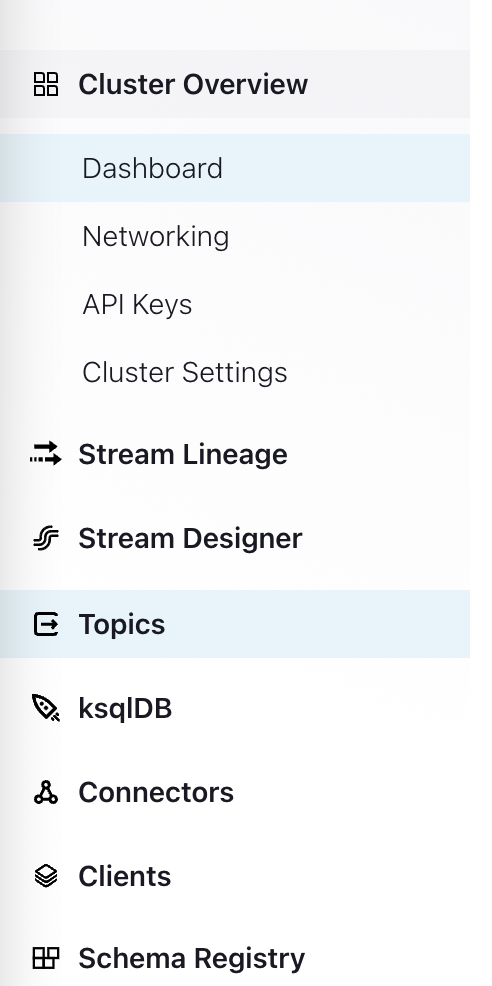
From the left-hand navigation, click Topics.
-
Click the Create topic button.
-
Name the topic RawBiometricsImported
-
Use the default number of partitions.
-
When asked to Define a data contract select Skip.

Modify the Configuration
We need to configure our application to allow it to connect to Kafka. We'll use the API Keys we downloaded in the previous exercise.
-
Open the ClientGateway/appsettings.json file.
-
Add the following at the root level:
"Kafka": { "BootstrapServers": "", "ClientId": "ClientGateway", "SecurityProtocol": "SaslSsl", "SaslMechanism": "PLAIN", "SaslUsername": "", "SaslPassword": "" }, "SchemaRegistry": { "URL": "", "BasicAuthCredentialsSource": "UserInfo", "BasicAuthUserInfo": "" }, -
Populate the Kafka.BootstrapServers, Kafka.SaslUsername, and Kafka.SaslPassword fields.
- Open the API Key file you downloaded for the Kafka cluster.
- The Kafka.BootstrapServers is the Bootstrap server in the file.
- The Kafka.SaslUsername is the key value in the file.
- The Kafka.SaslPassword is the secret value in the file.
-
Populate the SchemaRegistry.URL field.
- In the Confluent Cloud Console, navigate to the apache-kafka-with-dotnet environment.
- In the right-hand details pane, look for the Stream Governance API Endpoint.
- Alternatively, you can obtain this from the command line by executing:
confluent schema-registry cluster describe -
Populate the SchemaRegistry.BasicAuthUserInfo field.
- Open the API Key file you downloaded for the Schema Registry.
- Populate the field using the key and secret from the file in the form: <key>:<secret>
Load the Configuration and Construct a Producer
Next, we will load our configuration and construct a producer. Our producer will work strictly with Strings for now.
-
Open ClientGateway/Program.cs.
-
Load and register a ProducerConfig (See the associated TODO).
-
Register an instance of IProducer<String, String> (See the associated TODO).
Note: We use a singleton because the producer maintains connections that we want to reuse.
Define a New REST Endpoint
Finally, we'll build a new REST endpoint that will accept our fitness data and publish it to Kafka.
-
Open ClientGateway/Controllers/ClientGatewayController.cs.
-
Define a private String field named BiometricsImportedTopicName with a value of RawBiometricsImported.
-
Define a private IProducer<String, String> field named _producer.
- Populate it by injecting a producer as the first parameter of the constructor.
-
Using the Hello method as an example, define a new REST Endpoint.
- It will be an HttpPost rather than an HttpGet.
- The name of the REST endpoint will be Biometrics.
- The response code will be HttpStatusCode.Accepted.
- It will be an async method named RecordMeasurements.
- Return a Task<AcceptedResult>.
- Accept a single parameter named metrics of type String.
-
Implement the method with the following logic:
- Log "Accepted biometrics" at Info.
- Construct a new Message<String, String> with a Value equal to the metrics passed to the method.
- Use an object initializer to set the Value.
- Call _producer.ProduceAsync with the topic name and message.
- Make sure you await the result.
- Flush the _producer.
- Return Accepted (defined in the base class) passing it an empty string (the URI) and the metrics.
Run the Tests
When you staged the exercise, tests were brought into scope. They will verify the behavior of your REST endpoint.
Either run the tests in your IDE, or at the command line from the exercises folder using the following:
dotnet test Fitness.slnRun the Application
Run the application from the command line using:
cd ClientGateway
dotnet run
Try It Out
Now we can try interacting with the application.
-
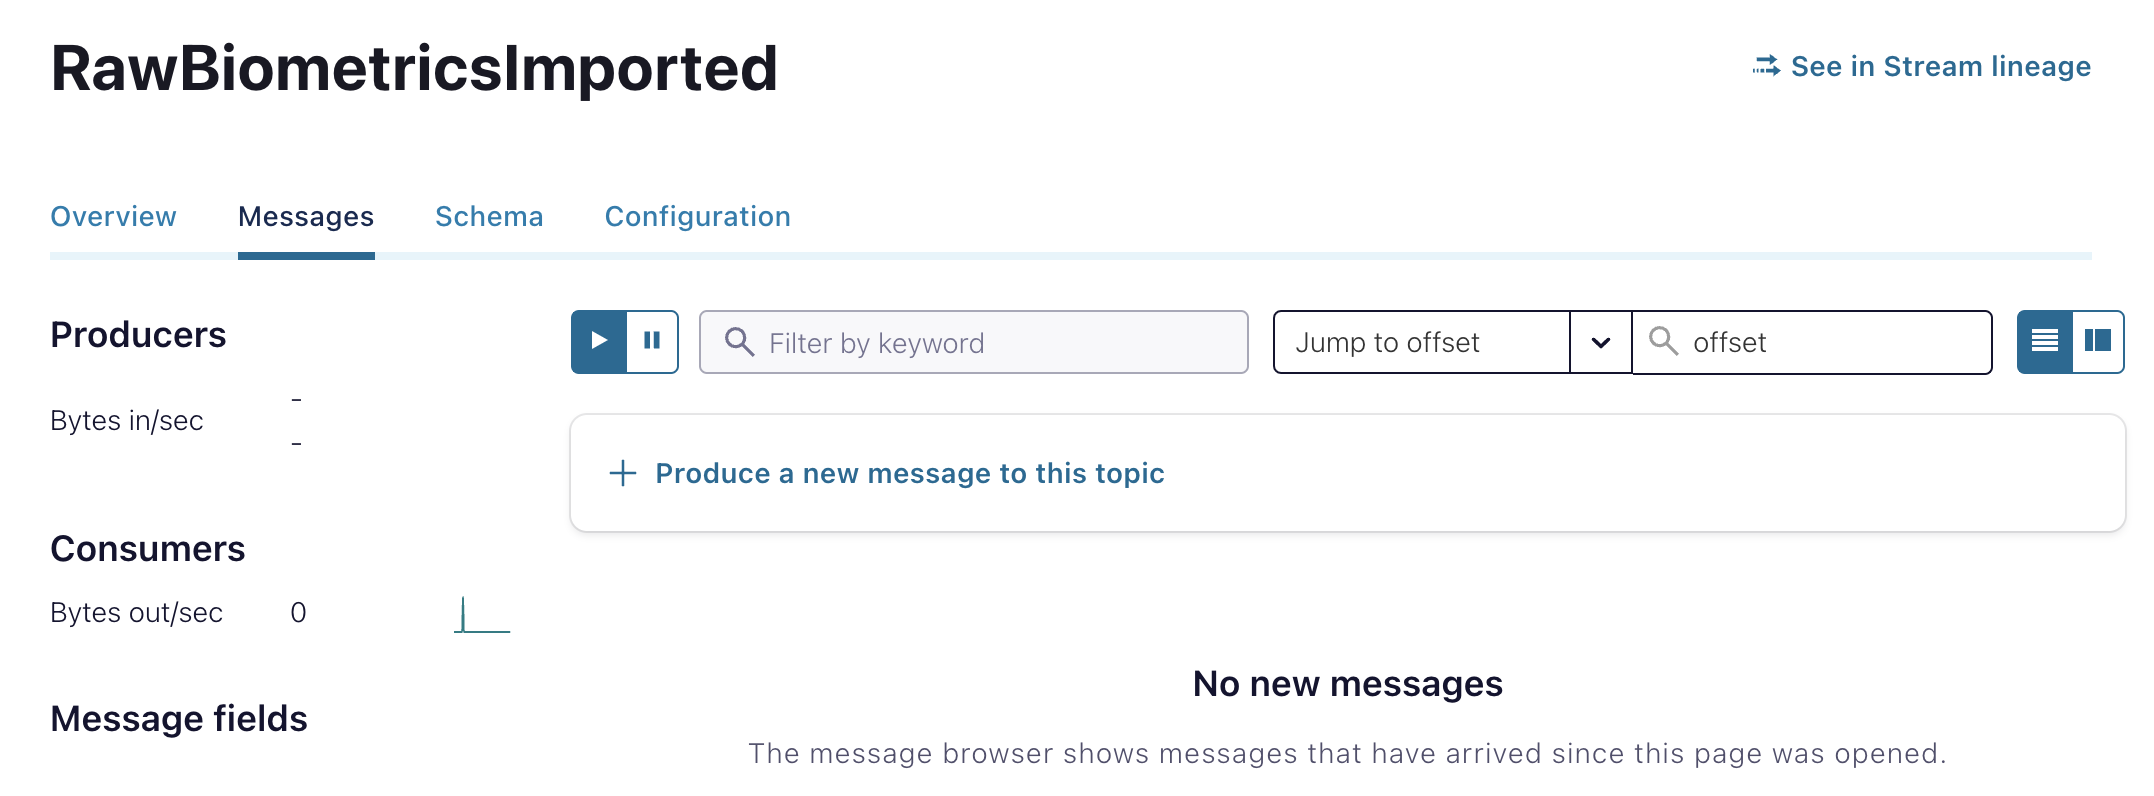
In the Confluent Cloud Console, navigate to the RawBiometricsImported topic and open the Messages tab. You can use this tab to view new messages published to the topic.
-
Visit the Swagger page for the service at http://localhost:5000/swagger/index.html.
-
In Gitpod, you can open this page by executing the following in a terminal:
gp preview http://localhost:5000/swagger/index.html
-
-
Verify that your new Biometrics operation appears as a POST.
-
Expand the Biometrics and click Try it out.
-
Populate the metrics field with the following and then click execute:
{ "deviceId": "3fa85f64-5717-4562-b3fc-2c963f66afa6", "heartRates": [ { "value": 0, "dateTime": "2022-11-09T15:51:47.032Z" } ], "stepCounts": [ { "value": 0, "dateTime": "2022-11-09T15:51:47.032Z" } ], "maxHeartRate": { "value": 0, "dateTime": "2022-11-09T15:51:47.032Z" } } -
Check the Messages tab in the Confluent Cloud Console to verify your message arrived.

Drawbacks
With this approach, there is nothing preventing us from sending malformed data to our endpoint. We can send it whatever we want. Feel free to try sending arbitrary data.
Later, we'll introduce validation logic to ensure that our data is well-formed.
Finish
This brings us to the end of this exercise.
Use the promo code DOTNETKAFKA101 to get $25 of free Confluent Cloud usage
Be the first to get updates and new content
We will only share developer content and updates, including notifications when new content is added. We will never send you sales emails. 🙂 By subscribing, you understand we will process your personal information in accordance with our Privacy Statement.