Enhance your career, get your certificate as a Data Streaming Engineer | Get your Certificate
How to create a Kafka producer application in Java
How to create a Kafka producer application in Java
An Apache Kafka® Producer is a client application that publishes (writes) events to a Kafka cluster.
The KafkaProducer class implements multiple send methods, allowing the caller to provide Callback behavior once the event is sent to a Kafka topic. This tutorial will cover examples of both implementations.
Create a Producer and ProducerRecord
There are required properties needed to create a Kafka Producer. At a minimum, the Producer needs to know:
- How to find the Kafka broker(s).
- How to serialize the key and value of events.
  final String bootstrapServers = "localhost:9092";
  Properties properties = new Properties() {{
      put(ProducerConfig.BOOTSTRAP_SERVERS_CONFIG, bootstrapServers);
      put(ProducerConfig.KEY_SERIALIZER_CLASS_CONFIG, StringSerializer.class);
      put(ProducerConfig.VALUE_SERIALIZER_CLASS_CONFIG, StringSerializer.class);
      put(ProducerConfig.ACKS_CONFIG, "1");
  }};

  Producer<String, String> producer = new KafkaProducer<>(properties);
For more about Kafka Producer Configurations, please refer to the documentation.
To prepare an event to send, we create instances of ProducerRecord - which include the target topic, key and value, of the event to be sent to Kafka.
    final String key = "...";
    final String value = "...";
    final String topic = "...";
    ProducerRecord<String, String> record = ProducerRecord<>(topic, key, value);
Send, No Callback
Given our ProducerRecord, let's send this record via our Producer.
Future<RecordMetadata> result = producer.send(record);Send With Callback
There are times when an application may want a deeper understanding of what occurred when an event was sent to Kafka. In this case we can utilize the implementation of the send method with a Callback function.
The Callback provides a way of handling any actions you want to take on request completion asynchronously. Note that the Callback code executes on the producer’s I/O thread and any time consuming tasks could cause a delay in sending new records, so any code here should be designed to execute quickly.
Here is an example of a Callback - implemented as a lambda - that prints the offset and partition of the event sent to Kafka.
    Callback callback = (recordMetadata, e) ->
      System.out.println("topic: " + recordMetadata.topic() +
              "partition: , " + recordMetadata.partition() +
              "offset: , " + recordMetadata.offset());

    // use the callback with the `send` method...
    Future<RecordMetadata> result = producer.send(record, callback);
Using This Example
Execute the Unit Tests
There are JUnit test cases in this repo, exercising examples of both implementations of the send method of KafkaProducer.
Clone the confluentinc/tutorials GitHub repository (if you haven't already) and navigate to the tutorials directory:
git clone git@github.com:confluentinc/tutorials.git
cd tutorials
To run the unit tests, use the provided Gradle Wrapper:
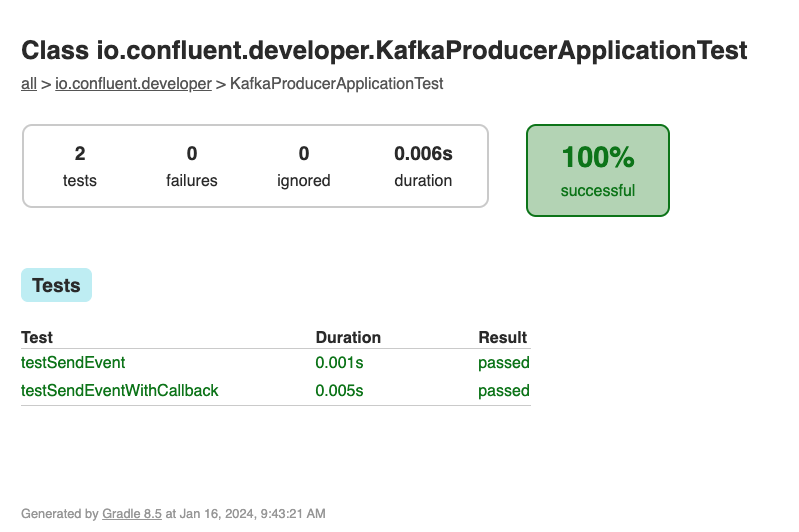
./gradlew clean :kafka-producer-application:kafka:test --info The results of the tests can be found in the build/reports/index.html report. Drill down using the links in the report, you should see the results of KafkaProducerApplicationTest:
Run with Confluent Local
You can run the example application in this tutorial using confluent local.
Prerequisites
- Confluent CLI
- Docker running via Docker Desktop or Docker Engine
Start Kafka
- Execute confluent local kafka start from a terminal window, and copy the host:port output.
The local commands are intended for a single-node development environment only, NOT for production usage. See more: https://docs.confluent.io/current/cli/index.html


Pulling from confluentinc/confluent-local
Digest: sha256:30763749f746295175d6c20b21495fd369b57ca3685175075763865fb6292f6f
Status: Image is up to date for confluentinc/confluent-local:latest
+-----------------+-------+
| Kafka REST Port | 8082  |
| Plaintext Ports | 65410 |
+-----------------+-------+
Started Confluent Local containers "9cec8b1127".
To continue your Confluent Local experience, run `confluent local kafka topic create <topic>` and `confluent local kafka topic produce <topic>`.
Build Application
- Use the Gradle Wrapper provided to build the application.
./gradlew :kafka-producer-application:kafka:shadowJarExecute
-
Our application expects 2 input parameters:
- The Kafka broker host:port - per the confluent local step.
- Path to our input file - provided in this repo as kafka/input.txt.
-
Our application loads the contents of the file and tokenizes each line into the key and value of an event to be sent to Kafka.
1-value
2-words
3-All Streams
4-Lead to- Execute the application using java -jar... with the required input parameters:
java -jar kafka-producer-application/kafka/build/libs/kafka-producer-application-standalone-0.0.1.jar localhost:65410 kafka-producer-application/kafka/input.txtValidate
- Use Confluent CLI to view the events on the output-topic - from the beginning, including the key.
confluent local kafka topic consume output-topic --from-beginning --print-key
1	value
2	words
3	All Streams
4	Lead to
5	Kafka
6	Go to
7	Kafka Summit
8	How can
9	a 10 ounce
10	bird carry a
11	5lb coconut
Cleanup
- Stop local Kafka broker using confluent local kafka stop.