Enhance your career, get Certified as a Data Streaming Engineer | Get Certified
How to produce to and consume messages from Kafka with Confluent for VS Code
VSCode Produce And Consume
Install Confluent for VS Code.
In the VS Code Activity Bar, click the Confluent icon.
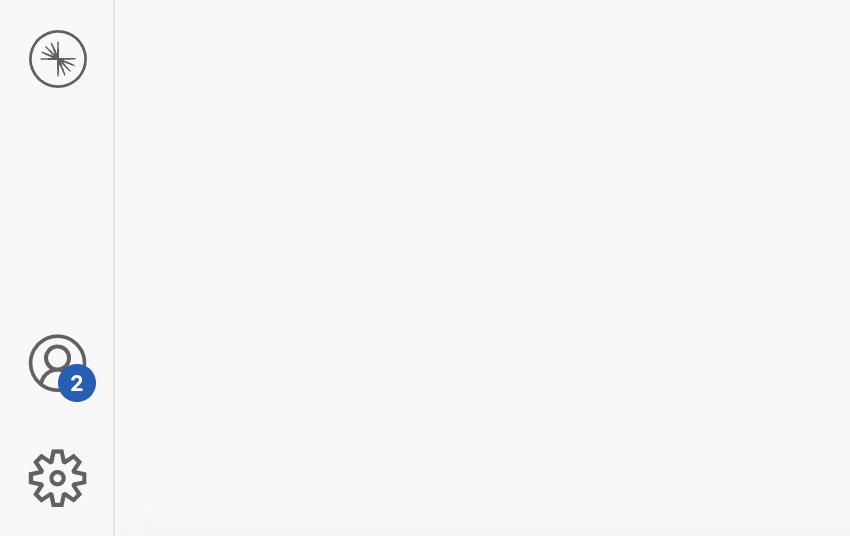
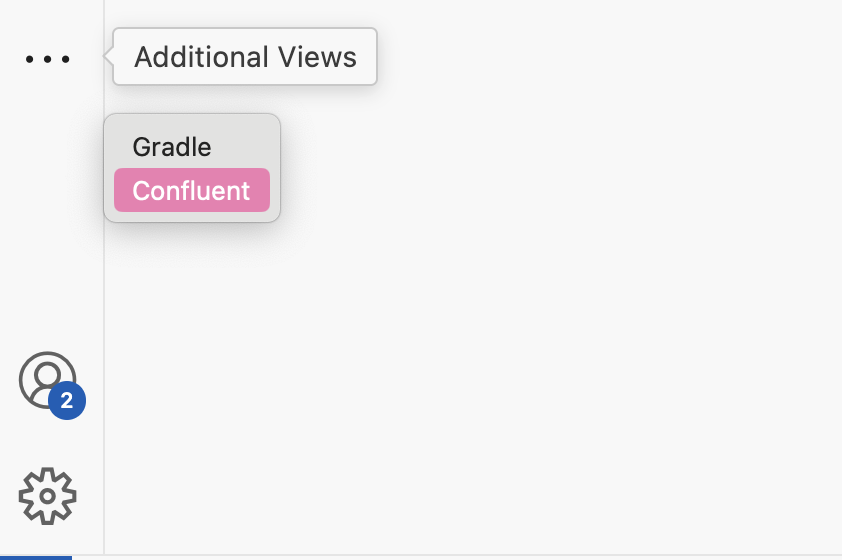
If you have many extensions installed, you may need to click … to access 'Additional Views' and select 'Confluent' from the context menu.
Instructions For Use With Confluent Cloud
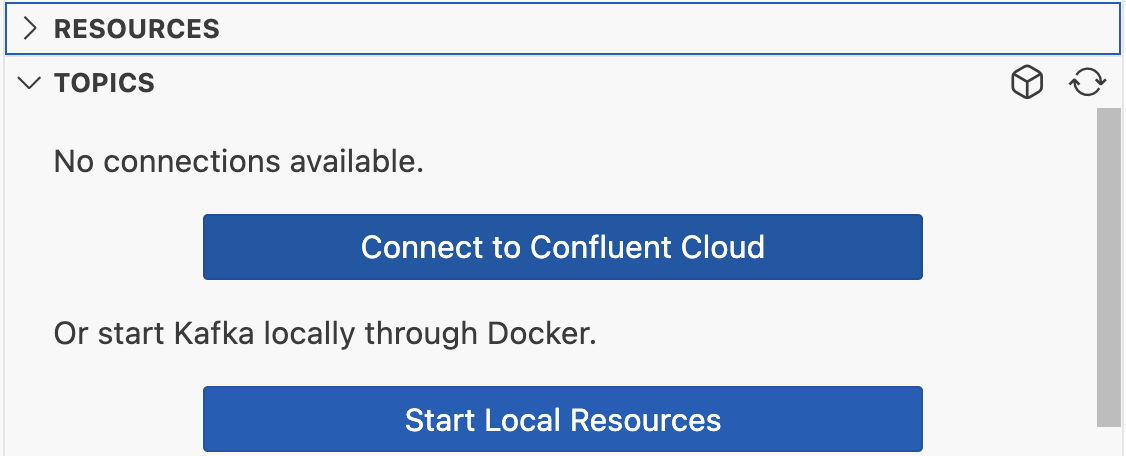
In the Side Bar, click 'Connect to Confluent Cloud', and in the permission dialog, click 'Allow'.

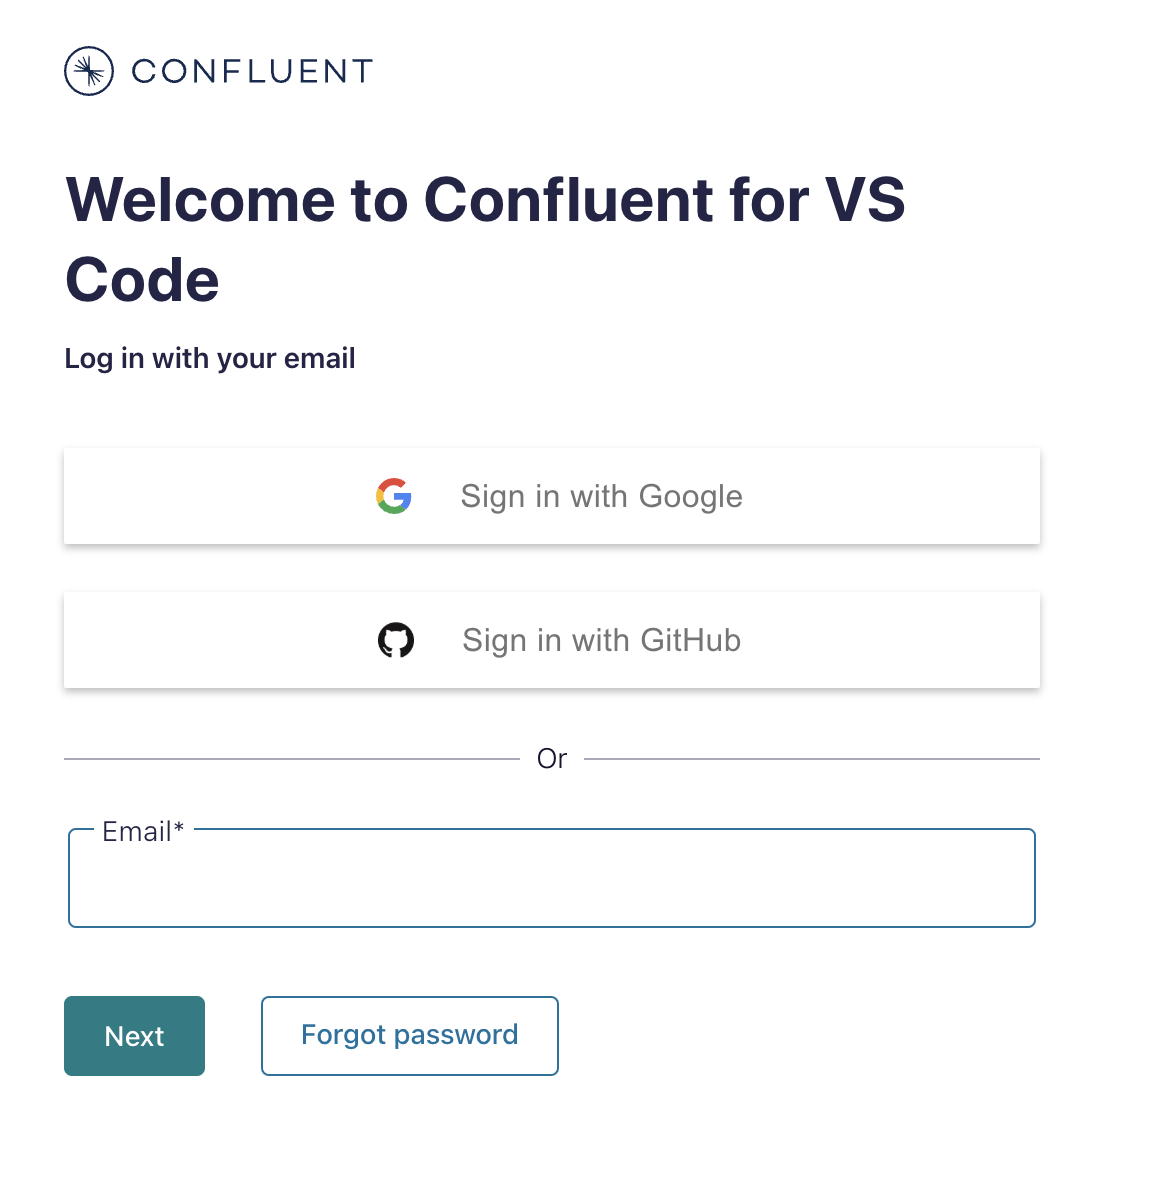
The web browser opens to the Confluent Cloud login page.
Enter your credentials and click 'Log in'.
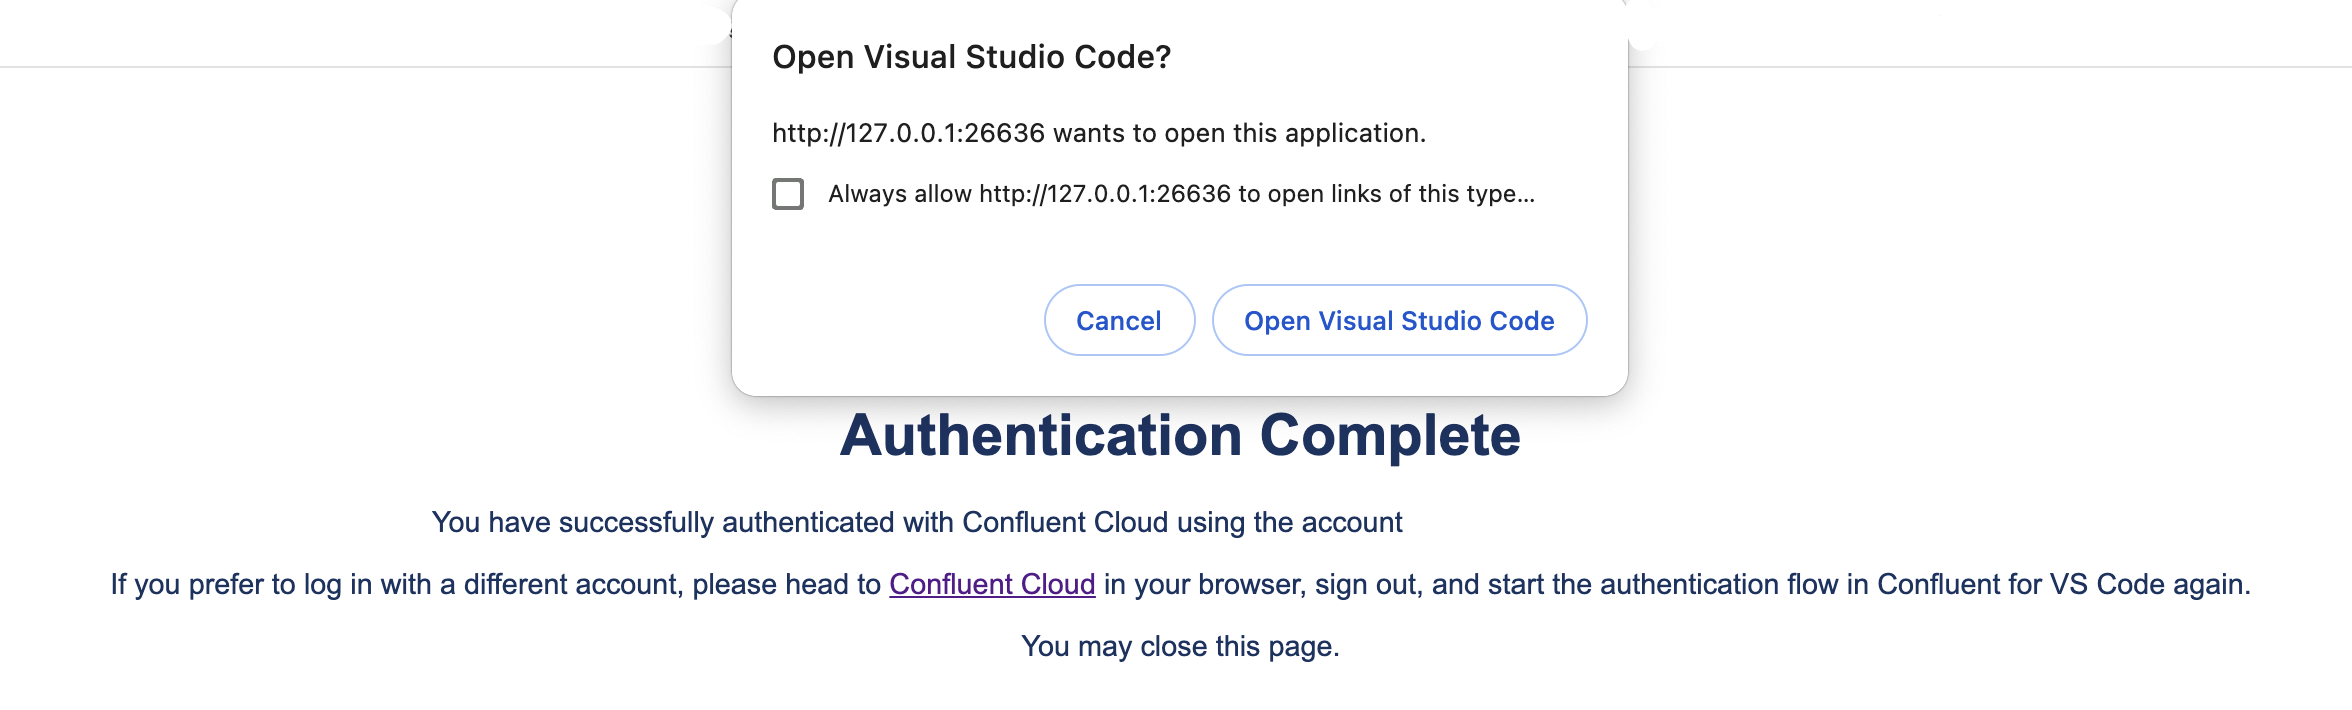
The web browser shows the 'Authentication Complete' page. You can click 'Open Visual Studio Code' if prompted.
Open the Confluent Cloud Console and follow these steps to create an environment.
Next, create a Basic Kafka cluster by following these steps.
Select 'Topics' from the navigation menu in Confluent Cloud, then select 'Create topic' with name test-topic.
Return to VS Code and confirm that your Confluent Cloud resources are displayed in the Side Bar. Next up, skip the instructions under 'Instructions For Use With A Local Cluster' below and navigate to 'Produce Your Message'.
Instructions For Use With A Local Cluster
In the Side Bar, next to 'local', click the play button. Select 'Kafka', then select 1 broker. Once the container is ready you can create a topic. Under the Side Bar > Topics section, click the "Create Topic" button and give it the name test-topic. You can now produce a message using the following steps.
Produce Your Message
Create the following file named message.json in your folder:
{
  "headers": [
    {
      "key": "sample.header",
      "value": "sample_header_value"
    }
  ],
  "key": 1237,
  "value": {
    "ordertime": 1499986565014,
    "orderid": 1237,
    "itemid": "Customer Produce",
    "orderunits": 2.621748519463491,
    "address": {
      "city": "City_",
      "state": "State_",
      "zipcode": 79416
    }
  }
}
Click the produce button and select message.json from your files.

Then you navigate to the message to see your message coming into the VSCode message viewer!
