Enhance your career, get Certified as a Data Streaming Engineer | Get Certified
How to use Confluent for VS Code to create a sample Java UDF in Confluent Cloud for Apache Flink
How to use Confluent for VS Code to create a sample Java UDF in Confluent Cloud for Apache Flink
In this tutorial, you'll follow along step-by-step to build a Java UDF, then deploy it in Confluent Cloud for Apache Flink.
Prerequisites
-
You will need a Confluent Cloud account if you haven't got one already.
-
You will also need to install Maven.
Build and Deploy UDFs
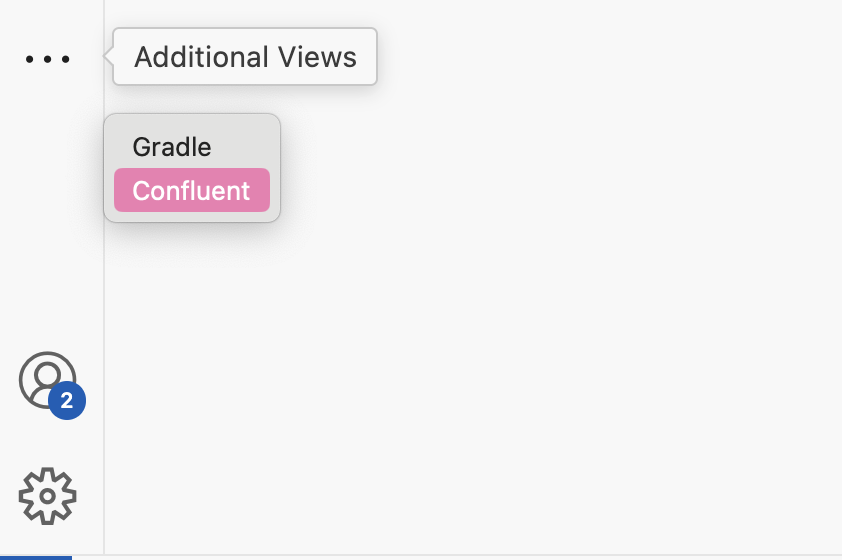
In the VS Code Activity Bar, click the Confluent icon.

If you have many extensions installed, you may need to click … to access 'Additional Views' and select 'Confluent' from the context menu.
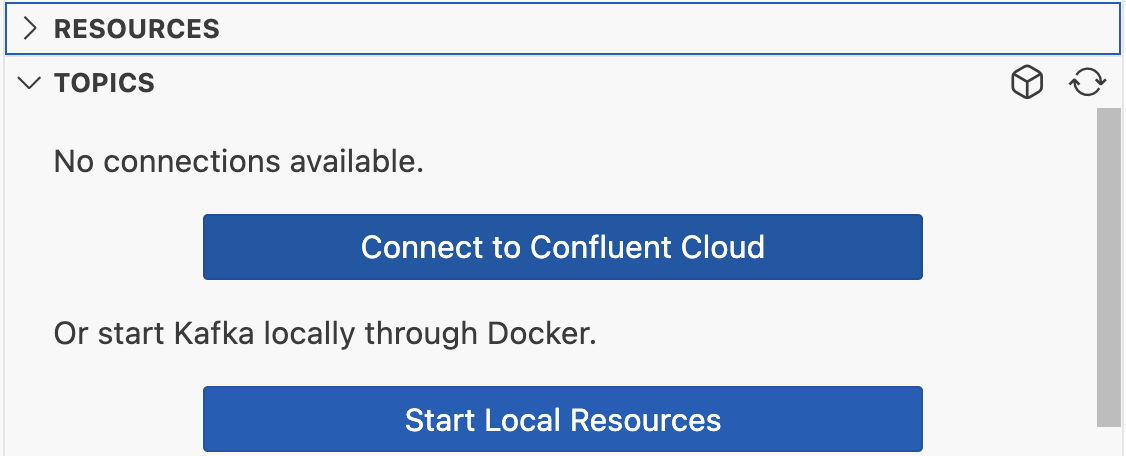
In the Side Bar, click 'Connect to Confluent Cloud', and in the permission dialog, click 'Allow'.
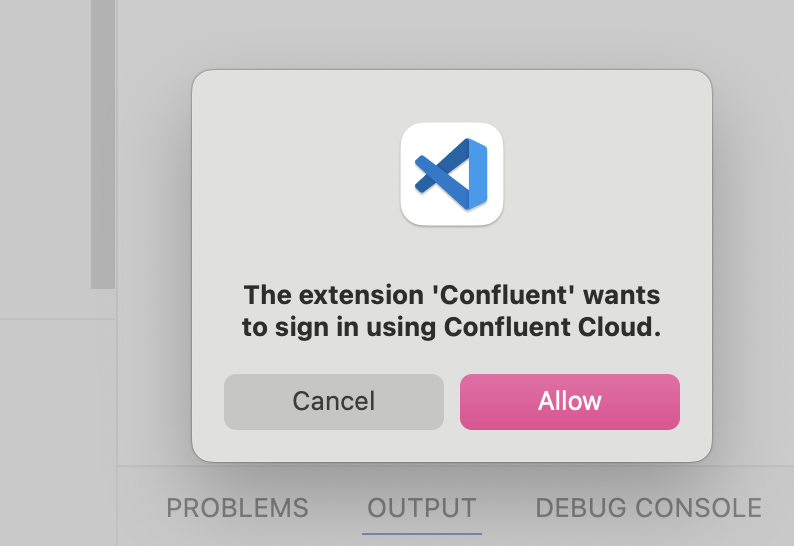
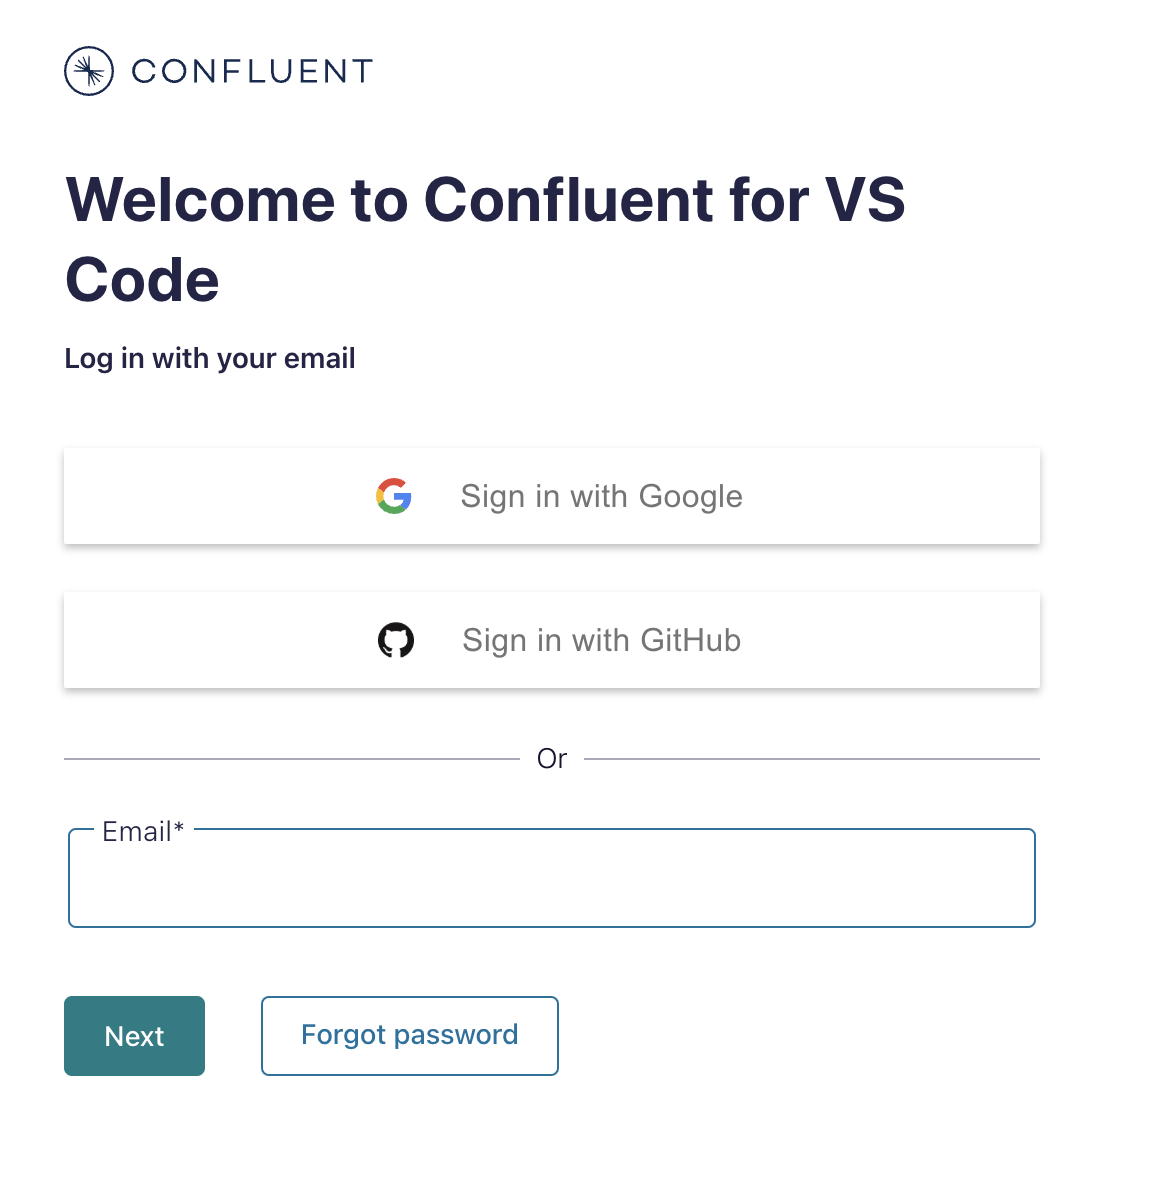
The web browser opens to the Confluent Cloud login page.
Enter your credentials and click 'Log in'.
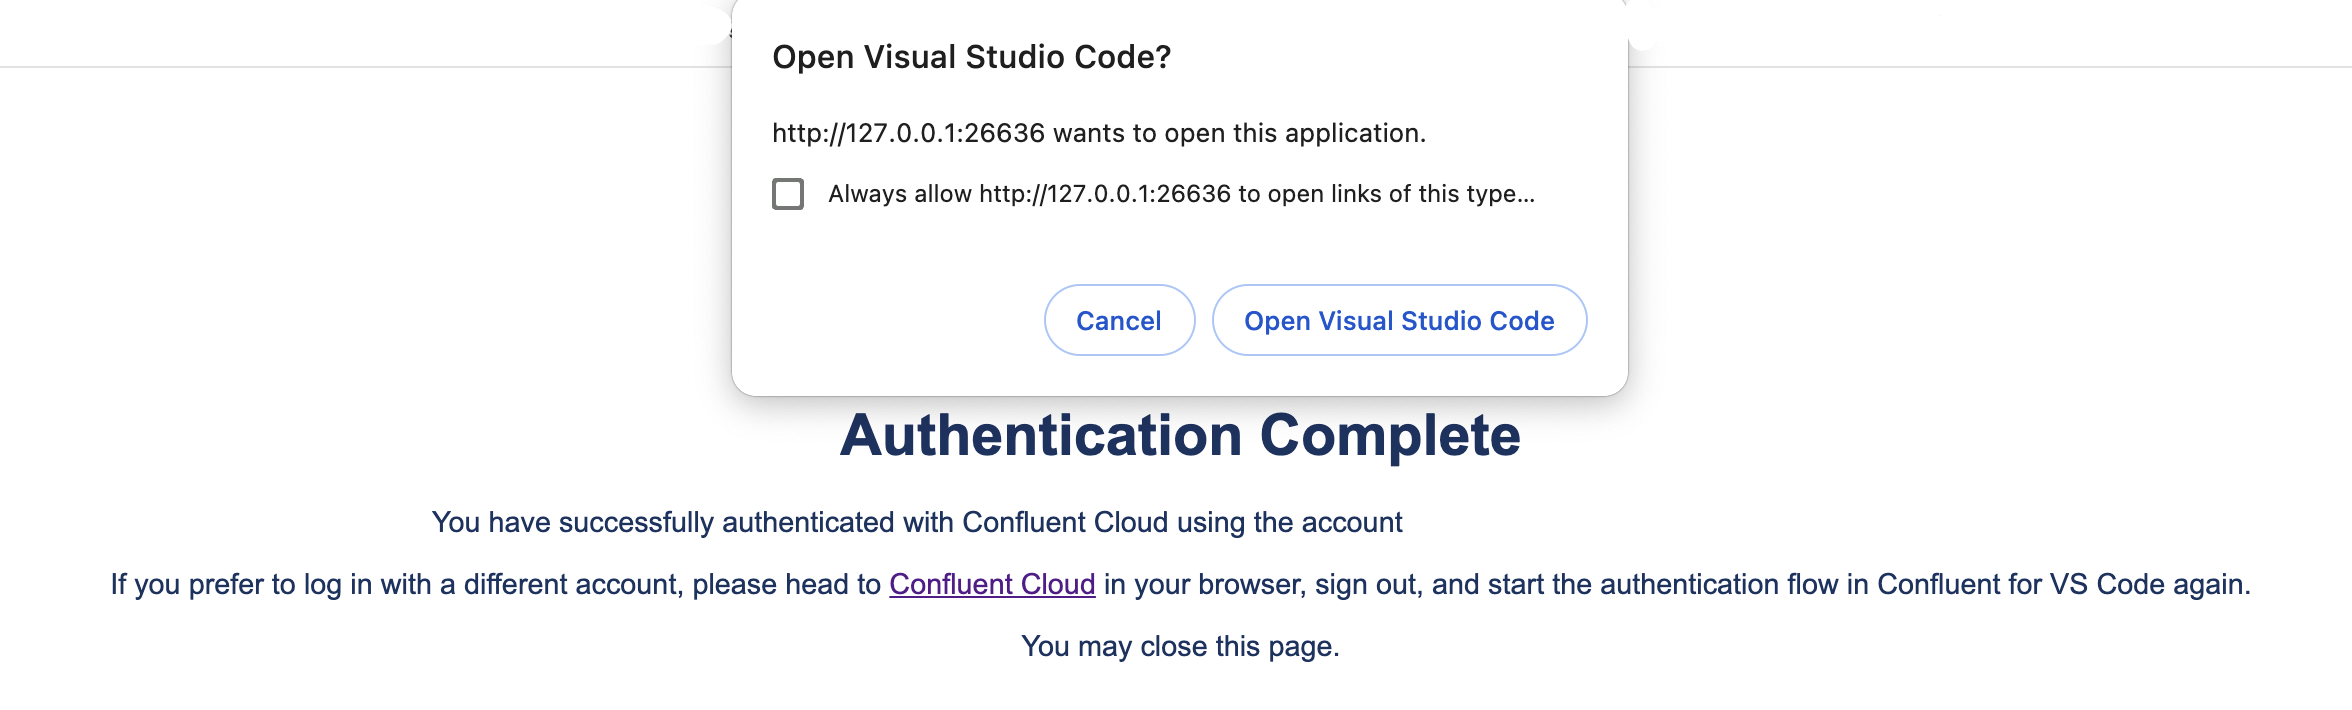
The web browser shows the 'Authentication Complete' page.
Open the Confluent Cloud Console and follow these steps to create an environment.
Next, create a Flink compute pool by following these steps.
While that pool is provisioning, return to your editor and confirm that your Confluent Cloud resources are displayed in the Side Bar.
Next, click on "Support" in the sidebar and then "Generate Project From Template". Search "UDFs" and select the Flink UDF template and select your desired directory.
Navigate to the directory you generate the template in. Time to build the examples!
First, generate the maven wrapper jar:
mvn wrapper:wrapper You may need to run:
chmod +x mvnwthen:
./mvnw clean packageIn the sidebar, click "Support" then "Generate Project From Template". Search "UDFs" and click on the UDF template generator.
Navigate to the folder you generated the template in.
This should produce a jar for each of the modules, which can be uploaded to Confluent Cloud.
For example:
> find . -wholename '*/target/*jar' | grep -v original
./udfs-simple/target/udfs-simple-1.0.0.jar
You should then upload the jars to Confluent Cloud, and create a UDF in your catalog. More details on how to do that can be found here.
Here's an example of the command you'd run to register the function in your Flink workspace once you've uploaded the artifact following the instructions above. This deploys your function:
CREATE FUNCTION sum_integers
AS 'io.confluent.udf.examples.log.LogSumScalarFunction'
USING JAR 'confluent-artifact://cfa-v7r61n';
Remember to replace cfa-v7r61n with your own artifact id.
Then you can test the function by running this statement:
SELECT sum_integers(CAST(5 AS INT), CAST(3 AS INT));Inspect the Code
In the pom.xml you'll see the following:
        <dependency>
            <groupId>org.apache.flink</groupId>
            <artifactId>flink-table-api-java</artifactId>
            <scope>provided</scope>
        </dependency>
This is vital to the execution of user-defined functions with Flink. This is where you'll get the base classes you need to implement a UDF. If you look at LogSumScalarFunction, you'll see an import of the ScalarFunction class:
import org.apache.flink.table.functions.ScalarFunction;Then this class is extended to sum two numbers and log messages:
/* This class is a SumScalar function that logs messages at different levels */
public class LogSumScalarFunction extends ScalarFunction {

    private static final Logger LOGGER = LogManager.getLogger();

    public int eval(int a, int b) {
        String value = String.format("SumScalar of %d and %d", a, b);
        Date now = new Date();

        // You can choose the logging level for log messages.
        LOGGER.info(value + " info log messages by log4j logger --- " + now);
        LOGGER.error(value + " error log messages by log4j logger --- " + now);
        LOGGER.warn(value + " warn log messages by log4j logger --- " + now);
        LOGGER.debug(value + " debug log messages by log4j logger --- " + now);
        return a + b;
    }
}