Enhance your career, get your certificate as a Data Streaming Engineer | Get your Certificate
Hands-on Exercise: Kafka Producer

Gilles Philippart
Principal Software Practice Lead
Hands On Tutorial: Send Your First Event with Apache Kafka®
Start Apache Kafka® quickly using Confluent Cloud in this 3-step, beginner-friendly tutorial:
- Set up Confluent Cloud.
- Create a Kafka topic, produce messages, and read them using the Cloud Console and CLI.
- Produce additional messages via CLI and view real-time streams in both the CLI and Cloud Console.
Set Up Confluent Cloud
- Go to the Confluent Cloud signup page and create an account.
- Click the "Start Free" button.

-
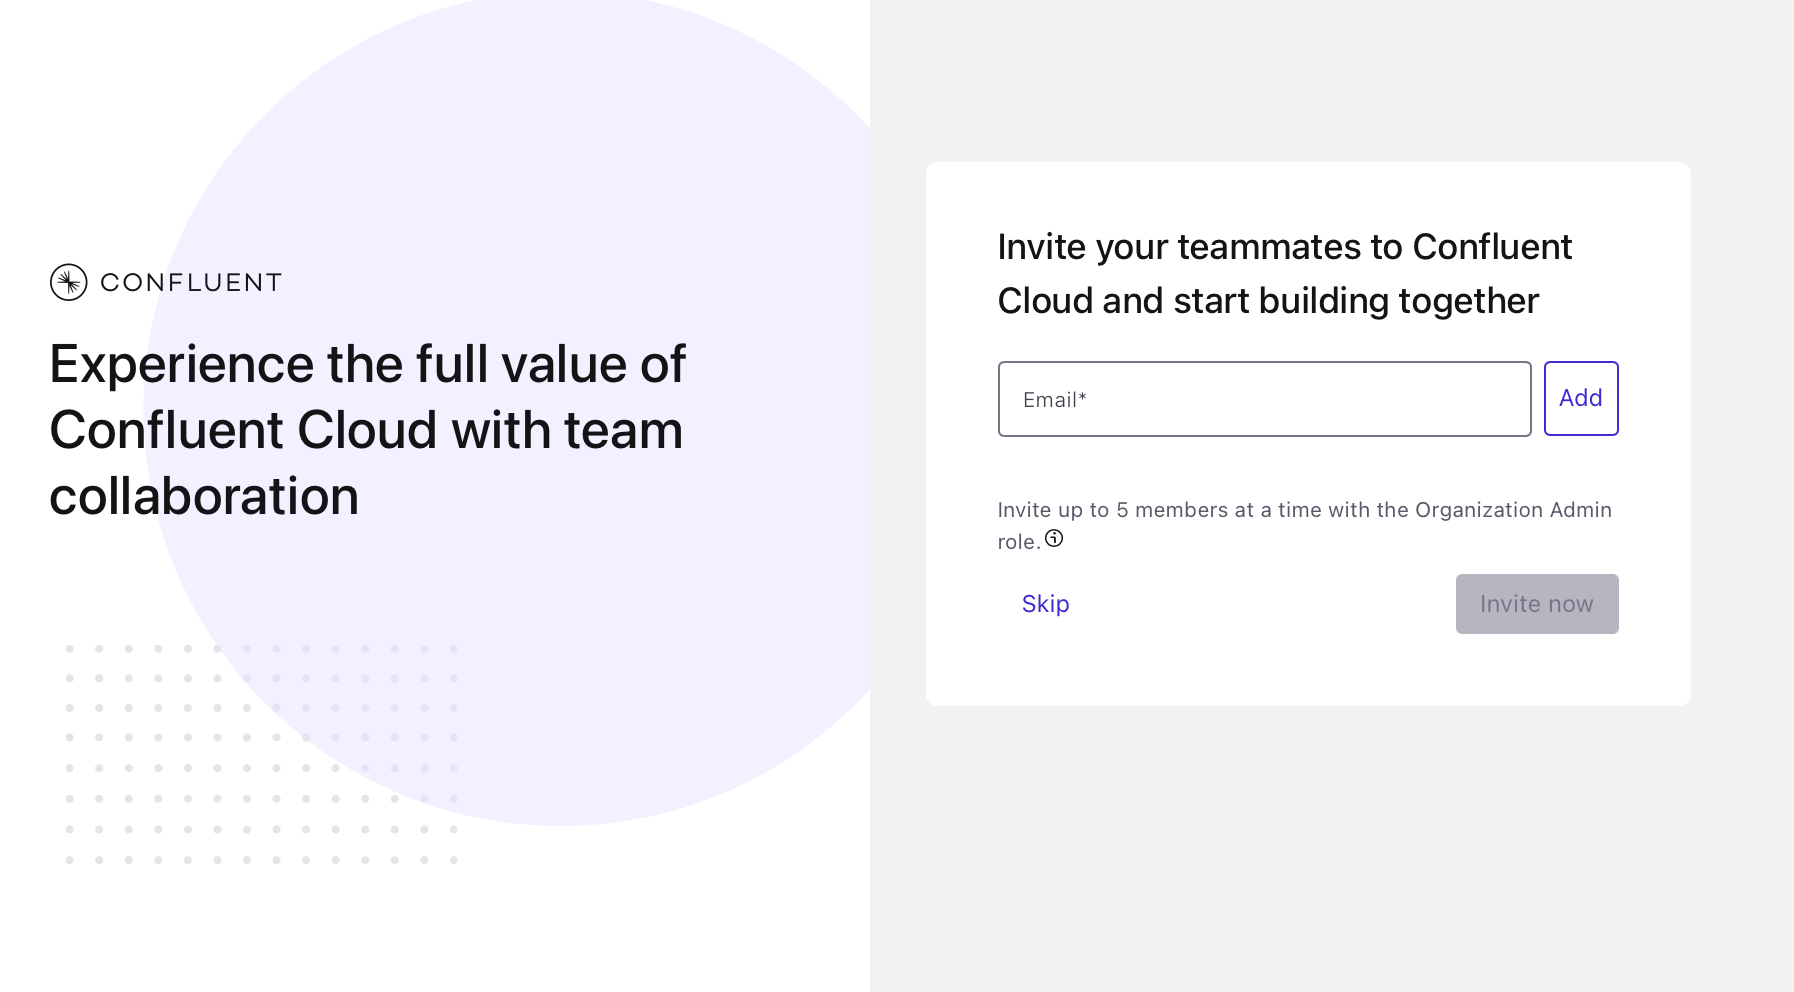
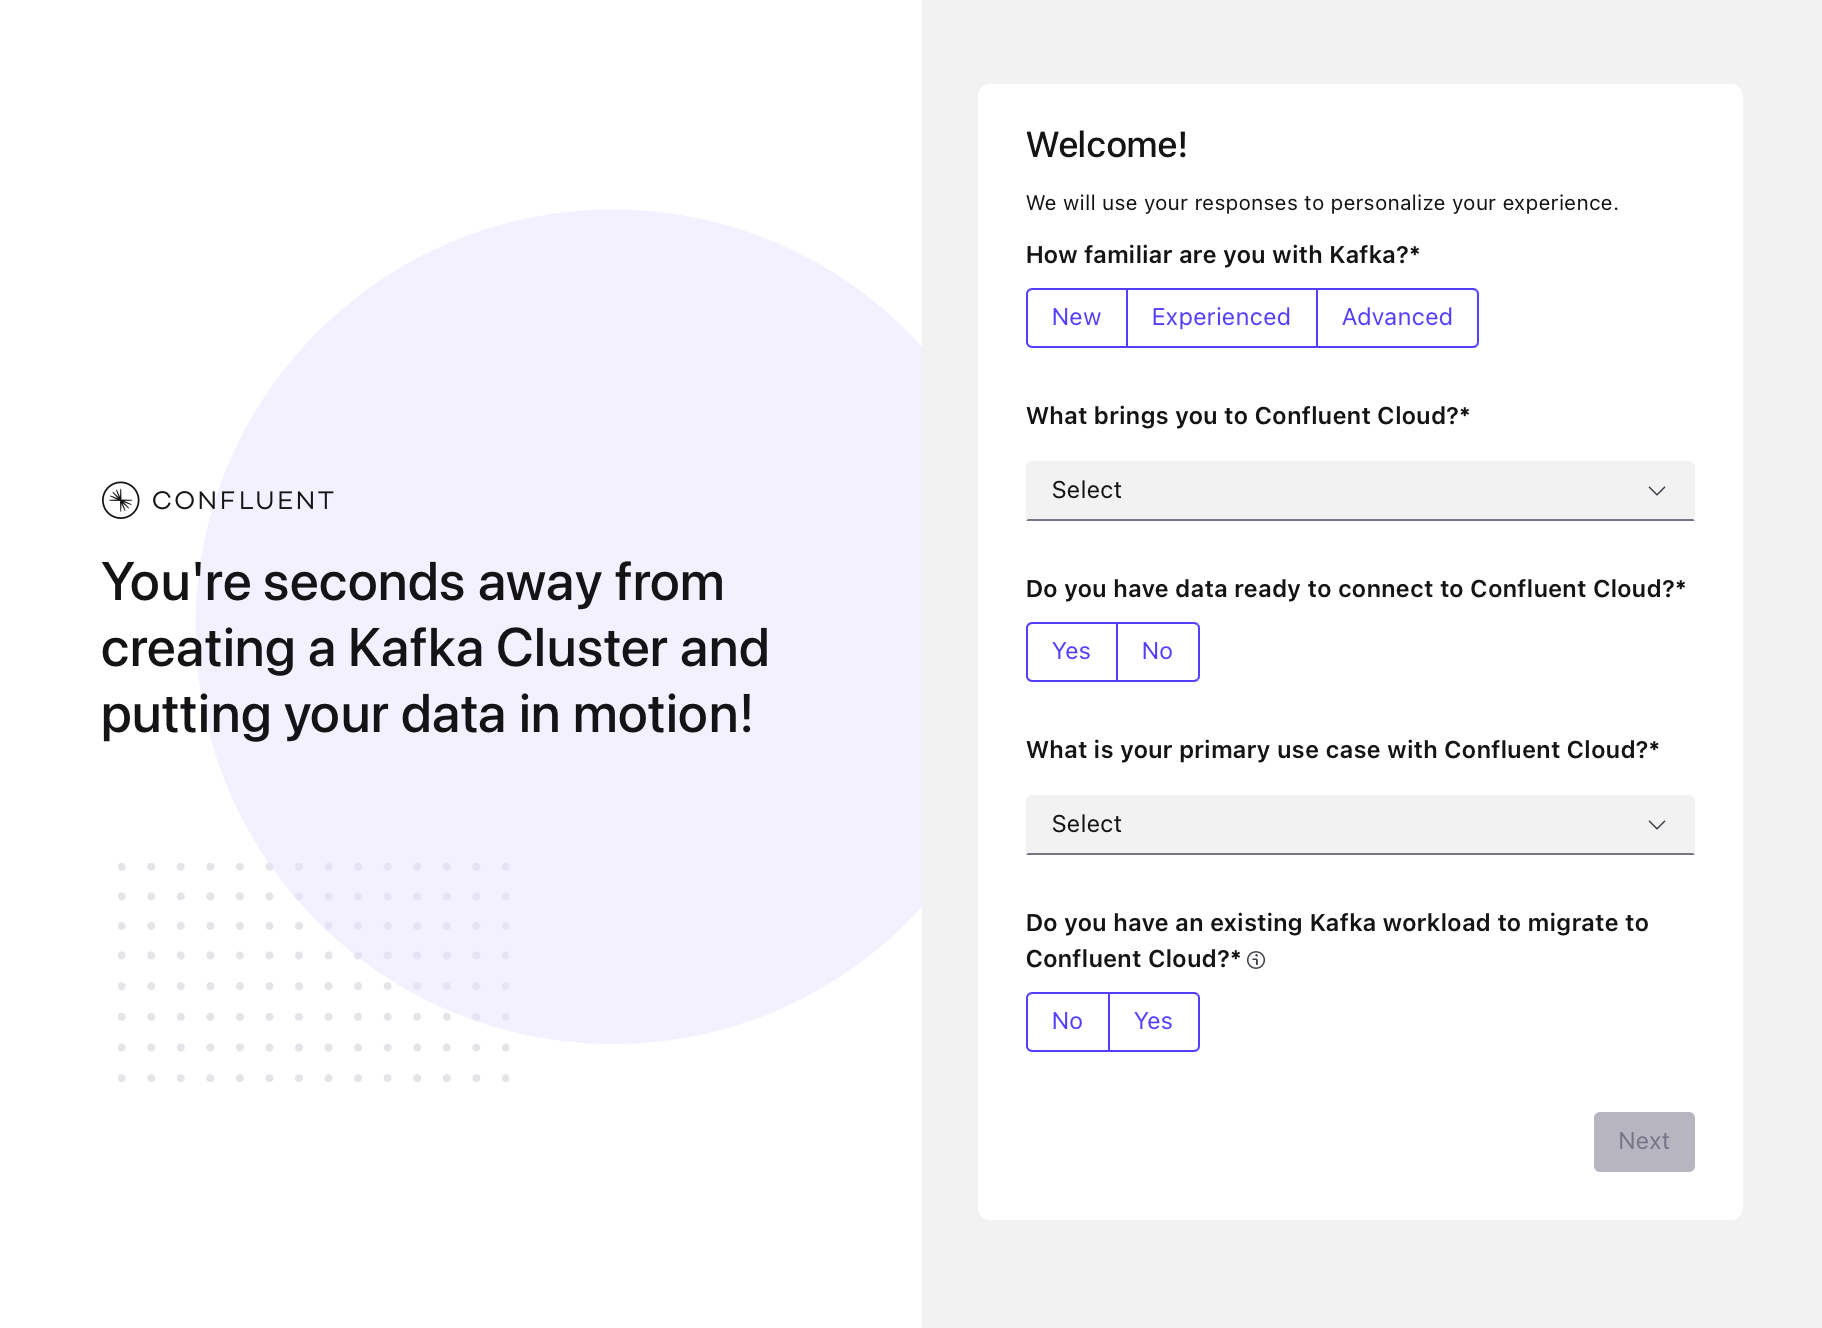
Watch your inbox for a confirmation email. Once you receive it, follow the link to proceed to the next step. Once logged in, you'll see a few onboarding screens:
-
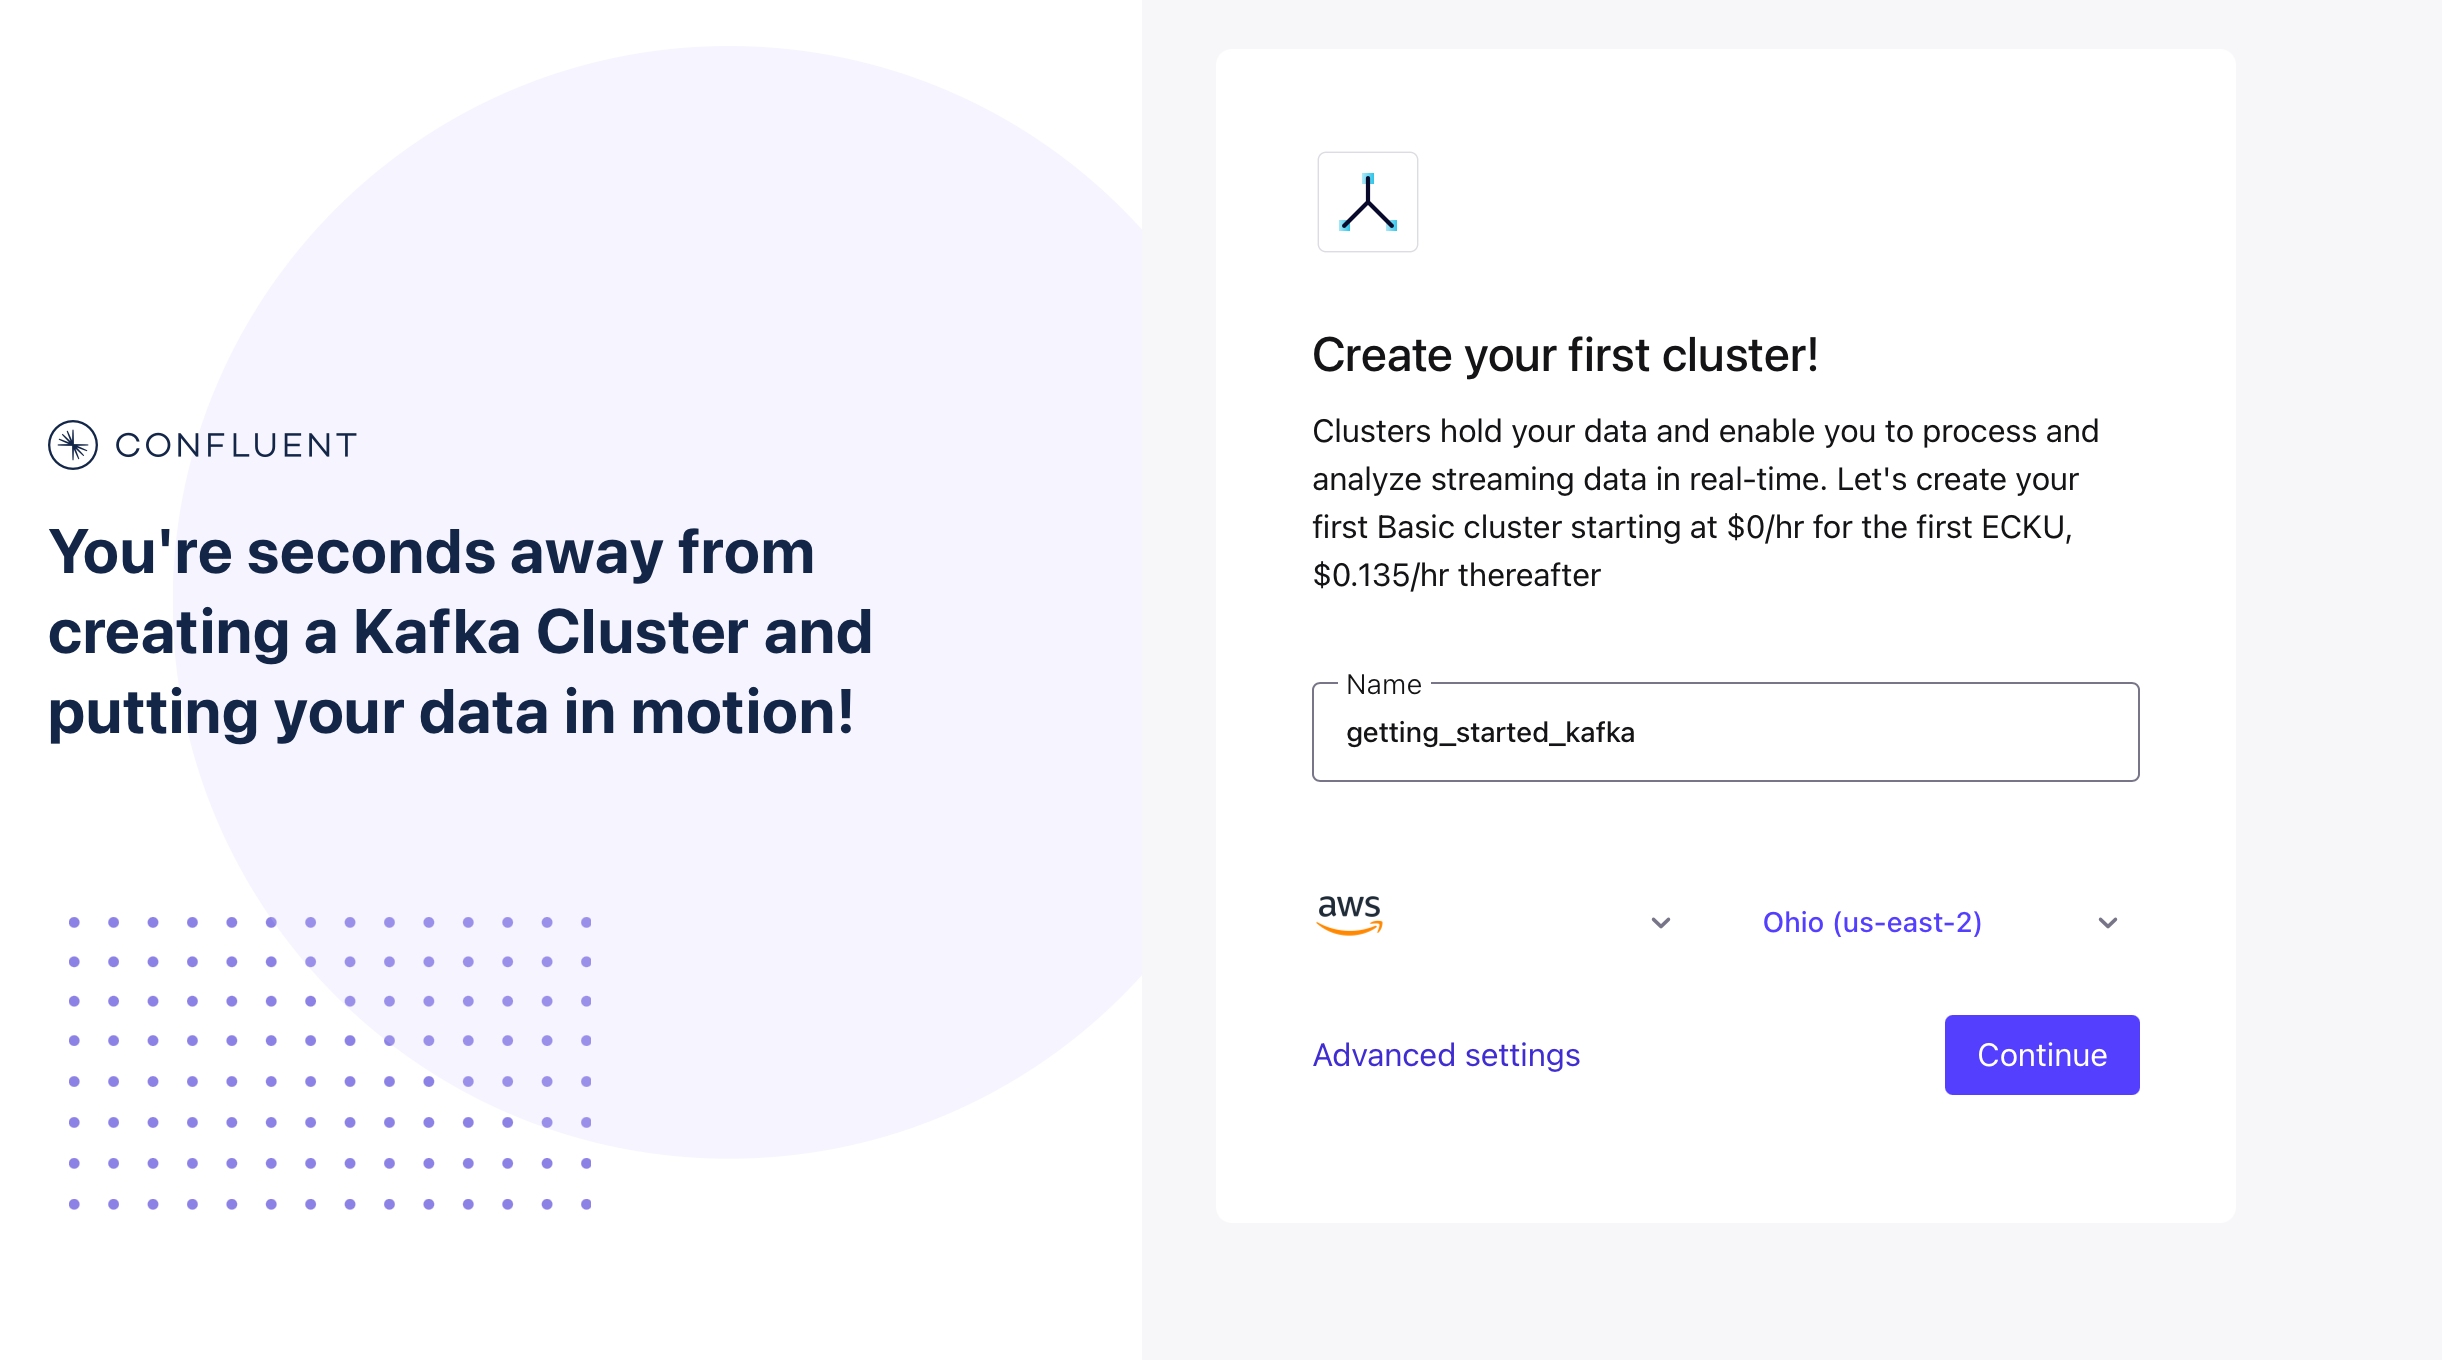
Time to create your first cluster! Stick with the default choice or choose your preferred cloud provider, region, and availability zone.
-
On the next screen, you will be asked to enter your credit card information. If this is your first time creating a Confluent account, you can use the promo code CONFLUENTDEV1 to skip payment for 30 days. To apply it, Click "Click Here" next to the "Have a promo code?" prompt at the bottom of the screen.
As a new signup, you automatically receive $400 of usage credit but you can also get an extra $25 to follow this course by entering the promo code KAFKA101, once your cluster is provisioned:
- Navigate to "Billing & payment" from the Settings menu (upper right corner).
- Go to the "Payment details & contacts" tab.
- Enter the KAFKA101 code.
If you already have a Confluent account, you can still use KAFKA101 for $25 of free usage, which is enough for the basic clusters needed for this exercise.
At the end of the course, we’ll guide you on how to delete your cluster to avoid any future charges.
-
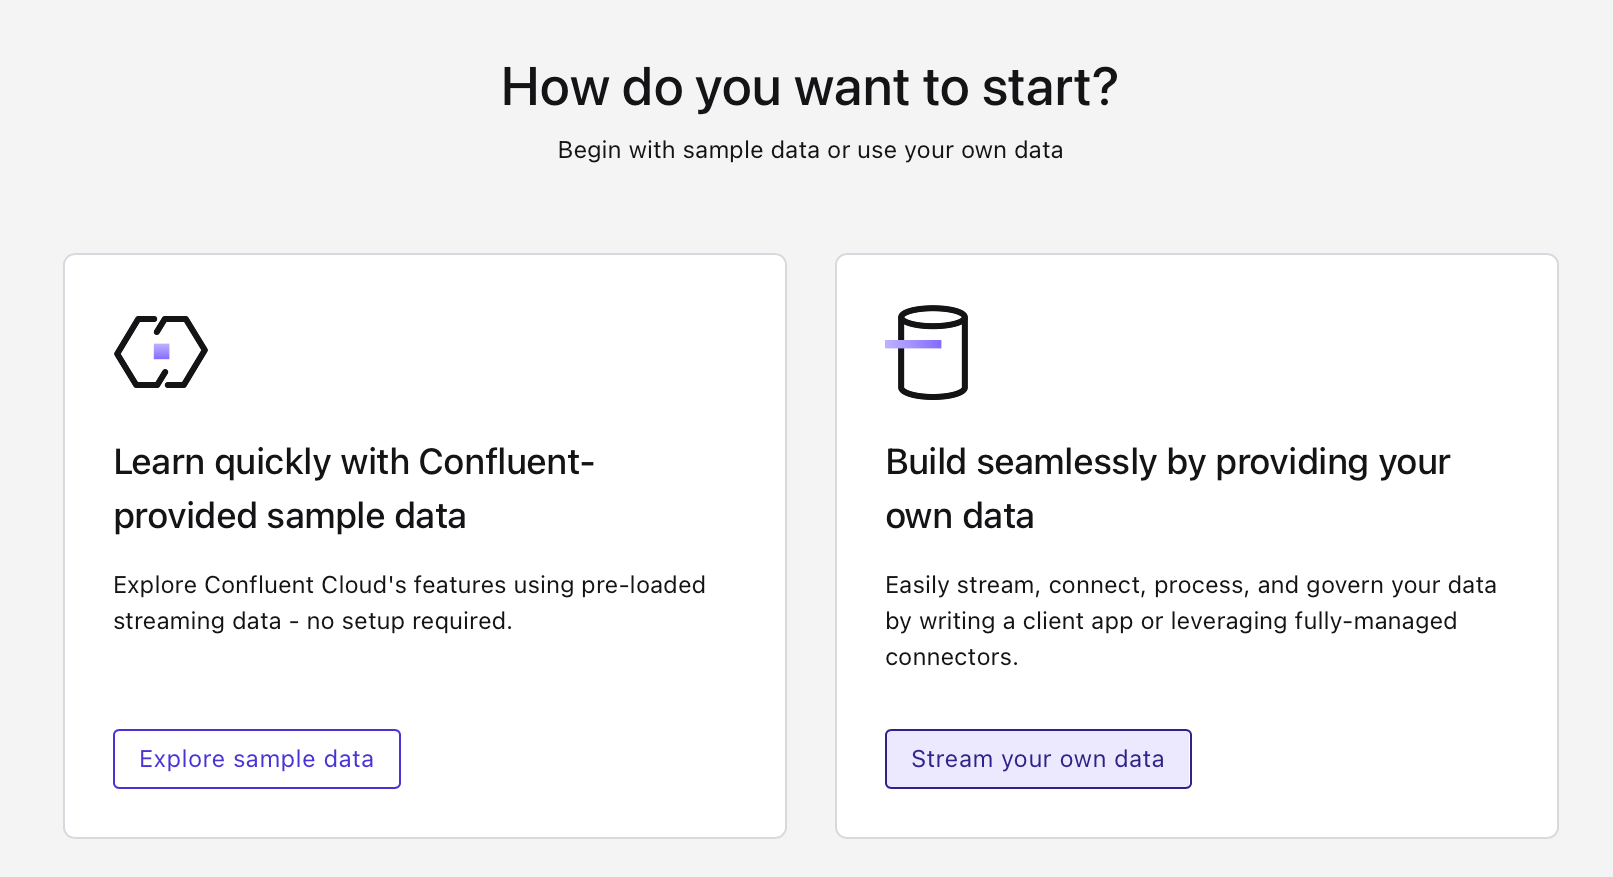
When asked about how you want to start, choose the "Stream you own data" option.
-
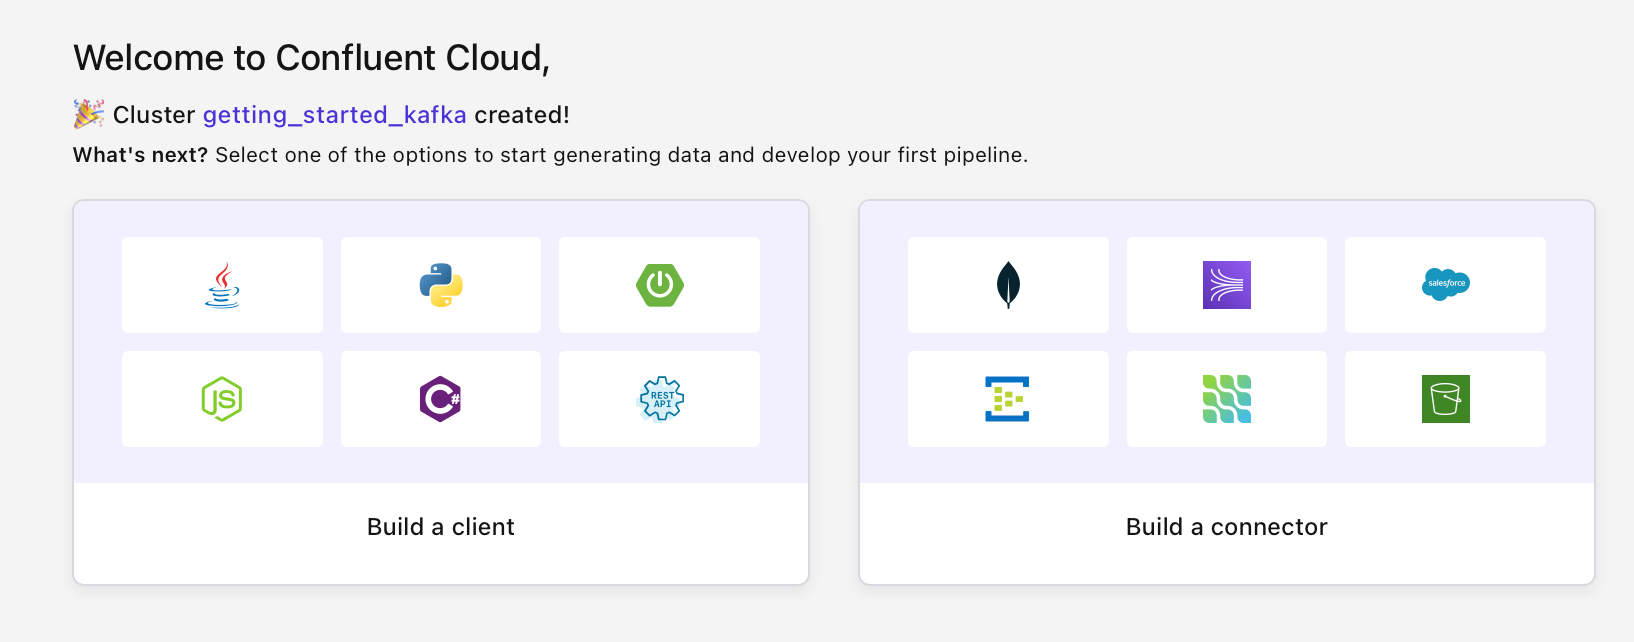
When you see the "Welcome to Confluent Cloud" screen, click your cluster's name, eg getting_started_kafka, instead of the buttons at the bottom.


Create Your First Kafka Topic on Confluent Cloud
-
Select "Topics" in the left-hand menu
-
If this is your first time on Confluent Cloud, click "Create topic":
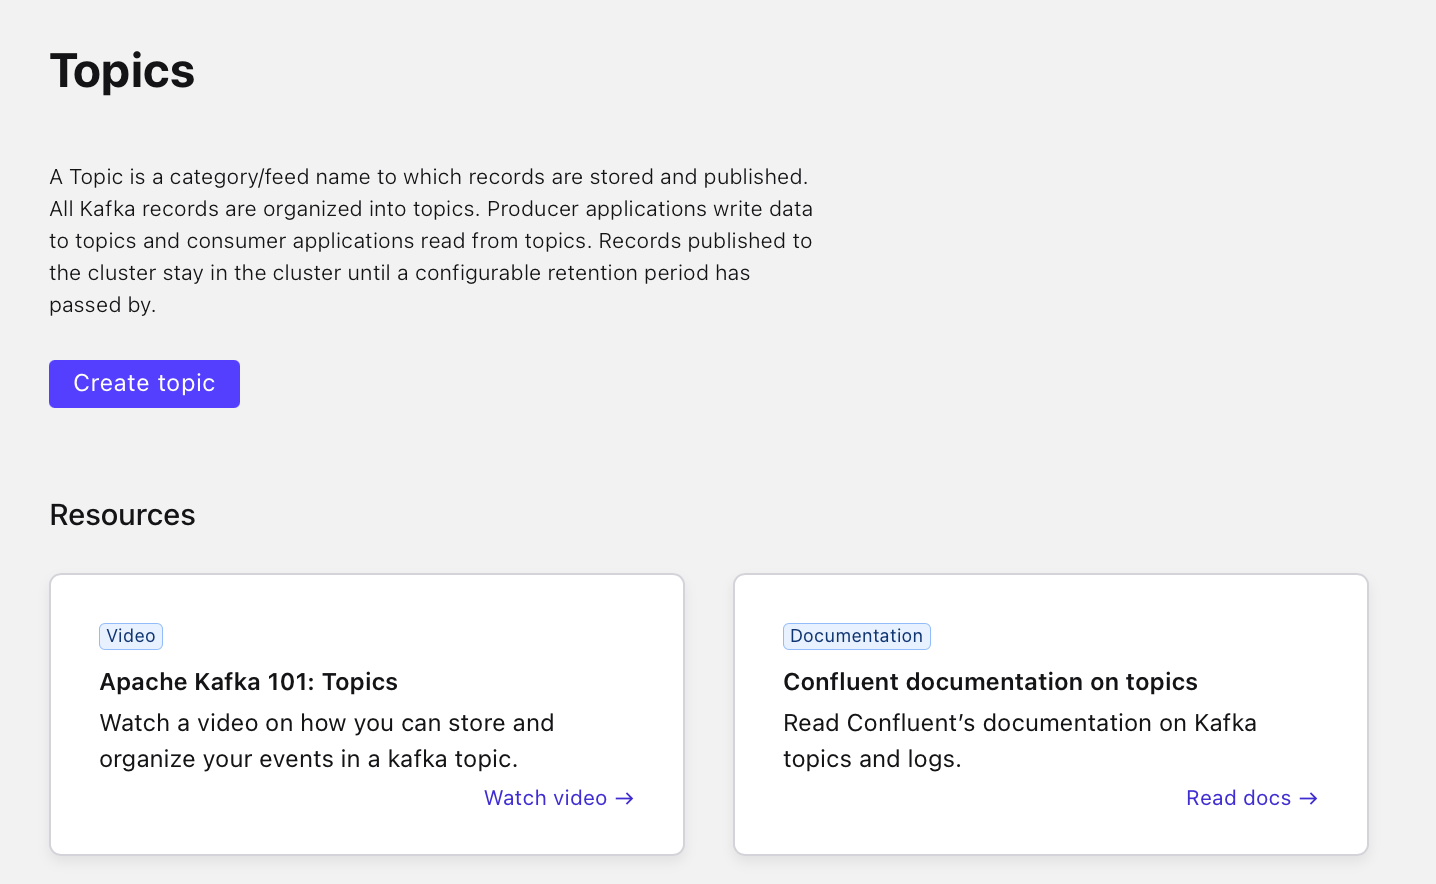 If not, then press the "+ Add topic" on the right.
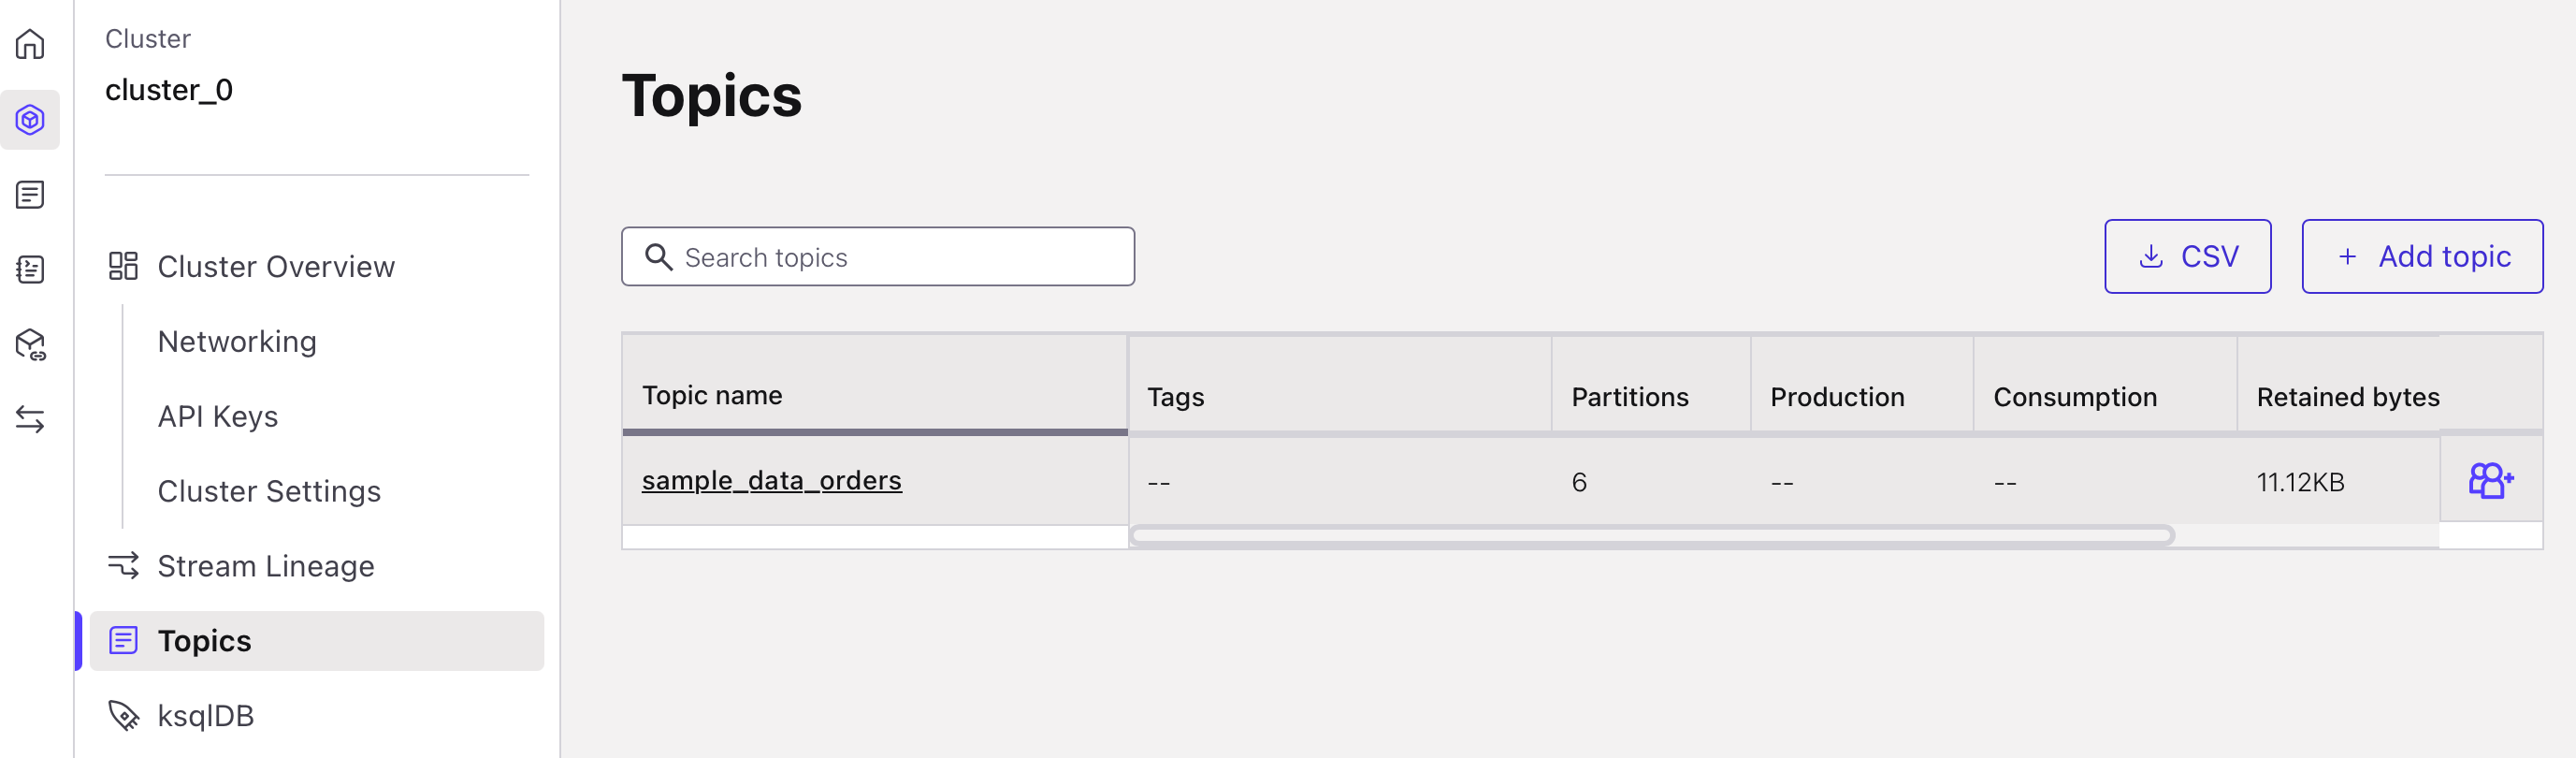
-
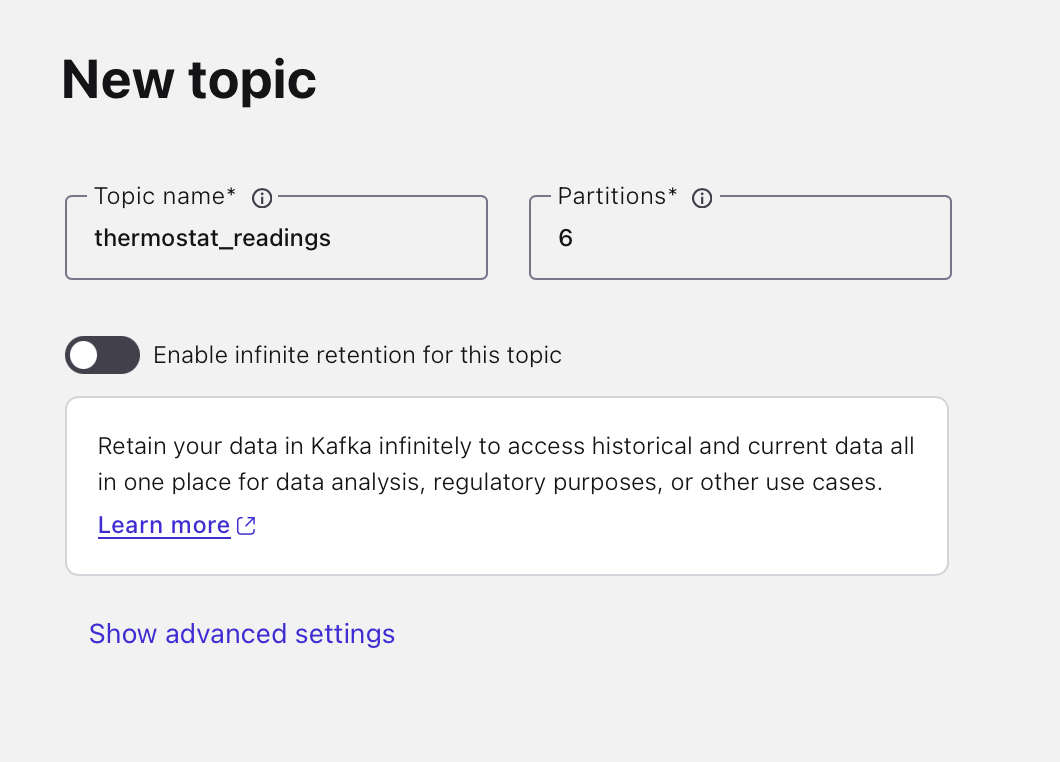
Name your topic thermostat_readings. The default six partitions are ideal for this use case. Click "Create with defaults".
-
On the next screen, choose to "Skip" adding a Data Contract.
-
Select the "Messages" tab to view the topic (it's empty initially). Click on the "Actions" button on the top right and choose "Produce new message" to open the message editor.
-
Clear the key and value fields. Enter 42 as the key and the following as the value:
{ "sensor_id": 42, "location": "kitchen", "temperature": 22, "read_at": 1736521921 } -
Using the "Actions > Produce new message" menu, produce three additional readings. Use the sensor_id value as the key for each.
{
  "sensor_id": 151,
  "location": "bedroom",
  "temperature": 20,
  "read_at": 1736521923
}
{ "sensor_id": 299, "location": "living room", "temperature": 21, "read_at": 1736521926 }{ "sensor_id": 42, "location": "kitchen", "temperature": 24, "read_at": 1736521981 } -
You’ll see that the four messages are distributed across the topic’s six partitions.
 If not, then press the "+ Add topic" on the right.

Set Up the Confluent CLI
-
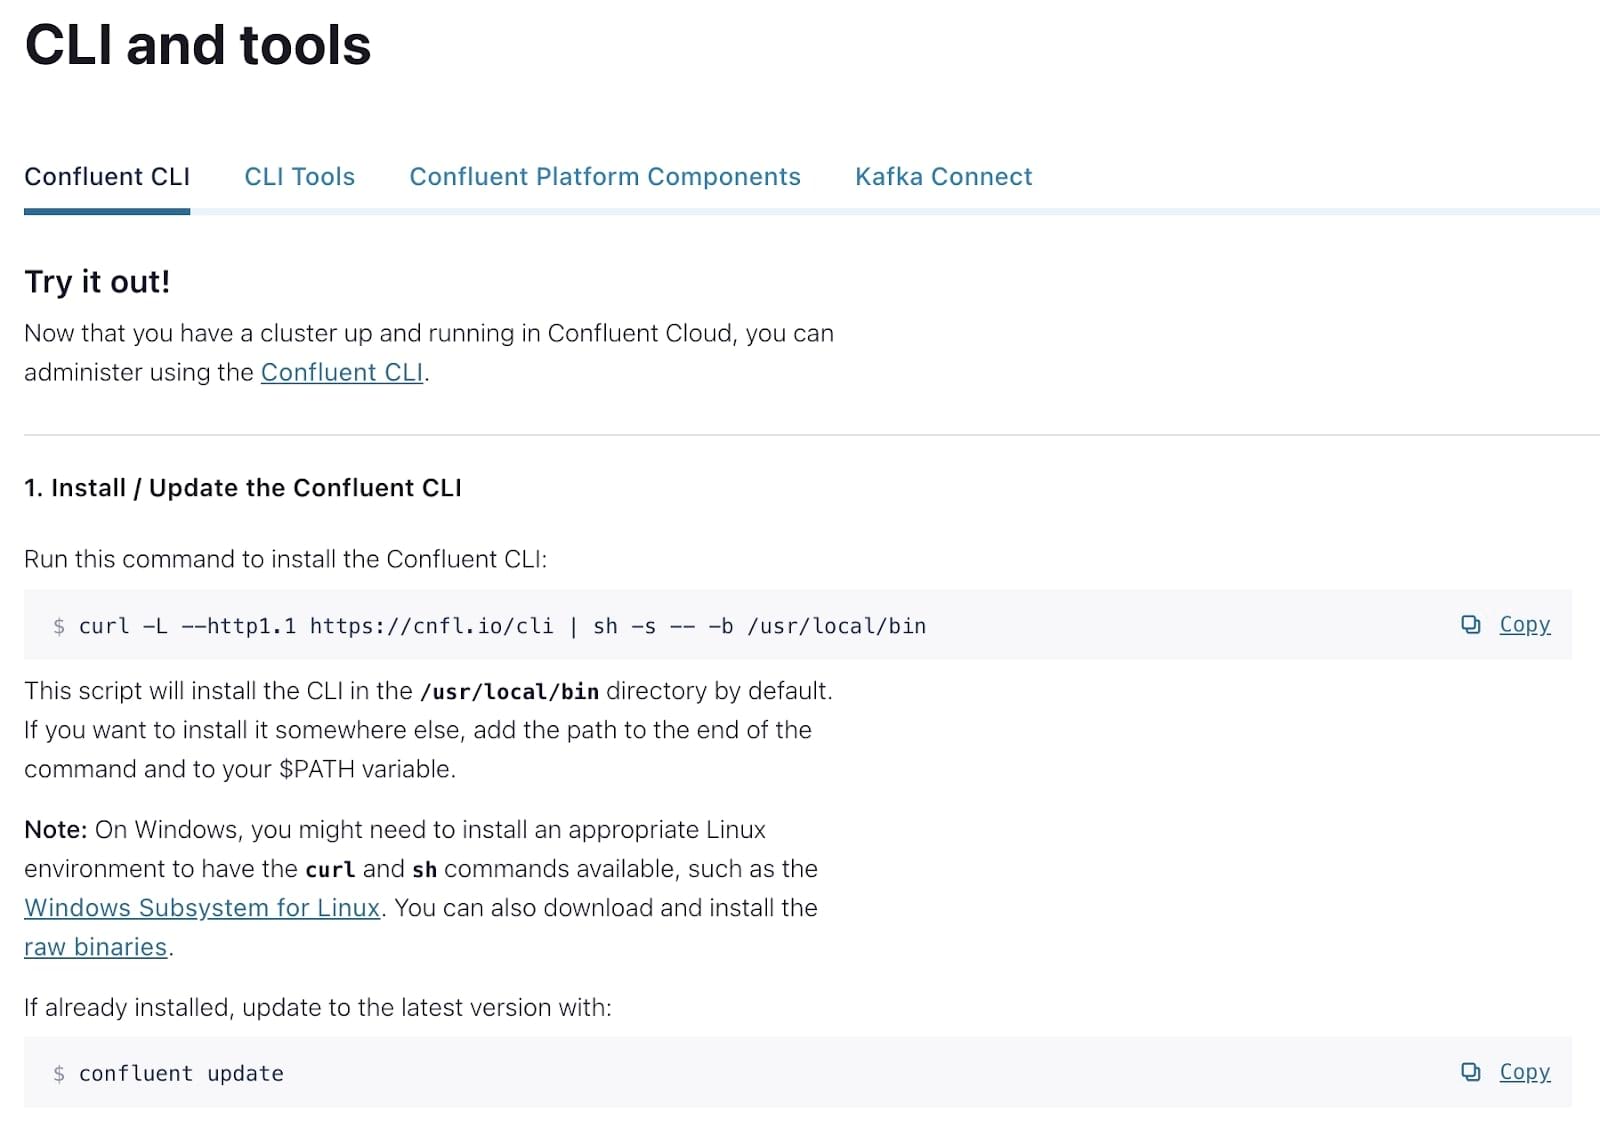
In Confluent Cloud, go to "CLI and tools" in the lower-left corner to find installation instructions. In a nutshell:
- On Mac: run brew install confluentinc/tap/cli.
- On Windows or Linux: follow the instructions provided there.
-
Log in to Confluent Cloud:
confluent login --saveThe --save flag stores credentials locally to reduce repeated logins.
-
List available environments:
confluent environment listYou’ll likely see only one environment. Note the ID.
-
Set your environment:
confluent environment use {ID} -
List Kafka clusters:
confluent kafka cluster listNote the ID, then run:
confluent kafka cluster use {ID} -
Create and apply an API key for the CLI to communicate with the Kafka cluster:
confluent api-key create --resource {ID}Save the key and secret somewhere safe. Then run:
confluent api-key use {API Key} --resource {ID}Your CLI is now fully set up!

Produce and Consume Using the Confluent CLI
If you've followed along, you now have a topic with events and a working CLI. You’re ready to consume and produce messages via the CLI.
-
List available topics:
confluent kafka topic listYou should see the thermostat_readings topic that we created earlier.
-
Consume messages from the beginning:
confluent kafka topic consume --from-beginning thermostat_readings{"sensor_id":299,"location":"living room","temperature":21,"read_at":1736521926} {"sensor_id":42,"location":"kitchen","temperature":22,"read_at":1736521921} {"sensor_id":42,"location":"kitchen","temperature":24,"read_at":1736521981} {"sensor_id":151,"location":"bedroom","temperature":20,"read_at":1736521923}The --from-beginning flag tells the consumer to start from the earliest known offset on the topic, i.e., the earliest message. Leave this terminal window open to observe new messages.
-
In a new terminal window, produce more messages
confluent kafka topic produce thermostat_readings --parse-keyThe --parse-key flag automatically reads both the key and the value separated by the ":" symbol.
When prompted, enter:
299:{"sensor_id":299,"location":"living room","temperature":21,"read_at":1736522046} 151:{"sensor_id":151,"location":"bedroom","temperature":21,"read_at":1736522043} 42:{"sensor_id":42,"location":"kitchen","temperature":26,"read_at":1736522101} -
Watch these new messages appear in your consumer terminal window.
-
Go the Confluent Cloud UI, navigate to the thermostat_readings topic, and open the "Messages" tab to confirm that the new messages are visible in the UI.
Congratulations!🎉 If you've completed the steps above, you’ve successfully:
- Signed up for Confluent Cloud and created a cluster
- Created a Kafka topic and produced messages via the UI
- Installed and configured the CLI
- Produced and consumed messages via the CLI
You’re now well on your way to building powerful real-time applications with Confluent Cloud. Keep going with the next modules and exercises!
Use the promo codes KAFKA101 & CONFLUENTDEV1 to get $25 of free Confluent Cloud storage and skip credit card entry.
Be the first to get updates and new content
We will only share developer content and updates, including notifications when new content is added. We will never send you sales emails. 🙂 By subscribing, you understand we will process your personal information in accordance with our Privacy Statement.