Setup Confluent Cloud (Hands-On)


Wade Waldron
Principal Software Practice Lead
Setup Confluent Cloud (Hands-On)
In this exercise, you will be setting up a Confluent Cloud Cluster that you will be able to use for the rest of the course.
Note: To ensure isolation and easy cleanup, we do not recommend using an existing cluster.
Register for Confluent Cloud
Note: If you already have a Confluent Cloud account, you can skip ahead to Create a New Environment.
-
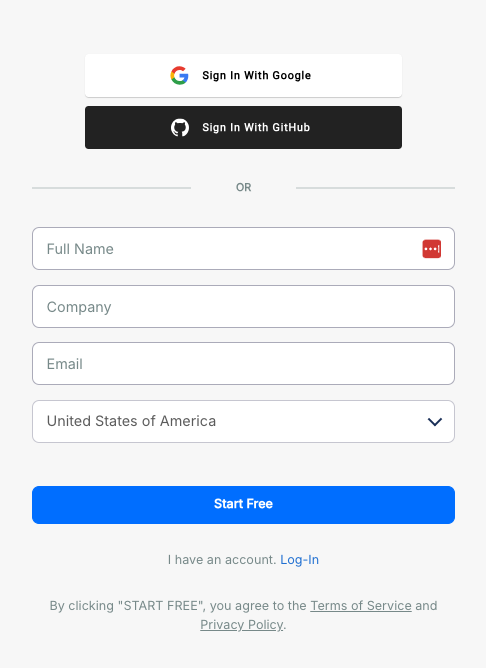
Head over to the Confluent Cloud signup page and sign up for a new account.
-
Click the Start Free button.
-
Watch your inbox for a confirmation email. Once you get the email, follow the link to proceed.
-
At this point, you will be asked to create a cluster. You can proceed if you like, but we'll be creating a new cluster in a later step so you can skip this if you prefer.

[Optional] Install the Confluent CLI
If you prefer to work from the command line, you can install the Confluent CLI by following the instructions here.
Create a New Environment
Now that you have Confluent Cloud set up, we are going to create an environment specifically for this course. This will ensure your environment is isolated from any other work you might be doing, and it will make cleanup easier.
WARNING: To ensure the integrity of your production environment, do not use a production environment for this course, and do not use the environment you create for anything other than the course. We strongly recommend using a new environment with new credentials to protect yourself but also to provide easy cleanup.
Note: If you prefer using the Command Line, you can refer to the Command Line Reference sections that follow many of the instructions.
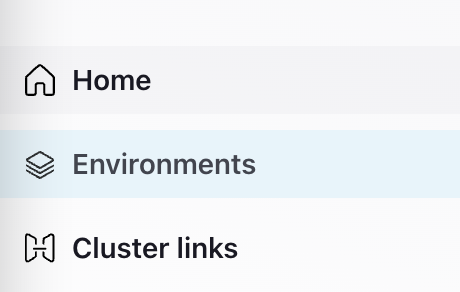
-
From the left-hand navigation menu select "Environments".
-
Click + Add cloud environment

-
Name your environment apache-kafka-with-dotnet.
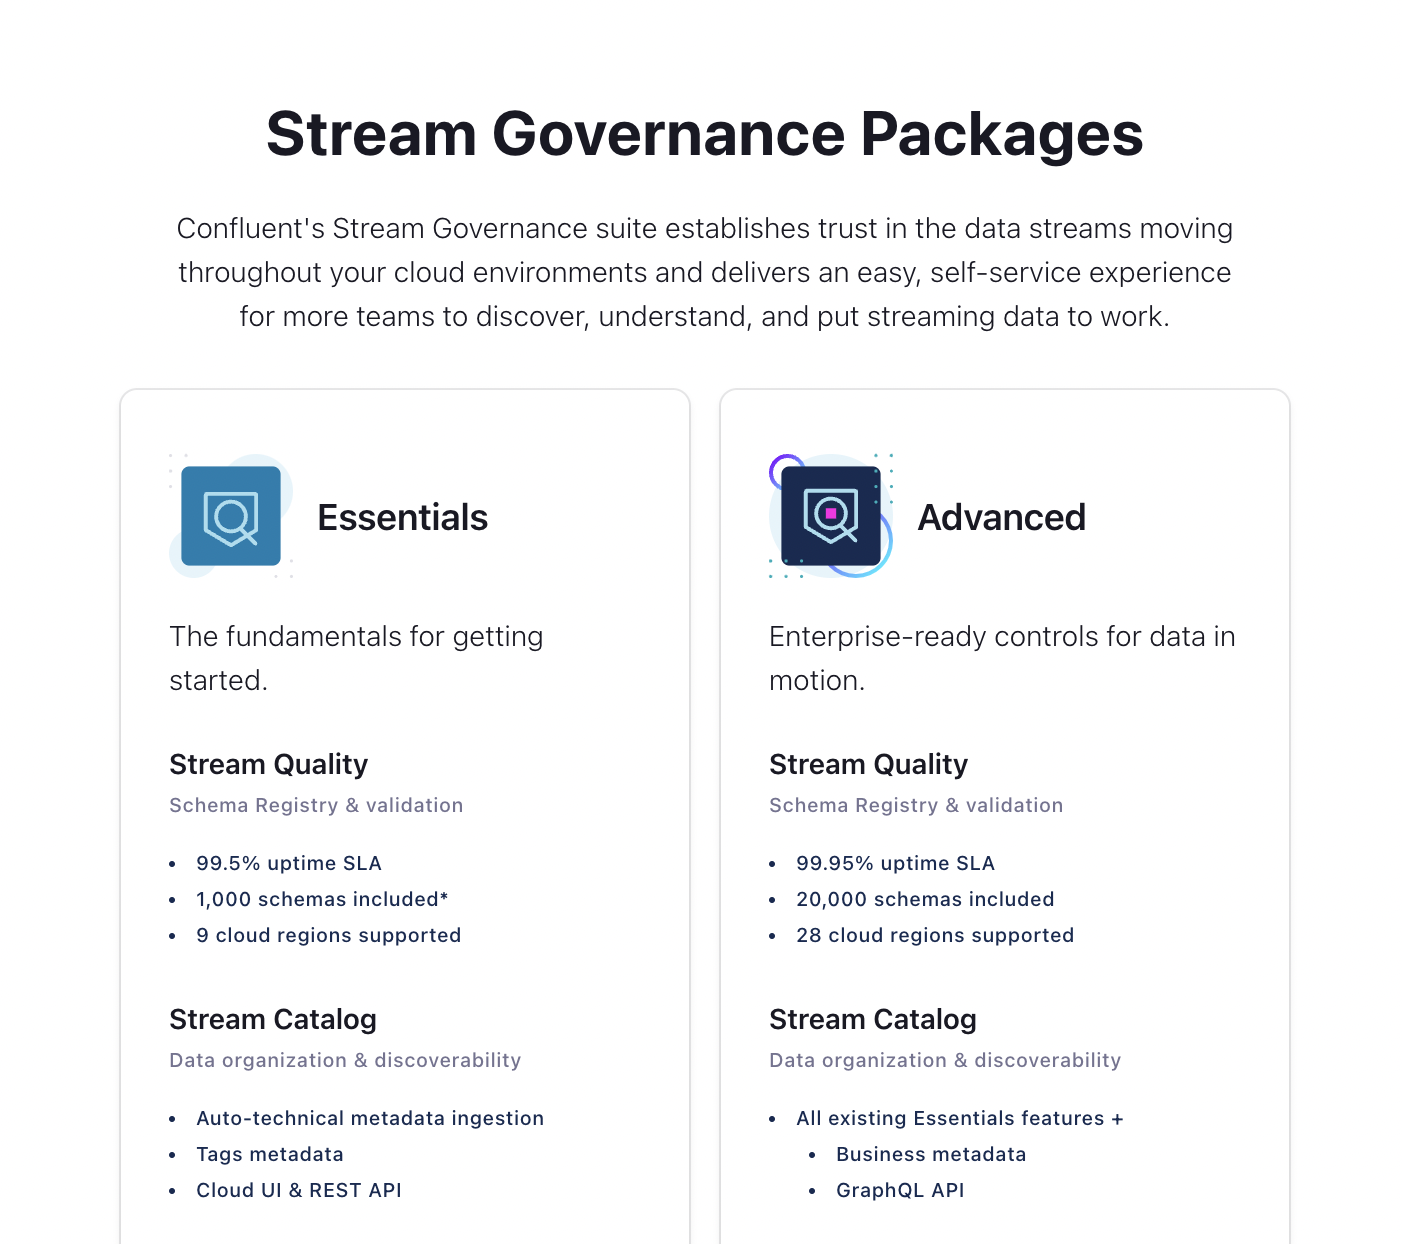
-
When offered a choice on which Stream Governance Package to choose, click Begin Configuration under the Essentials option.
-
Select which cloud and region you want to create your Schema Registry and Stream Catalog in (i.e. where you will be storing the metadata).


Command Line Reference
If you prefer, you can also do this from the command line interface by running:
confluent environment create apache-kafka-with-dotnetOnce your environment is created, you will need to make it the active environment.
First, list the environments and locate the Id for the apache-kafka-with-dotnet environment.
confluent environment listNext, set it as the active environment:
confluent environment use <environment id>Create a Cluster
Next, we need to create a Kafka Cluster for the course.
-
Inside the apache-kafka-with-dotnet environment click Create cluster on my own. You'll be given a choice of what kind of cluster to create. Click Begin Configuration under the Basic cluster.
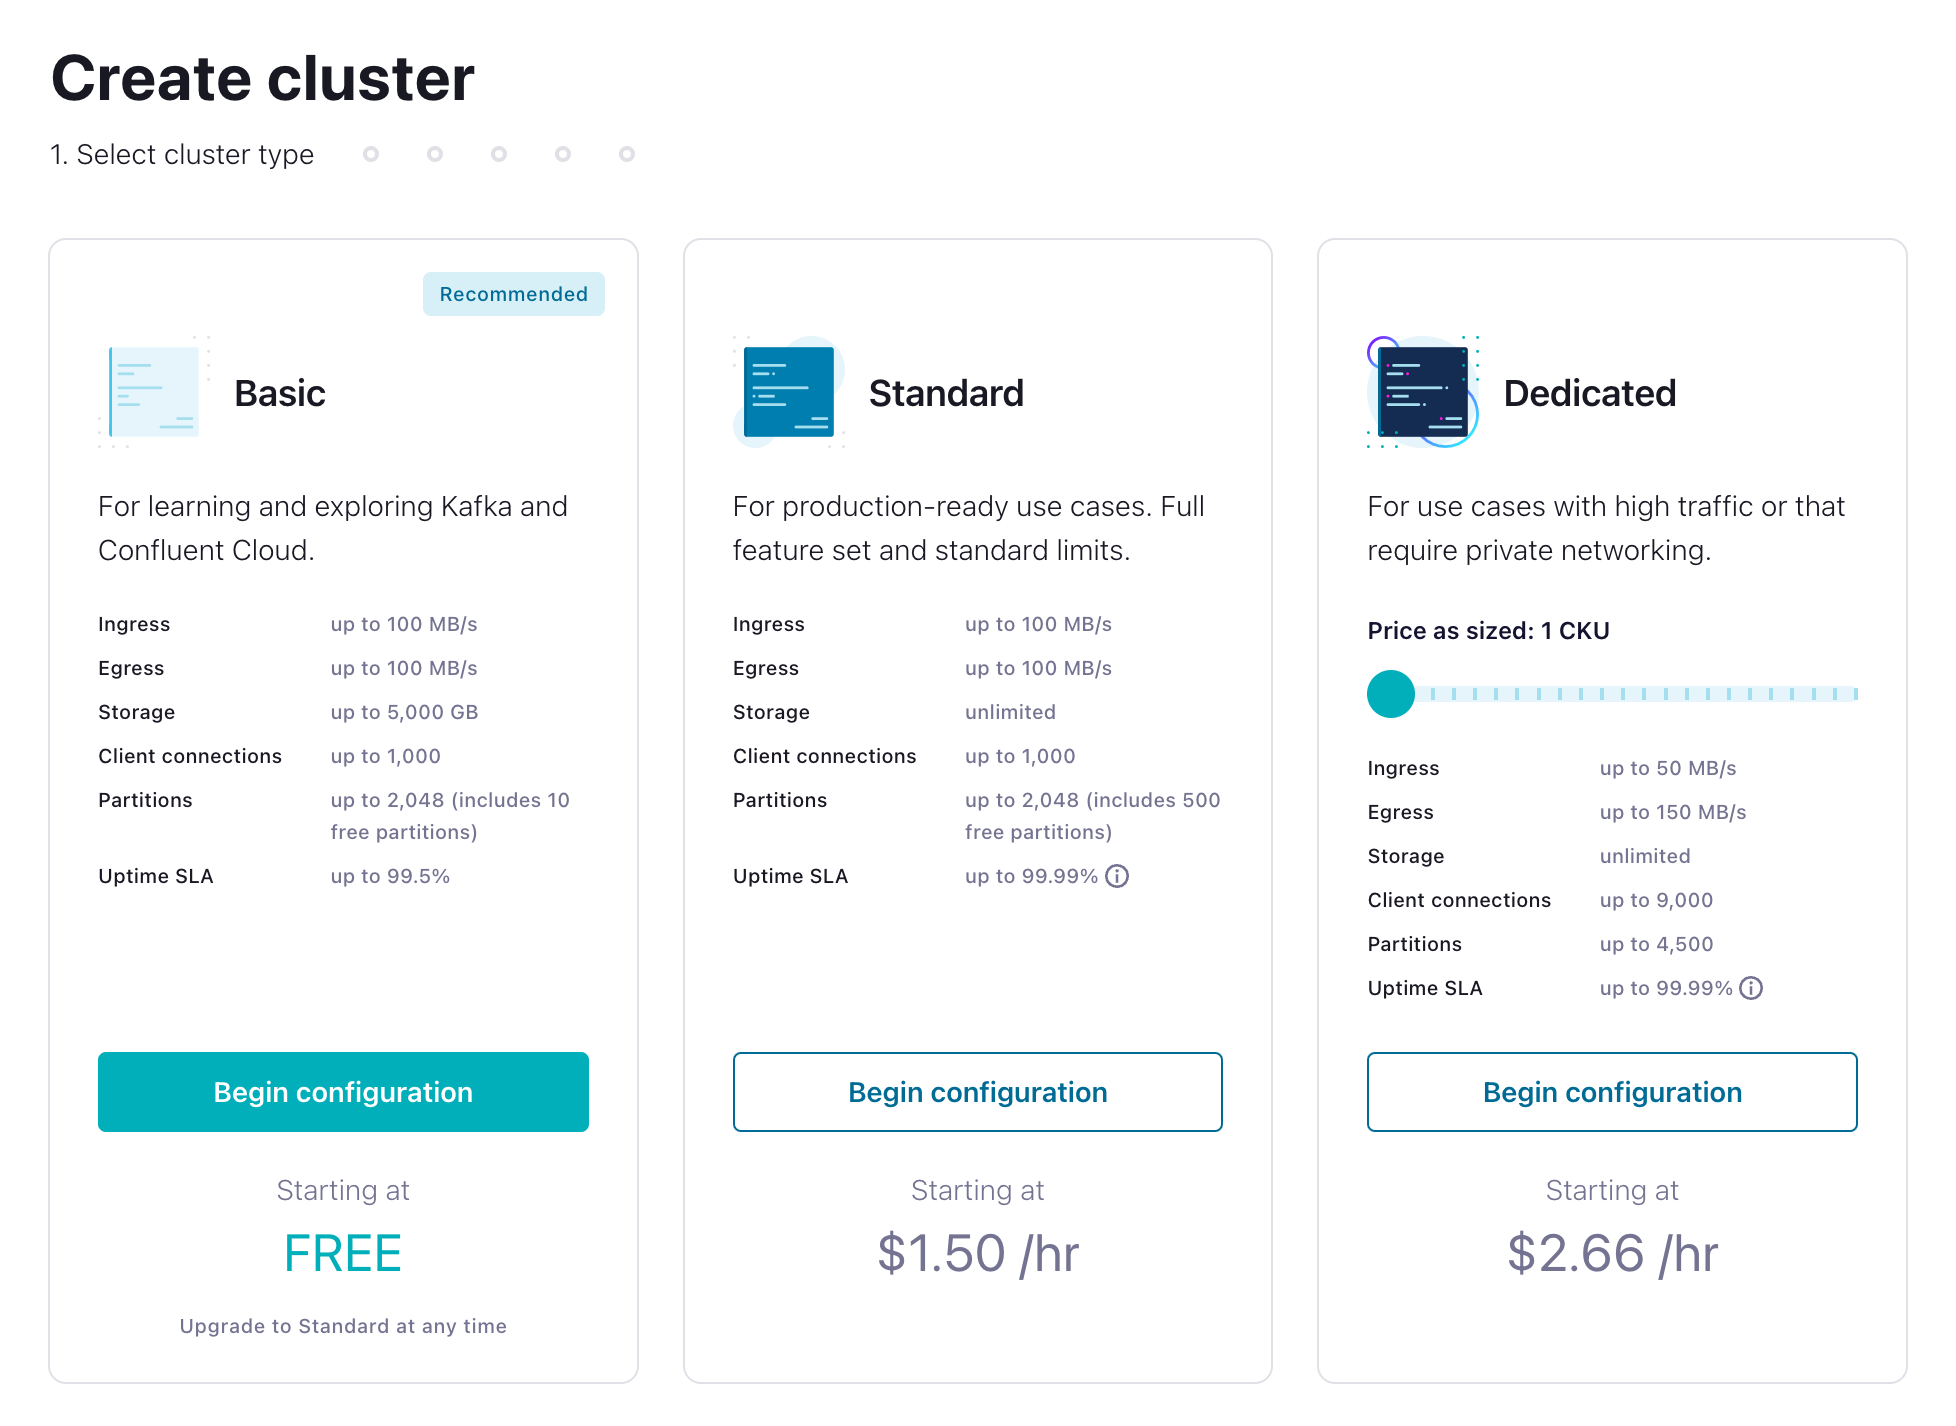
Basic clusters used in the context of this exercise won't incur much cost, and the amount of free usage that you receive along with the promo code DOTNETKAFKA101 for $25 of free Confluent Cloud usage (details) will be more than enough to cover it. You can also use the promo code CONFLUENTDEV1 to delay entering a credit card for 30 days.
-
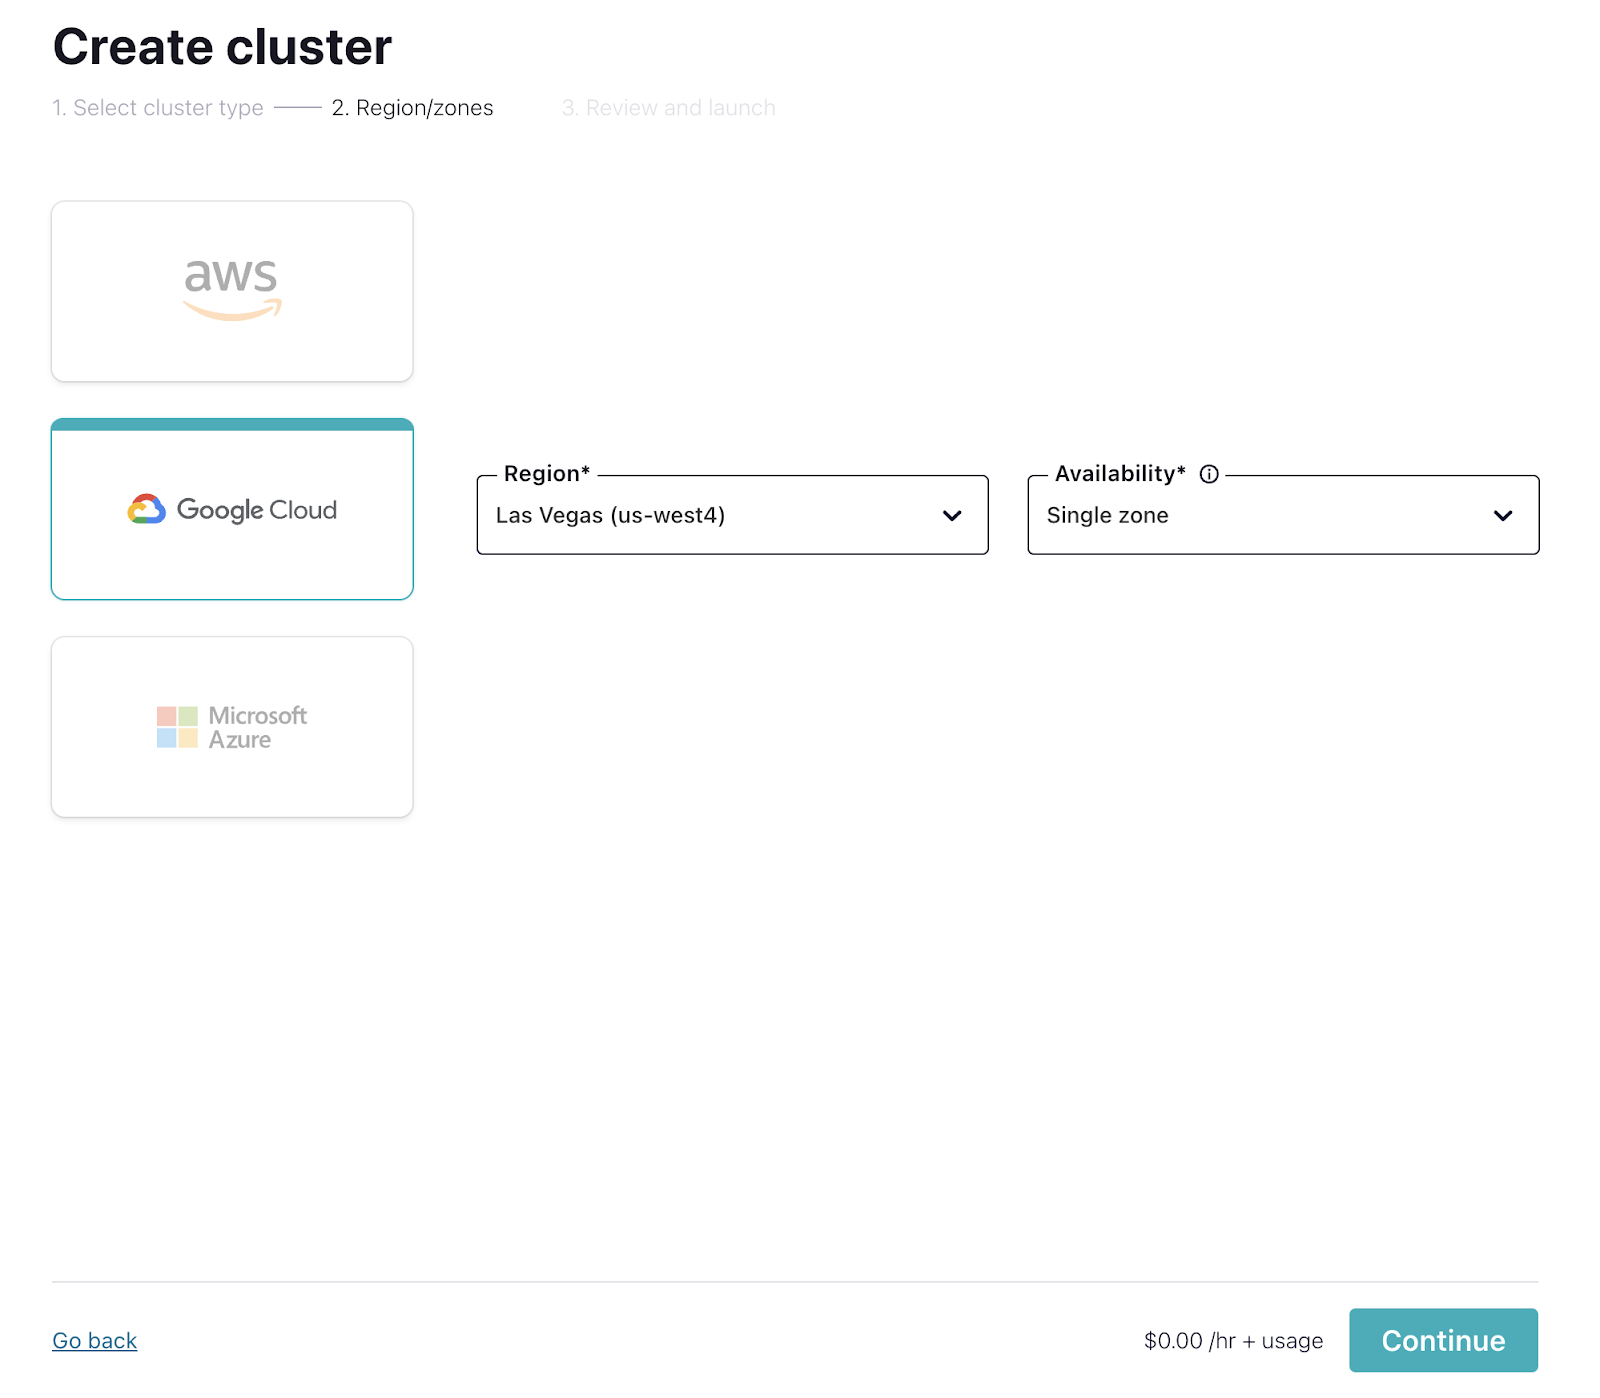
On the next page, choose your cloud provider, region, and availability (zone). Costs will vary with these choices, but they are clearly shown on the dropdown, so you'll know what you're getting.
-
Next, you will be asked to enter your credit card information. Feel free to choose the Skip Payment option at the bottom of the screen.

-
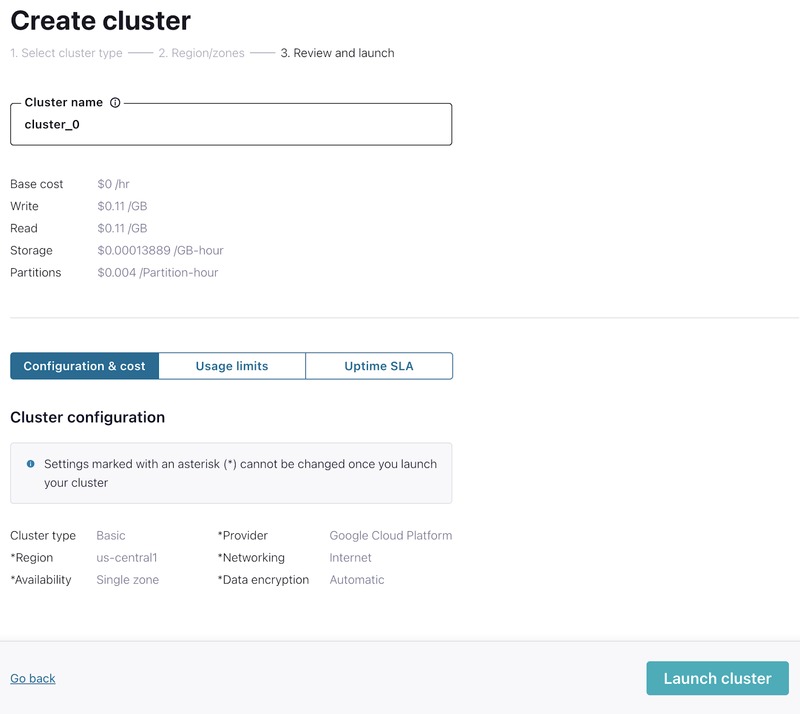
On the next screen, click Review to get one last look at the choices you've made. If everything checks out, give your cluster a name, and select Launch cluster.
-
While your cluster is being provisioned, set up the DOTNETKAFKA101 promo code (details) by navigating to Billing & payment from the settings menu in the upper right. On that screen, go to the Payment details & contacts tab to enter the promo code.


Command Line Reference
If you prefer, you can do this from the command line interface by running (Adjust the cluster name, cloud, and region settings as appropriate):
confluent kafka cluster create <Your Cluster Name> --cloud gcp --region us-central1 --type basicAdd an API Key
We will need an API Key to allow applications to access our cluster, so let's create one.
-
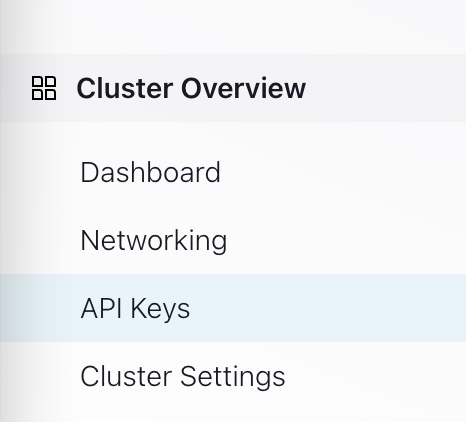
From the left-hand navigation in your cluster, navigate to Cluster Overview > API keys.
-
Create a key with Global access.
Note: For secure production environments, you would want to select Granular access and configure it more securely.
-
Download and save the key somewhere for future use.

Command Line Reference
If you prefer, you can do this from the command line interface by running (Adjust the cluster name and Id as appropriate):
confluent api-key create --resource <Your Cluster Id> --description <Your Cluster Name>-key -o json > <Your Cluster Name>-key.jsonAdd an API Key for the Schema Registry
We'll also need an API Key for accessing the Schema Registry.
-
From the main menu (top right) or the breadcrumb navigation (top) select Environments.
-
Select the apache-kafka-with-dotnet environment.
-
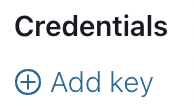
In the right-hand menu there should be an option to Add key. Select it and create a new API Key.
-
Download and save the key somewhere for future use.

Command Line Reference
If you prefer, you can do this from the command line interface by running (adjust the cloud, geo, resource and description as necessary):
confluent api-key create --resource <Your Schema Registry Id> --description <Description of this Key> -o jsonNote: Make sure you save the key and secret somewhere.
You can obtain your Schema Registry Id using (Look for the "Cluster ID"):
confluent schema-registry cluster describeFinish
This brings us to the end of this exercise.
Use the promo codes DOTNETKAFKA101 & CONFLUENTDEV1 to get $25 of free Confluent Cloud usage and skip credit card entry.
Be the first to get updates and new content
We will only share developer content and updates, including notifications when new content is added. We will never send you sales emails. 🙂 By subscribing, you understand we will process your personal information in accordance with our Privacy Statement.