Hands-On: Use Advanced Governance


Wade Waldron
Principal Software Practice Lead
Hands-On: Use Advanced Governance
Note: This exercise is part of a larger course. You are expected to have completed the previous exercises.
In this exercise, we will enable the Advanced Governance package and explore some of its features. You should already be familiar with the features from our previous lectures, but now you'll have an opportunity to put them to use.
Enable Advanced Governance
The first thing we need to do is to turn on the Advanced Governance features.
Note: Advanced governance includes an hourly cost that can vary depending on your deployment. This exercise is relatively short, and won't incur much cost. The amount of free usage that you received from the promo code will be more than enough to cover it, as long as you complete the exercise within the next 24 hours. However, if you don't want to continue to pay the cost, you will need to delete the environment for this course once you finish this exercise.
-
From the main menu (top right) or the breadcrumb navigation (top) select Environments.
-
Select the governing-streams environment.
-
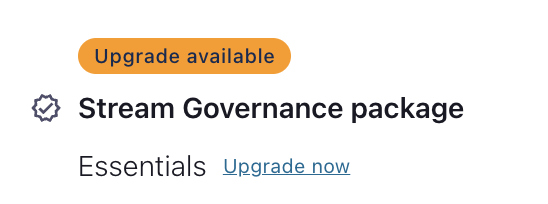
On the right-hand side of the screen you should see an option to upgrade your stream governance package. Choose Upgrade now, then select the Advanced package and upgrade to it.

Business Meta Data
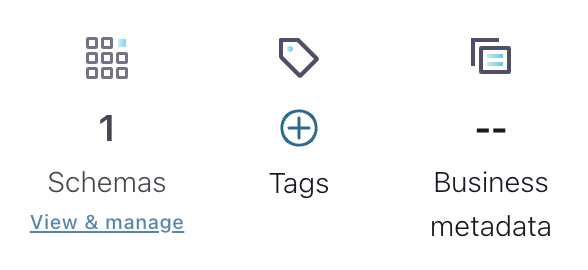
One of the features enabled by the Advanced Governance package is Business Metadata. This is data that we want available on the schema that is not necessarily part of the schema itself. For example, if someone looks up the schema we may want them to see business metadata indicating who is responsible for that schema. That way, if they have questions, or require modifications, they will know who to contact.
-
Similar to how we created tags, we can also create Business metadata.
-
Create a new metadata record with the following details:
- Name: Contact
- Description: Who to contact for information about this schema.
- Attribute 1: first_name
- Attribute 2: last_name
- Attribute 3: email_address
-
Using the Stream Catalog, navigate to the OrderCreated schema.
-
On the right-hand side, add business metadata.
-
Select Contact then add your details as the Contact information.
-
Add the appropriate Business metadata to your other schemas as well.

Search using GraphQL
Previously, we explored how to search the catalog using the REST API. However, with Advanced Governance, we can choose a GraphQL API instead.
Let's repeat the previous searches using the GraphQL API.
-
Search the Stream Catalog for the orderId field using the following curl command:
curl --silent -u <API-KEY>:<API-SECRET> \
--request POST \
-H 'content-type: application/json' \
--url '<SCHEMA-REGISTRY-URL>/catalog/graphql' \
--data '{	"query":"{ sr_field(where: { name: { _eq: \"orderId\" } }) { name qualifiedName } }" }'
This should return four results including the orderId from both versions of the OrderCreated event and from the PaymentSucceeded and PaymentFailed events.
-
Now let's try searching for the PII tag.
curl --silent -u <API-KEY>:<API-SECRET> \
--request POST \
-H 'content-type: application/json' \
--url '<SCHEMA-REGISTRY-URL>/catalog/graphql' \
--data '{	"query":"{ sr_field(tags: [\"PII\"]) { name qualifiedName } }" }'
This should return a single result which will be the email from the OrderCreated event.
-
Let's search for the PaymentService tag.
curl --silent -u <API-KEY>:<API-SECRET> \
--request POST \
-H 'content-type: application/json' \
--url '<SCHEMA-REGISTRY-URL>/catalog/graphql' \
--data '{ "query":"{ sr_schema(tags: [\"PaymentService\"]) { name qualifiedName } }" }'
If you were dilegent in tagging your schemas, this should return entries for both the PaymentSucceeded and PaymentFailed events.
For additional details on the GraphQL API, see the documentation: GraphQL.
Using the Search Feature
Another feature enabled by the Advanced Governance package is Lineage Search. This can be very useful if we have a large lineage with many moving pieces. Let's try it out.
-
Navigate to the Stream Lineage.
-
At the top of the lineage, you should see a Search box.

-
Select the search box and try searching for parts of the lineage (eg. PaymentService).
Note: The search will accept Client Ids, Topic Names, Application Ids, and more.
View the Point-in-Time Lineage
Another Stream Lineage feature that is introduced by the Advanced Governance package is Point-in-Time Lineage. By default, the lineage is built using the last 10 minutes of data. However, if you want to see how your lineage has evolved over time, you can rewind to see what it looked like in the past.
- To view your lineage at a different point in time, you can adjust the time filter.
-
Try adjusting the time frame.
For this lineage, you won't see a difference if you use the default "Last X" periods that are defined. Because the changes to our lineage are purely additive, the "Last X" period always includes our recent changes. However, if you select Customize date and time, you may be able to go back to a period when you hadn't yet implemented some of the changes. For example, you may be able to view the previous hour of data and see the lineage from previous exercises. Experiment with different values to see if you can find a difference.
This is highly dependent on how you progressed through the exercises. You will need to take your specific activities into account.
Finish
This brings us to the end of the hands-on exercises.
Remember: Your Advanced Governance package has a base cost whether or not you produce data. To avoid using all of your credit or charging your credit card, make sure you delete your governing-streams environment. You won't need it anymore in this course.
Use the promo codes GOVERNINGSTREAMS101 & CONFLUENTDEV1 to get $25 of free Confluent Cloud usage and skip credit card entry.
Be the first to get updates and new content
We will only share developer content and updates, including notifications when new content is added. We will never send you sales emails. 🙂 By subscribing, you understand we will process your personal information in accordance with our Privacy Statement.