Hands-On: Use the Stream Catalog


Wade Waldron
Principal Software Practice Lead
Hands-On: Use the Stream Catalog
Note: This exercise is part of a larger course. You are expected to have completed the previous exercises.
In this exercise, we will be cataloging the stream that we created in the previous exercise by adding tags and descriptions to it. We'll then create a new stream and catalog it as well. Finally, we'll look at some options for how to search the catalog.
Stage the Exercise
As with the last exercise, you will continue to work in the exercises folder. To start with, let's make sure we are in the right initial state for the exercise. Run the following command:
./exercise.sh stage 10Create Tags
In order to tag our data, we first need to define the tags that we will use.
-
Select the governing-streams Environment.
-
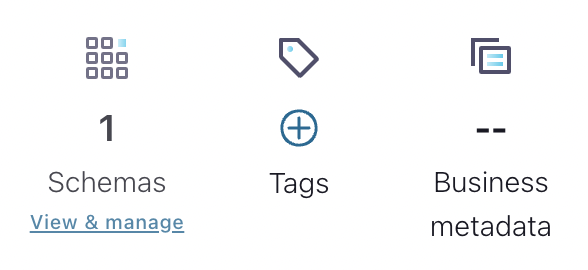
On the right-hand side, you will see a section that includes Schemas, Tags, and Business metadata (Business metadata is disabled). Click the + button above Tags.
-
On the next screen, select Get Started.
-
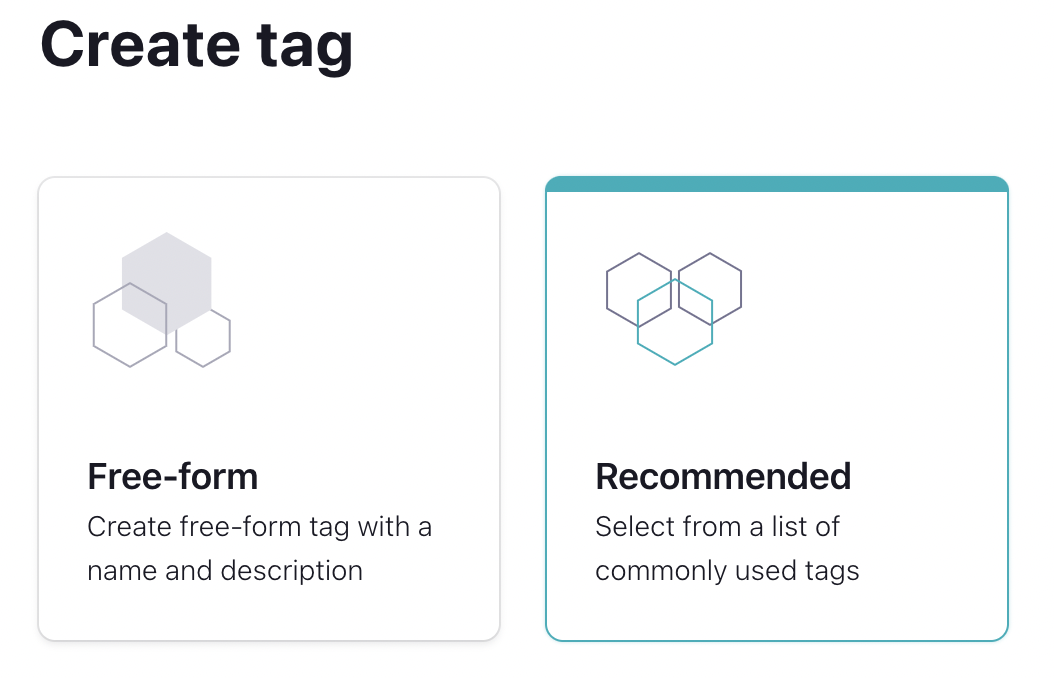
Next, you'll be given an option to create a Free-Form or a Recommended tag. Select Recommended.
-
You'll be given a list of tags to add. Select the PII tag then hit the Create button at the bottom of the screen.
-
Next, let's create one more tag. This one will be a Free-Form tag. Create it with the following settings:
- Tag Name: OrderService
- Description: Streams originating from the Order Service


Tag the Schema
Now that we've created a tag, we need to use it. This means we need to start tagging some of our data streams. The email field in our OrderCreated event represents Personally Identifiable Information or PII. Therefore, we want to add the PII tag to that field. We also want to tag the OrderCreated Schema to indicate that it originates from the Order Service.
Note: Here we can see a reason why using the email address as a unique identifier for the customer may be problematic. This identifier is likely to be used in many places in our system. Because the email address represents personal information, we have now spread that PII throughout our system making it much more difficult to manage. In retrospect, it might have been easier and safer to use something like a UUID which isn't considered PII.
We'll start by navigating to our Schema using the Stream Catalog.
-
At the top of your screen you should see a search box for the Stream Catalog. This is where we will begin our search.

-
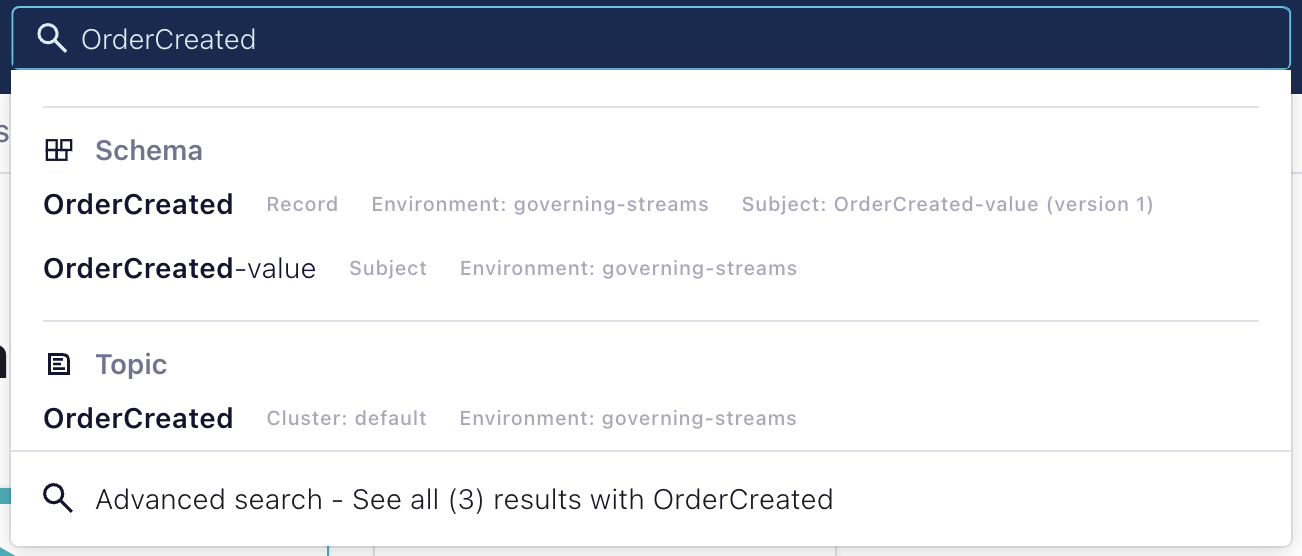
Search the Stream Catalog for OrderCreated. You should see multiple results.
-
We want to add our tags to the OrderCreated-value schema. Select it from the list.
-
Once inside the schema, we want to locate the field for email. You can do that by expanding the fields.

-
Once you have located the field, select the + button beside the field and add the PII tag.
-
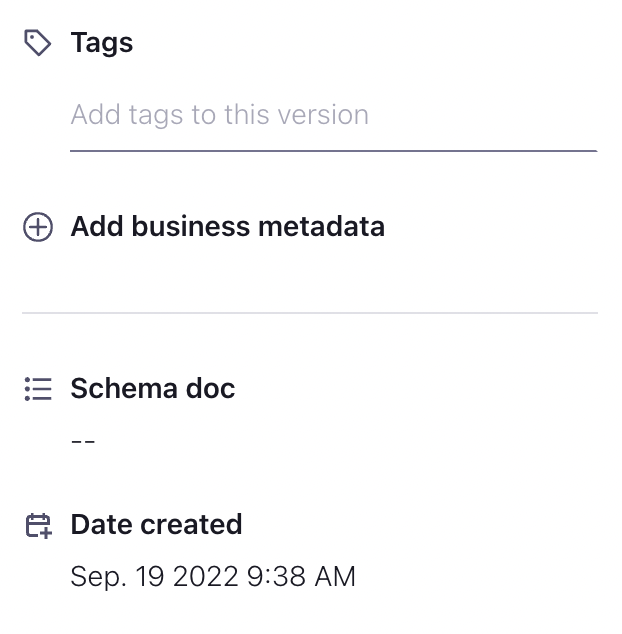
On the right hand side, you will see a place where you can tag individual versions of your record. Tag the current version using the OrderService tag.
-
[Optional] The data matching the old version of the schema was also produced by the OrderService. It might make sense to go back and tag that specific version as well. However, that version did not contain and Personal Information, so the PII tag is not necessary.
-
Try searching for the PII tag in the Stream Catalog.
Note: Currently searching by tag through the UI only supports tags applied to individual fields or tags applied to the schema record (Schema record tags can be applied using the + button at the top of the schema definition). However, tags applied to the schema itself (eg. the OrderService tag) are not currently searchable. You can only search the schema tags through the REST or GraphQL APIs.


Descriptions
In addition to tags, you can also add a text description to the schema. This can be useful to help users understand the purpose and structure of the data.
-
In the same place we added a tag select the Description field and add an appropriate description for the schema.
Eg. "This event is produced each time an order is created. It contains the full details of the order."
Create a New Topic
Now that we know how to create and apply tags and descriptions, let's enrich our data model a little more. We are going to add a new type of event to our system create the appropriate topics and schemas, and apply tags to them. This will be the PaymentSucceeded event.
In our application flow, an order will be created, then a payment is applied to that order. That payment can succeed or fail. However, for the moment we'll only deal with the successes.
-
Create a new topic named PaymentSucceeded.
-
Apply the following schema to the topic:
{ "type":"record", "name":"PaymentSucceeded", "doc":"An event that is produced each time a payment is successful.", "namespace":"io.confluent", "fields":[ { "name":"paymentId", "doc":"A unique identifier for this payment.", "type":"string" }, { "name":"orderId", "doc":"The unique identifier for the order that this payment is attached to.", "type":"string" }, { "name":"amount", "doc":"The amount of the payment (in US Dollars).", "type":"double" } ] } -
Create a new tag with the following details:
- Tag Name: PaymentService
- Description: Streams originating from the Payment Service
-
Apply the PaymentService tag to the PaymentSucceeded schema.
Question: Do we need to apply the PII tag to any of the fields? Do any of them contain Personally Identifiable Information?
-
Provide a description for the event.
Run the Application
Now that we've created a new topic, we need to run our application to populate that topic. We now have two services to run: the OrderService and the PaymentService. Much like the OrderService, the PaymentService is going to "simulate" data by generating random events and pushing them to the topic. However, unlike the OrderService, the PaymentService will be listening to or OrderCreated topic and only generating new events in response to the OrderCreated events. This means that some of the data (i.e. orderId) will actually originate from the previous event.
-
Download the new schema:
mvn schema-registry:download -
Compile the code with the new schema:
mvn clean compile package -
Run the OrderService
mvn exec:java -Dexec.mainClass="io.confluent.OrderService" -
In a new terminal, run the PaymentService
mvn exec:java -Dexec.mainClass="io.confluent.PaymentService"
Search using REST
The functionality to work with the Stream Catalog is also available through a REST API. Let's take a quick look at how it works.
Recall: The API Key and Secret, as well as the URL for the Schema Registry are all stored in your pom.xml and java.config files.
-
Search the Stream Catalog for the orderId field using the following curl command:
curl --silent -u <API-KEY>:<API-SECRET> \
--request GET \
--url '<SCHEMA-REGISTRY-URL>/catalog/v1/search/basic?query=orderId'
This should return three results including the orderId from both versions of the OrderCreated event and from the PaymentSucceeded event.
Note: The jq utility can be used to provide nicely formatted JSON from your results. Feel free to install this utility and pipe your output to it.
-
Now let's try searching for the PII tag.
curl --silent -u <API-KEY>:<API-SECRET> \
--request GET \
--url '<SCHEMA-REGISTRY-URL>/catalog/v1/search/basic?type=sr_field&tag=PII'
This should return a single result which will be the email from the OrderCreated event.
Note: Here, we are specifically requesting a search for the sr_field type. This means that we are only looking for tags applied to a field. We could omit this extra condition if we wanted to.
-
Let's search for the PaymentService tag.
curl --silent -u <API-KEY>:<API-SECRET> \
--request GET \
--url '<SCHEMA-REGISTRY-URL>/catalog/v1/search/basic?type=sr_schema&tag=PaymentService'
Note: Here, we are specifically requesting a search for the sr_schema type. This means that we are only looking for tags applied to the schema. Again, this extra condition could be omitted.
For additional details on the REST API, see the documentation: REST API
[Optional] Create a New Tag with the API
We've already created tags using the UI, but we can also create them through the REST API. For example, we might want to tag any data that is associated with a financial transaction so that we can easily locate all of the financial data. To that end, we are going to create a Financial tag. Then we'll use that to tag the Payment events.
-
Modify the following command to create a Financial tag. Give the tag an appropriate description. Finally, execute the command.
curl --silent -u <API-KEY>:<API-SECRET> \ --request POST \ --header 'Content-Type: application/json' \ --data '[ { "entityTypes" : [ "sr_schema", "sr_record", "sr_field", "sr_schema" ],"name" : "<TAG-NAME>","description" : "<TAG_DESCRIPTION>"} ]' \ --url <SCHEMA-REGISTRY-URL>/catalog/v1/types/tagdefs -
Next, we need to determine the fully qualified name (qualifiedName) for the schema we wish to tag. Modify the following command and execute it for the PaymentSucceeded event.
curl --silent -u <API-KEY>:<API-SECRET> \ --request GET \ --url '<SCHEMA-REGISTRY-URL>/catalog/v1/search/basic?type=sr_schema&query=<EVENT-NAME>' -
Next, we'll apply the tag to the schema. Modify the following command and execute it to tag the PaymentSucceeded schema.
curl --silent -u <API-KEY>:<API-SECRET> \ --request POST \ --header 'Content-Type: application/json' \ --data '[ { "entityType" : "sr_schema", "entityName" : "<FULLY-QUALIFIED-SCHEMA-NAME>", "typeName" : "<TAG-NAME>" } ]' \ --url <SCHEMA-REGISTRY-URL>/catalog/v1/entity/tags -
Finally, you can verify that the tag has been applied to the schema either through the UI, or by repeating step 2 above and looking for the classificationNames field in the results.
Finish
This brings us to the end of this exercise.
Use the promo codes GOVERNINGSTREAMS101 & CONFLUENTDEV1 to get $25 of free Confluent Cloud usage and skip credit card entry.
Be the first to get updates and new content
We will only share developer content and updates, including notifications when new content is added. We will never send you sales emails. 🙂 By subscribing, you understand we will process your personal information in accordance with our Privacy Statement.