Enhance your career, get your certificate as a Data Streaming Engineer | Get your Certificate
Hands On: Establish Client Connectivity to Confluent Cloud


Danica Fine
Senior Developer Advocate (Presenter)
In this exercise you will set up the environment needed to complete the course exercises. The first step is to clone the GitHub repository.
- Open a web browser and go to https://github.com/confluentinc/learn-kafka-courses.
- Locate the Code button on the right and click it.

- Navigate to the copy icon on the right side of the pop-up to copy the URL of the repo and click it.
- Open a terminal window on your computer.
- Run a git clone command with the URL to the repo you just copied to the clipboard.
- After the clone command completes, cd into the learn-kafka-courses/schema-registry directory.
You now have the code needed for the course exercises locally on your computer. Next, you need to set up a Kafka cluster on Confluent Cloud.
- In your web browser, open https://confluent.io/confluent-cloud and log in using the credentials you established in the Confluent Cloud sign-up exercise that preceded this exercise.
Note: If you did not complete the previous exercise, do so now before proceeding to the next step.
- Once you are logged into Confluent Cloud, navigate to the default environment and click + Create cluster on my own.
Note: If one or more clusters already exist in the environment, click + Add cluster.

- In the tile for the Basic cluster type, click the Begin configuration button.
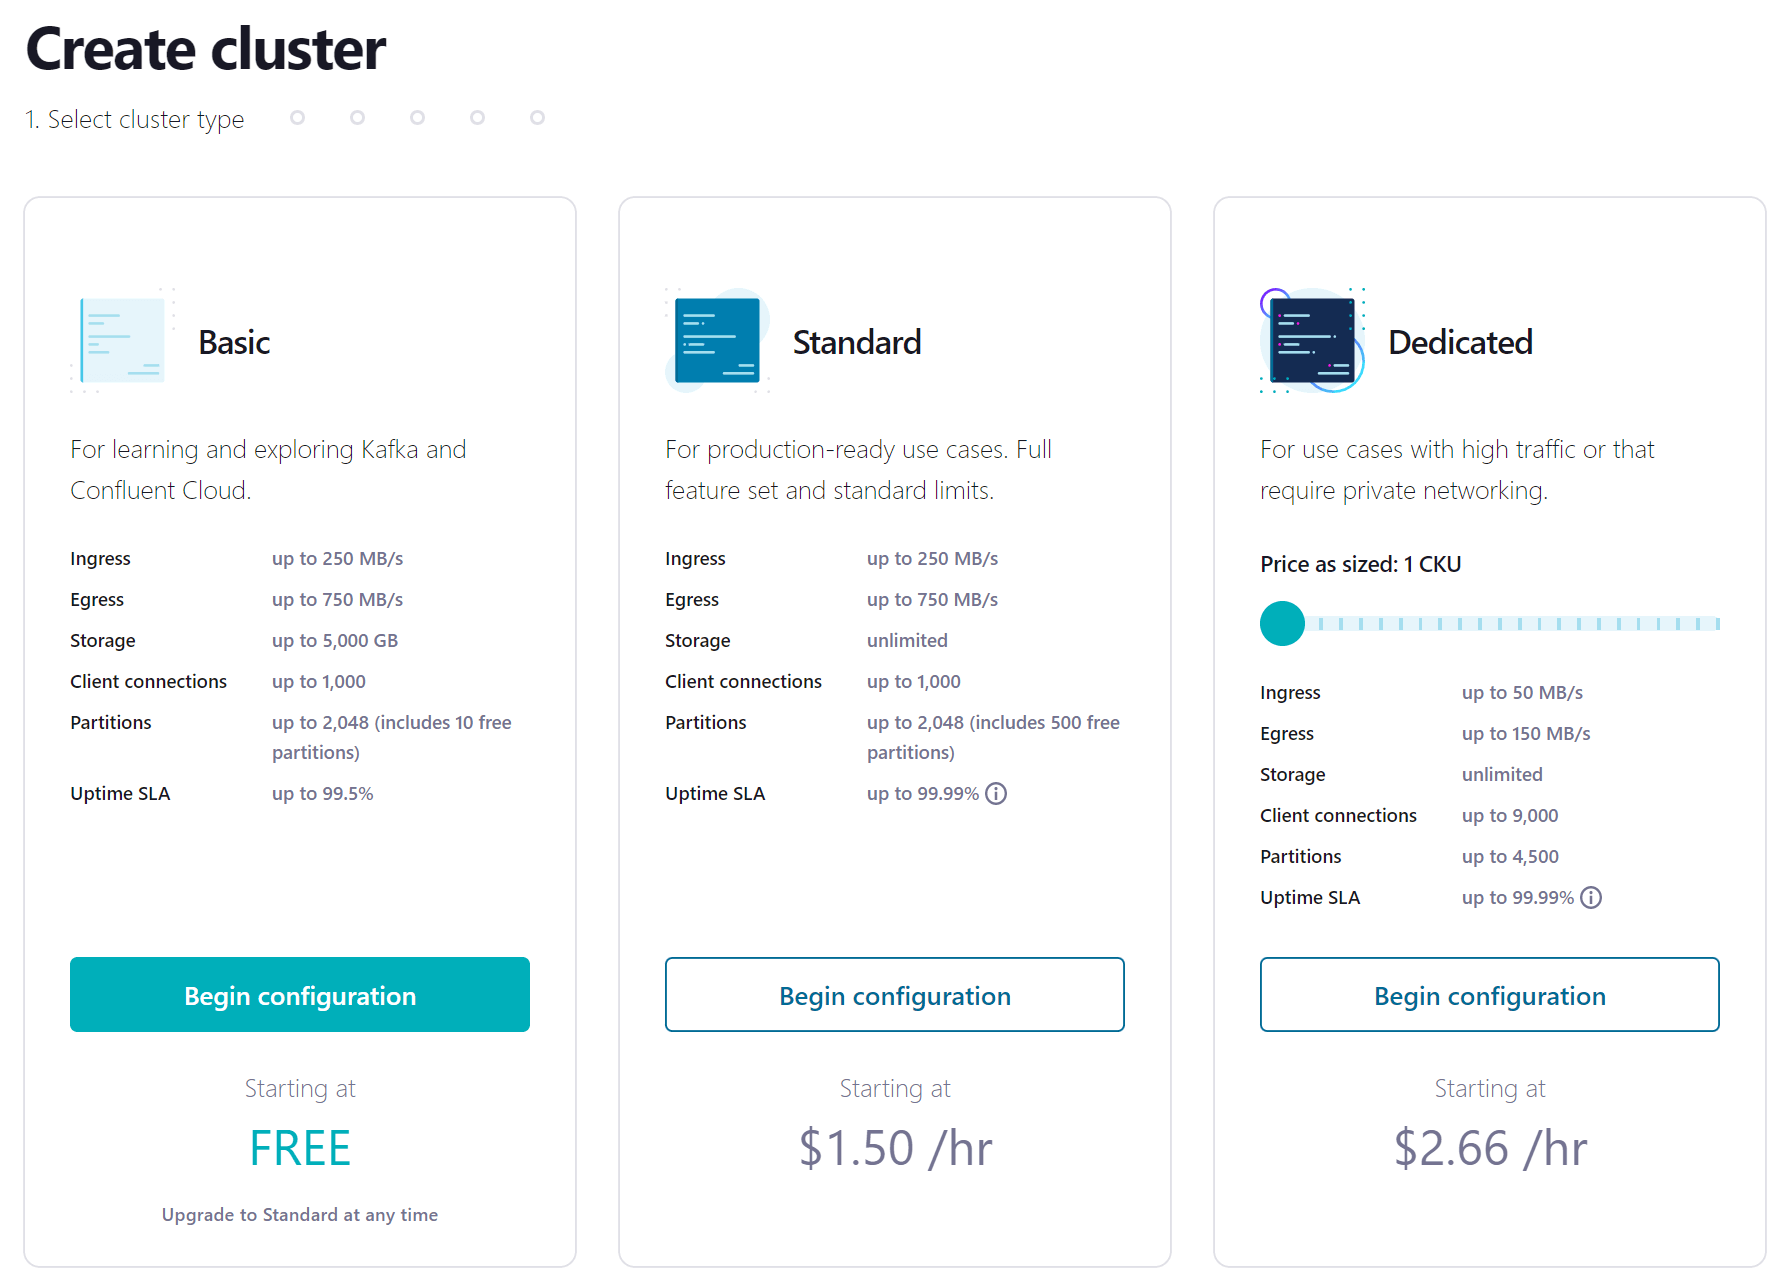
- Choose the cloud provider for your cluster and click on the Continue button.
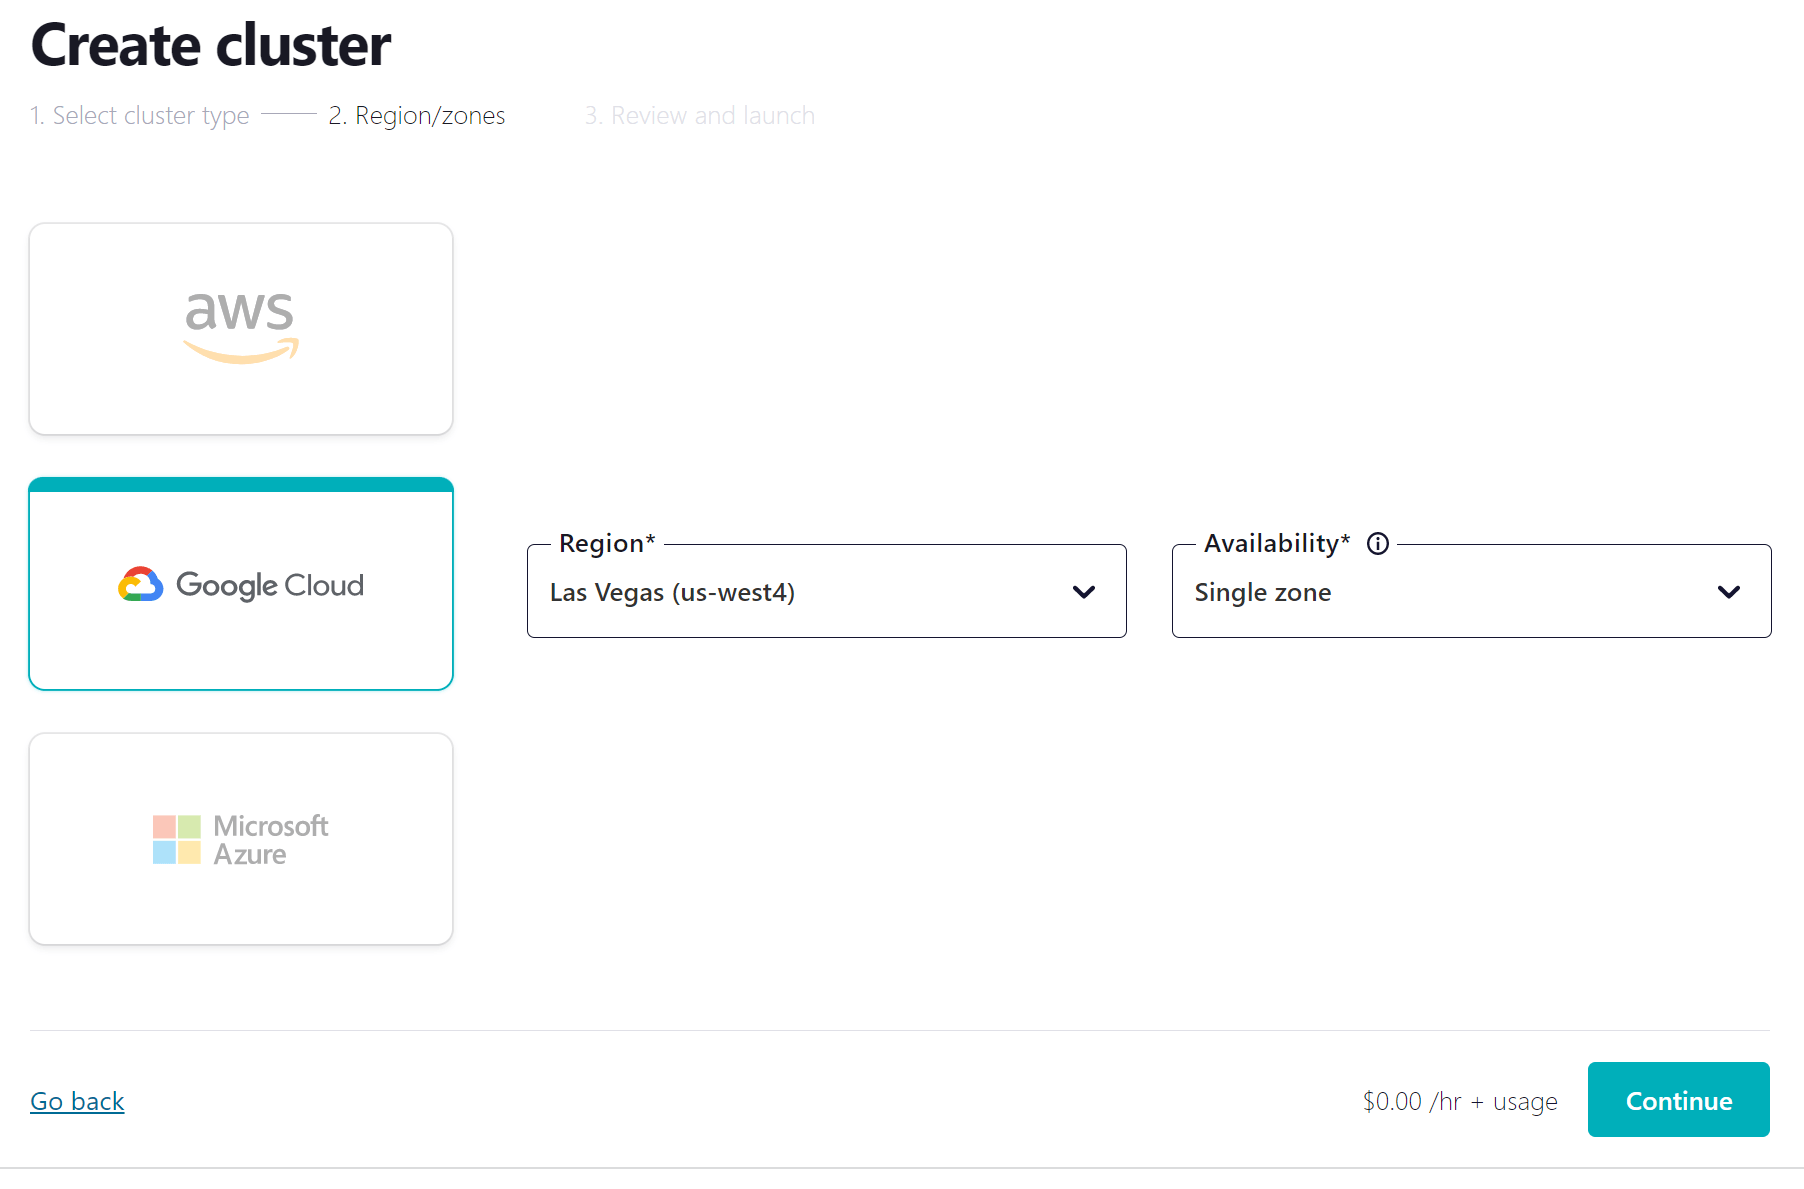
Now you will see your configuration and cost settings for your cluster.
- Set the name for your cluster to schema-registry-101.
- To start your cluster, click the Launch cluster button.
Next, you need to enable Schema Registry for your Confluent Cloud environment. To do so, enable the Streams Governance Essentials Package. Note that these steps may not be required if Schema Registry was previously enabled for the environment that you will be using to complete the course exercises. Schema Registry only needs to be enabled once for any Confluent Cloud environment.
- Hover your mouse over Schema Registry and click Streams Governance package.
- Click Begin configuration for the Essentials package.

You also need to enable ksqlDB for your Confluent Cloud cluster. Let’s do this now.
- On the left side of the UI, click ksqlDB.

- Click Create cluster myself.
- Select Global access since that is fine for our exercise environment and click Continue.
- Assign a cluster name of event-stream-ksqlDB.
- Accept all remaining defaults and click Launch cluster.
Proceed to the next step when the ksqlDB cluster provisioning has completed. Provisioning can take several minutes.
FREE ACCESS: Basic clusters used in the context of this exercise won't incur much cost, and the amount of free usage that you receive along with the promo code SCHEMA101 for $25 of free Confluent Cloud usage will be more than enough to cover it. You can also use the promo code CONFLUENTDEV1 to delay entering a credit card for 30 days.
Note: The ksqlDB cluster will slowly deplete your promotional credits so you want to complete the environment cleanup steps at the end of the last exercise to limit this impact.
Next, you will create the configuration properties needed to connect to your cluster.
- Click Clusters and then click the schema-registry-101 cluster.
- Click on the Java tile in the Set up client section.

- Create a cluster API key and secret by clicking Create Kafka cluster API key.
- Review the key and the secret in the pop-up and click Download and continue.
This will download the key and secret to the local machine Downloads directory.
- To create the Schema Registry API key and secret, repeat the process by clicking Create Schema Registry API key.
- Review the sample Java client configuration settings. The API keys and secrets should be populated in the properties in the middle of the page. If they are not visible, select the Show API keys option.
- Click the Copy button.
Now that you have the required Java client configuration settings, you are ready to update the related client properties file in the schema-registry project.
- Return to your terminal window and open the schema-registry project in the text editor or IDE of your choice.
- Navigate to the source/main/resources, make a copy of the confluent.properties.orig file, and name the new file confluent.properties.
Note: The GithHub project is configured to ignore this file—you should never commit API keys and secrets.
- Open the confluent.properties file and replace the current contents with the Java client configs you copied from Confluent Cloud.

You are now all set up to do the exercises in the course!
Use the promo code SCHEMA101 & CONFLUENTDEV1 to get $25 of free Confluent Cloud usage and skip credit card entry.
Hands On: Establish Client Connectivity to Confluent Cloud
Hi, I'm Danica Fine. Glad to see you came along for this first hands-on Schema Registry exercise. In it, you'll set up the environment that you'll need in order to complete the rest of the hands-on exercises in this course. You'll need to login to Confluent Cloud. So if you don't already have an account, before continuing, pause the video and go back to take a look at the signup steps contained at the end of the previous module. I'll be right here when you're ready. Now that you have your Confluent Cloud account, the first step you'll complete in this exercise is to clone the Learn Kafka Courses GitHub repository. It includes the Schema Registry sub-project that you'll use during this and following exercises in this course. Next you'll create a new Kafka cluster in Confluent Cloud that you'll use with the course exercises. After creating the schema-registry-101 cluster, you'll enable Schema Registry for your Confluent Cloud environment. And note that Schema Registry only needs to be enabled once for any Confluent Cloud environment. So this step may not be required if Schema Registry was already previously enabled for the environment you'll be using. Now that Schema Registry has been enabled for your environment, you can define the Java client configuration settings that will be used during the course exercises. And the last step of this exercise is to create the local Java client properties file within the Schema Registry project. When you're finished, join me in the next module.
Be the first to get updates and new content
We will only share developer content and updates, including notifications when new content is added. We will never send you sales emails. 🙂 By subscribing, you understand we will process your personal information in accordance with our Privacy Statement.