Enhance your career, get your certificate as a Data Streaming Engineer | Get your Certificate
How to create a Kafka consumer application in Java
How to create a Kafka consumer application in Java
Let's build a simple application that uses a KafkaConsumer to read records from Kafka.
Create a Consumer
There are required properties needed to create a Kafka Consumer. At a minimum, the Consumer needs to know:
- How to find the Kafka broker(s).
- How to deserialize the key and value of events.
- A group ID value for consumer group coordination.
  final String bootstrapServers = "localhost:9092";
  final String consumerGroupId = "my-group-id";
  final Properties consumerAppProps = new Properties() {{
        put(ConsumerConfig.BOOTSTRAP_SERVERS_CONFIG, bootstrapServers);
        put(ConsumerConfig.KEY_DESERIALIZER_CLASS_CONFIG, StringDeserializer.class);
        put(ConsumerConfig.VALUE_DESERIALIZER_CLASS_CONFIG, StringDeserializer.class);
        put(ConsumerConfig.GROUP_ID_CONFIG, consumerGroupId);
      }};
For more about Kafka Consumer Configurations, please refer to the documentation.
Consume Events
To consume a stream of events, the Consumer needs to subscribe to a topic (or multiple topics), and poll said topic(s) to retrieve ConsumerRecords. In our example, we use an implementation of a ConsumerRecordsHandler to process the ConsumerRecords from a poll interval.
  public void runConsume(final List<String> topicNames, final ConsumerRecordsHandler<String, String> recordsHandler) {
  try {
    consumer.subscribe(topicNames);
    while (keepConsuming) {
      final ConsumerRecords<String, String> consumerRecords = consumer.poll(Duration.ofSeconds(1));
      recordsHandler.process(consumerRecords);
    }
  } finally {
    consumer.close();
  }
}
We implement a ConsumerRecordsHandler as a lambda to process ConsumerRecords - which contains a collection of ConsumerRecord objects. Each ConsumerRecord object encapsulates metadata and data for the events consumed from Kafka. This includes the key, value, topic, partition, headers, offset, timestamp, and many others.
Our implementation writes the value of each ConsumerRecord to the console via System.out.println().
Using This Example
Explore the Unit Tests
There are JUnit test cases in this repo to exercise the Consumer functionality.
Clone the confluentinc/tutorials GitHub repository (if you haven't already) and navigate to the tutorials directory:
git clone git@github.com:confluentinc/tutorials.git
cd tutorials
To run the unit tests, use the provided Gradle Wrapper:
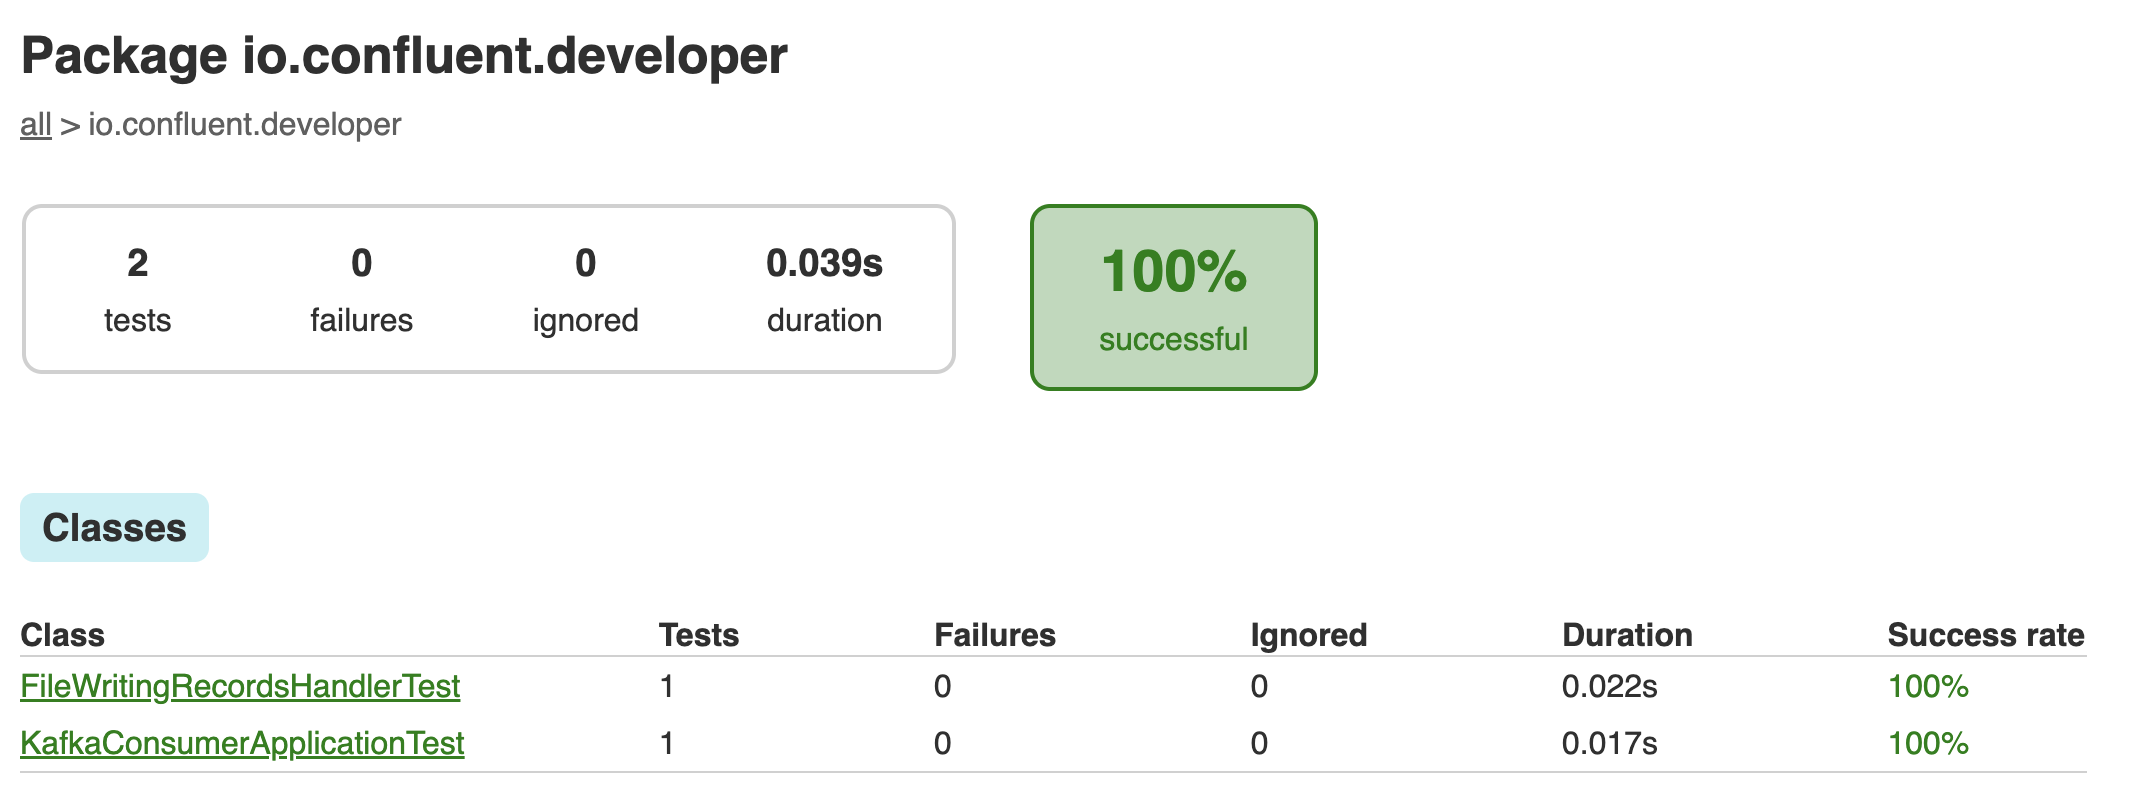
./gradlew clean :kafka-consumer-application:kafka:test --info The results of the tests can be found in the build/reports/index.html report:
Execute the Application
This sample application will consume records from a Kafka topic and writes each event to the console. You can run the example application in this tutorial using confluent local.
Prerequisites
- Confluent CLI
- Docker running via Docker Desktop or Docker Engine
Start Kafka
- Execute confluent local kafka start from a terminal window, and copy the host:port output.
The local commands are intended for a single-node development environment only, NOT for production usage. See more: https://docs.confluent.io/current/cli/index.html


Pulling from confluentinc/confluent-local
Digest: sha256:30763749f746295175d6c20b21495fd369b57ca3685175075763865fb6292f6f
Status: Image is up to date for confluentinc/confluent-local:latest
+-----------------+-------+
| Kafka REST Port | 8082  |
| Plaintext Ports | 50277 |
+-----------------+-------+
Started Confluent Local containers "9cec8b1127".
To continue your Confluent Local experience, run `confluent local kafka topic create <topic>` and `confluent local kafka topic produce <topic>`.
Build Application
- Use the Gradle Wrapper provided to build the application.
./gradlew :kafka-consumer-application:kafka:shadowJarExecute
- Our application expects 2 input parameters:
- The Kafka broker host:port - per the confluent local step.
- Consumer Group ID
java -jar kafka-consumer-application/kafka/build/libs/kafka-consumer-application-standalone-0.0.1.jar localhost:50277 consumer1Publish Events to Kafka
- Use confluent local kafka to publish events to the input-topic Kafka topic to be consumed by the application.
confluent local kafka topic produce input-topic- Input the string values you want written to Kafka.
the quick brown fox
jumped over
the lazy dog
Go to Kafka Summit
All streams lead
to Kafka
Check the Output
- Have a look at the console output. We should see the same strings from the input above.
the quick brown fox
jumped over
the lazy dog
Go to Kafka Summit
All streams lead
to Kafka
Cleanup
- Stop local Kafka broker using confluent local kafka stop.