Hands-on: Creating a secure connection to Confluent Cloud


Dan Weston
Senior Curriculum Developer
This first hands-on exercise is meant to show you how quick and easy it is to connect to Confluent Cloud and start producing and consuming messages. We'll go through how to sign up for your free account, create a cluster, and produce and consume some messages.
This can also be the Kafka cluster you use for the rest of this course to follow along with the other hands-on exercises.
Setting Up Your Confluent Cloud Account
To follow along with the exercises in this course, use the guide located here beneath each video.
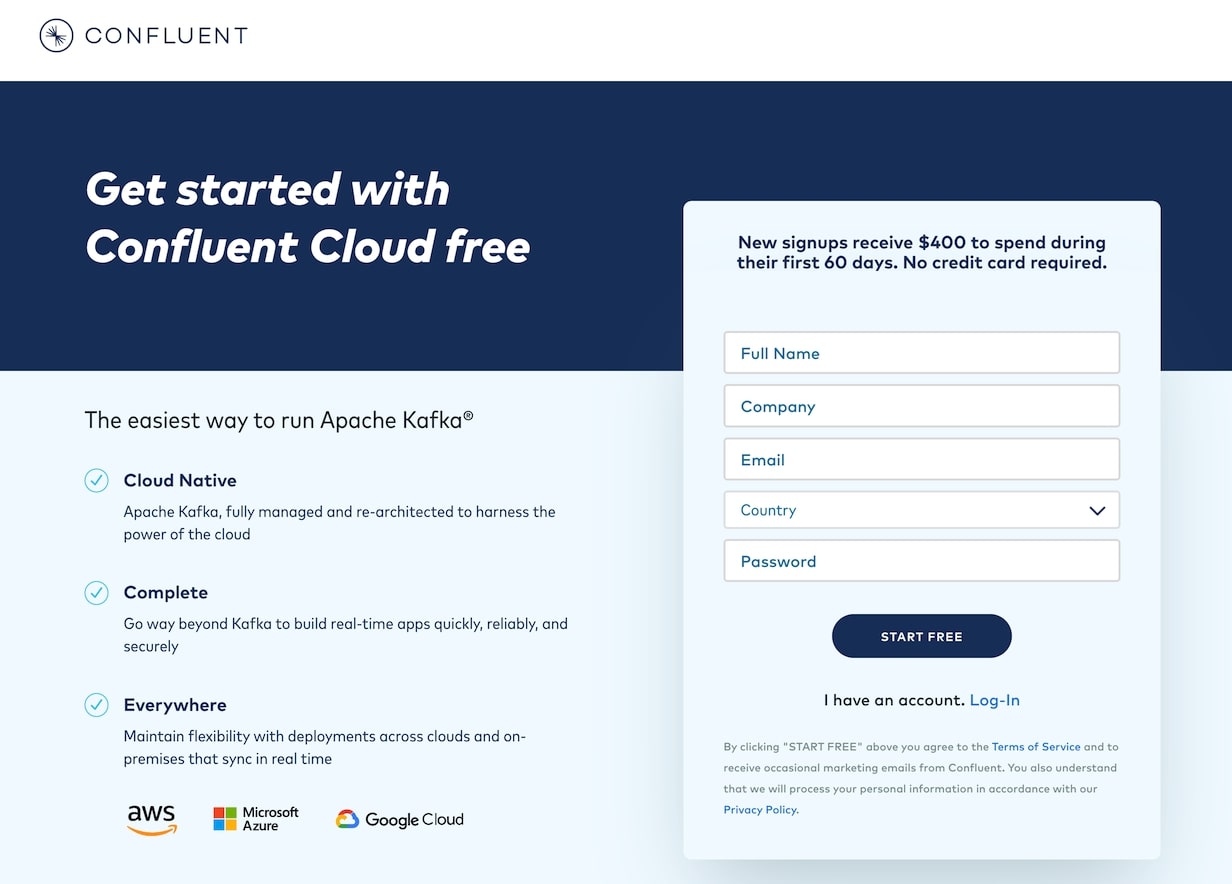
If you already have a Confluent Cloud account, feel free to use that. Otherwise, this guide walks you through creating a new account to use for this course. Simply head to Confluent Cloud and enter your name, company, email, and country, and then choose a secure password. If you already have an account, click the Log-in located below the form.
Be sure to remember these sign-in details as you'll need them later to access your account.
Click START FREE and wait for your confirmation email to arrive.
The link in the confirmation email will lead you to the next step where you'll be prompted to answer a few questions on how you plan on using Confluent Cloud. Select the best answer and click Continue.
You'll now be asked to set up your cluster.
You'll notice you have a few different options you can select from: Basic, Standard, or Dedicated cluster. Basic and Standard clusters are serverless offerings where your free Confluent Cloud usage is only exhausted based on what you use, which is perfect for what you need today.

For this exercise, we'll use the Basic cluster type. However, there are some other exercises later in this course that will need either the Standard or Dedicated clusters.
The free usage credit you get for signing up should be plenty for today and allow you to come back and play around later. However, if you're wondering how much it'll cost, you can see the prices listed below. Since what we need is pretty basic, let’s choose the Basic cluster and begin configuration.
Use this promo code SECURITY101 or scan the code below to get some additional credit in Confluent Cloud (details). You can also use the promo code CONFLUENTDEV1 to delay entering a credit card for 30 days.

One note before we get started: once we're done going through this first example, don't forget to come back and stop and delete any resources that you may have created to avoid exhausting your free usage. Then after the class, come back, play, mess around a little bit and have fun. The free credit plus the credit from this class should offer you quite a bit of time to test and get a feel for what Confluent Cloud has to offer.
In the next section, you need to choose a region and zone. We'll choose AWS and select the zone that is closest to us.

In this case, it's Oregon. We only need a single zone of availability, so we'll click Continue.
At this point, it will prompt you for a credit card or promo code. Feel free to skip both, or use this as a chance to add the promo code for this course.
Take one last look at the choices you've made and go ahead and give your cluster a name. Ours will be named SecurityCourse.

You can look at your configuration cost, usage limit, and uptime SLA, and once you are pleased click Launch Cluster.
It may take a minute for your cluster to be provisioned, but it's usually pretty quick, and that's it.
All right, now that our cluster is ready to go, you can go ahead and click on the cluster either at the top or over on the left-hand side. Let's go ahead and jump over and see what it takes to securely connect and produce and consume some messages.
Open your terminal app of choice to install and set up the Confluent CLI. Run the following command:
curl -sL --http1.1 https://cnfl.io/cli | sh -s -- latestThis will install the latest version of the Confluent Cloud CLI in your /usr/local/bin directory. You want to also configure your path variable to point to this directory, if it hasn’t already been configured. You need to run this command to do that:
export PATH=$(pwd)/bin:$PATHYou can verify that it is working by typing:
confluent versionThe version as of recording this course is 2.25.0.
Next, you want to log in to your Confluent Cloud account.
confluent login --saveEnter your username and password and you should be connected.
The optional --save flag saves your credentials to a local file so you can more easily access your cluster going forward.
Next, you need to decide the environment that you want to use. If you just created a new account, you will most likely only have one. To see what options you have, enter:
confluent environment list
Since ours is a newly created cluster, there is only one that happens to also be the default.
If you have more than one, you want to select the default. You can do so by typing:
confluent environment use (then type in the environment you’d like to be the default.)

We’ll do the same for the cluster that we want to use.
confluent kafka cluster list
Since this is a newly created account, there is only one cluster, but you might see more than one with an existing account.
Set the default by typing:
confluent kafka cluster use (then type in the cluster you’d like to use.)

You need to have an API key to produce and consume your topic. If you have one already make sure you have it handy, if you don’t we’ll show you how to create one.
First, to use a key that’s already been created run the following command:
confluent api-key store --resource (Id of your cluster)
Then enter your key and your secret.
If you need to create a new API key, type in:
confluent api-key create --resource (ID of your cluster)

Make sure you save your API key and secret in a secure location, because anyone that gets a hold of it will be able to produce and consumer to your cluster.
Now you need to tell the system to use your new API key.
confluent api-key use <API key> --resource (Id of the cluster)

Now you can create your first topic:
confluent kafka topic create secure-demo
You can verify that it was created by typing in:
confluent kafka topic list

Now let’s produce and consume our first messages to our new topic. Let's open up another tab in the terminal and set it to start our console consumer.
confluent kafka topic consume -b secure-demo

Then let's go back to the original terminal tab and start producing messages.
confluent kafka topic produce secure-demo
Now we can enter some messages in our newly created topic.

We can also see the messages we've consumed in the other tab.

Press Ctrl-D or Ctrl-C to stop the producer and consumer.
That’s it! We can now produce and consume from the CLI securely. But let’s say we wanted to take it one step further and create the configuration we need to use to connect either a producing or consuming application. First, you need to know what language you are going to use, and once you know that it’s as simple as running the following command. We’ll create a configuration for a Java client.
confluent kafka client-config create java --api-key=<api key> --api-secret=<secret>
That’s it! You’ve successfully and securely produced, consumed, and created a configuration file that you can use in your first app.
Use the promo code SECURITY101 & CONFLUENTDEV1 to get $25 of free Confluent Cloud usage and skip credit card entry.
Hands-on: Creating a secure connection to Confluent Cloud
This first hands on is meant to show you how quick and easy it is to connect a Confluent cloud and start producing and consuming messages. We'll go through signing up for your free account, creating a cluster and producing and consuming some messages. This can also be the Kafka cluster you use for the rest of this course to follow along with the other hands on exercises.
Be the first to get updates and new content
We will only share developer content and updates, including notifications when new content is added. We will never send you sales emails. 🙂 By subscribing, you understand we will process your personal information in accordance with our Privacy Statement.