Hands On: Kafka Connect

Danica Fine
Senior Developer Advocate (Presenter)
Hands On: Kafka Connect
In this exercise, we’ll gain experience with Kafka Connect and create a source connector in Confluent Cloud, which will produce data to Apache Kafka. Then, we’ll consume this data from the command line.
-
From the Confluent Cloud Console, navigate to Data integration and then Connectors.
-
In the “Connectors” search bar, enter “Datagen” to narrow down the available connectors. Select Datagen Source.

-
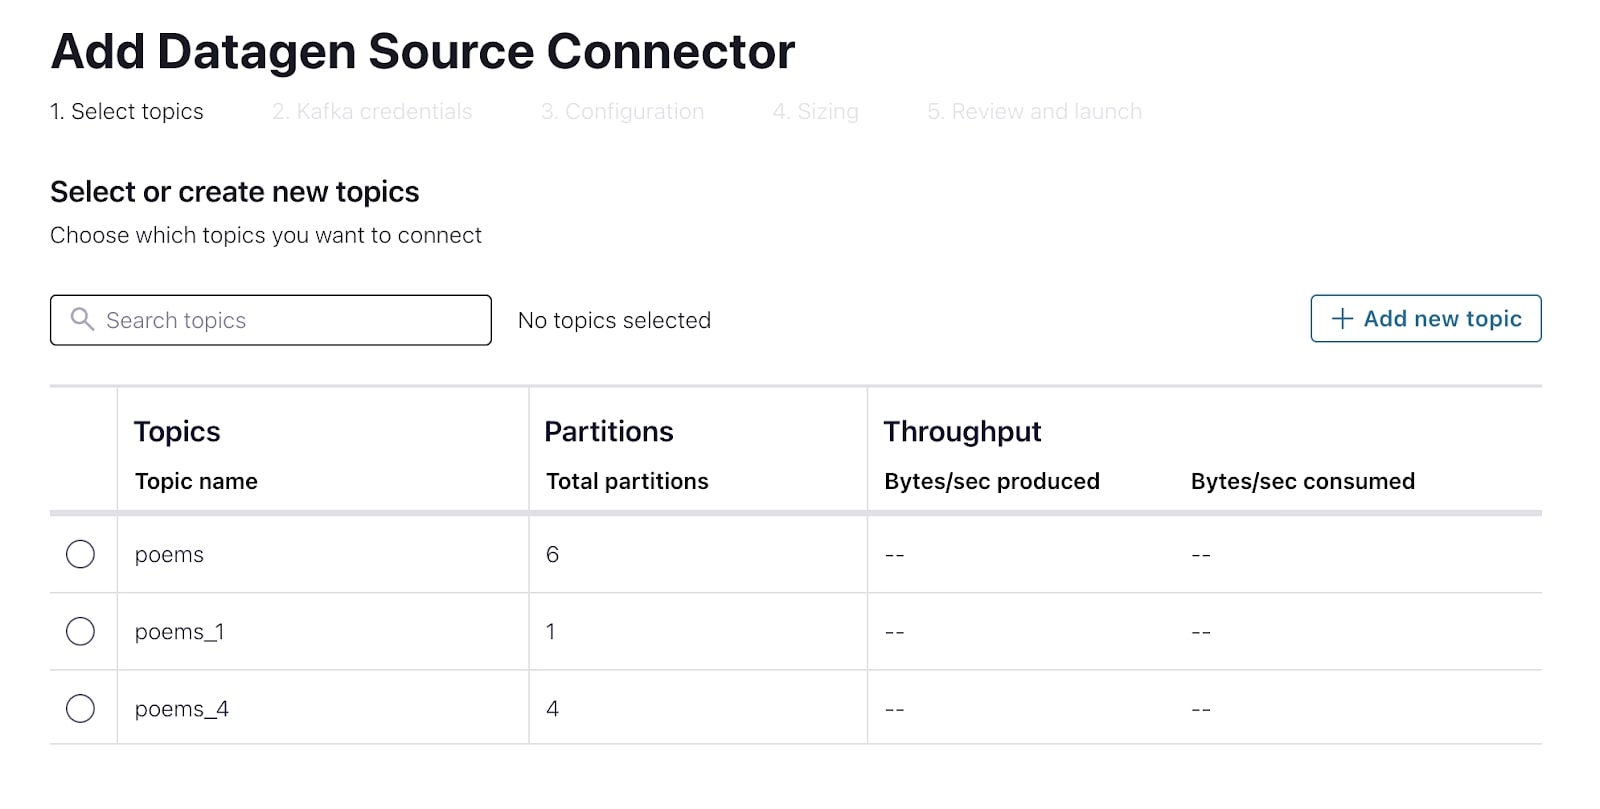
Provide a topic for the connector to produce data into. You can do this directly as part of the connector creation process. Select Add a new topic. Call it inventory, and select Create with defaults.

-
Select the new inventory topic and Continue.
-
Create a new API key for the connector to use for communicating with the Kafka cluster. Select Global Access and Generate API key & Download, then Continue.
-
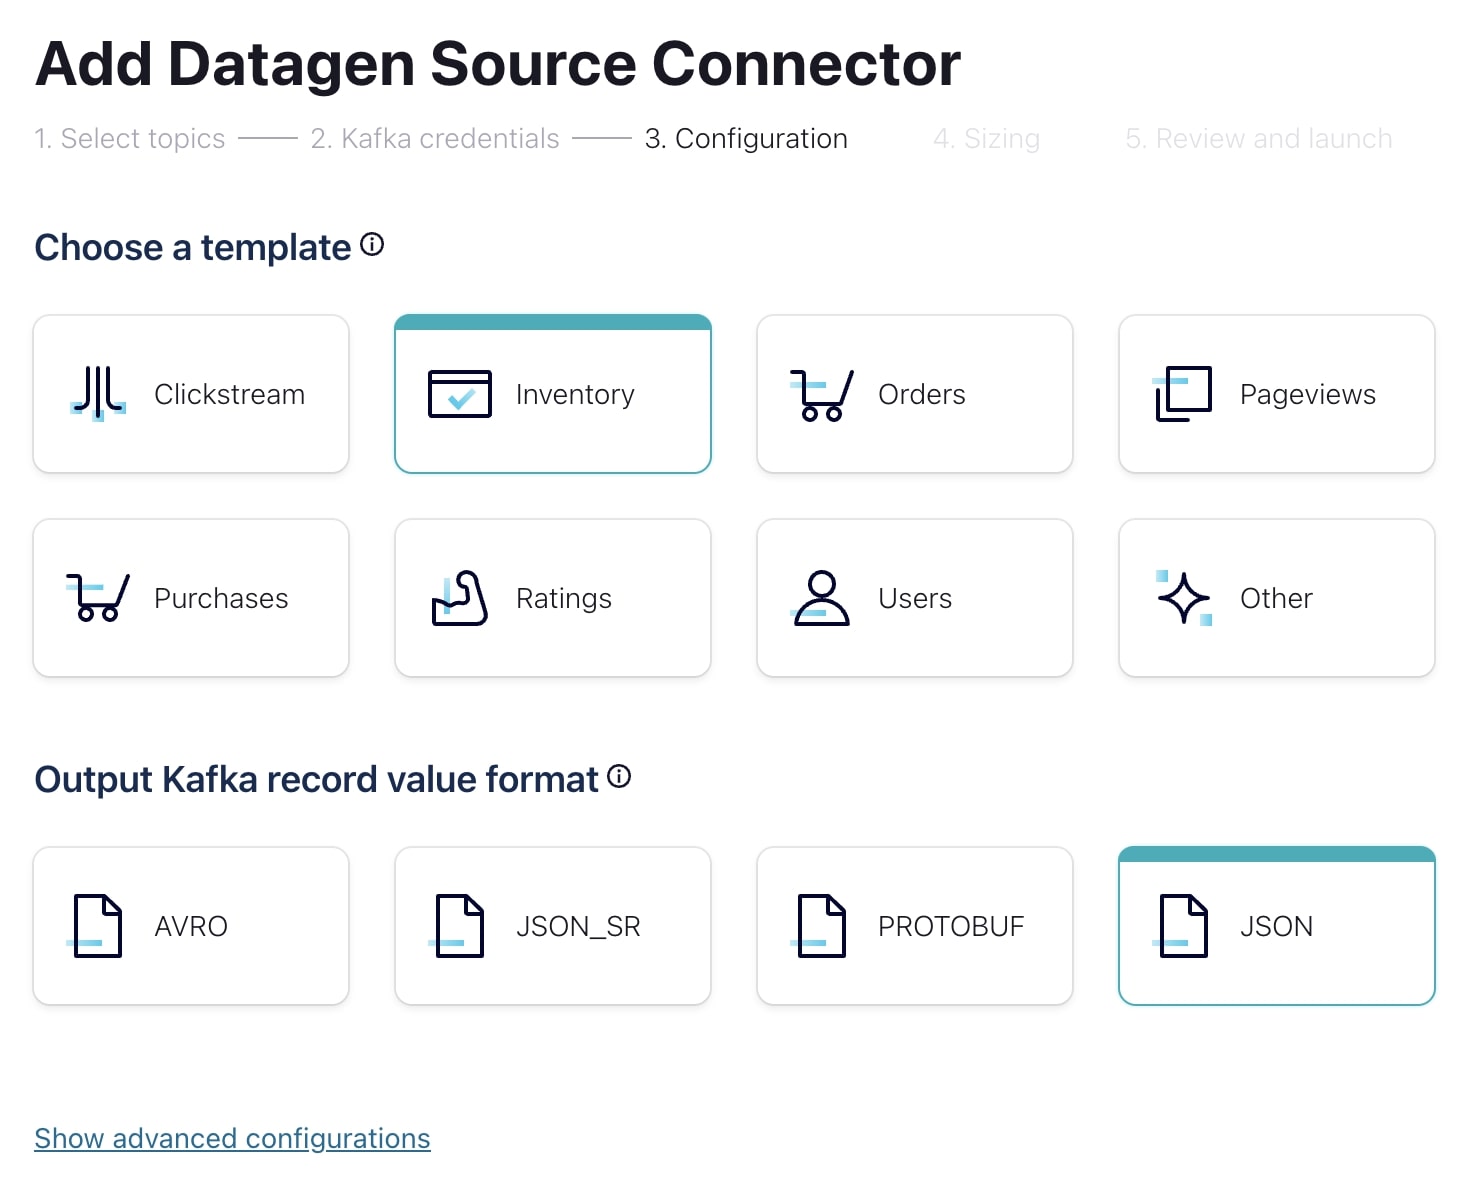
The Datagen source connector can auto-generate a number of predefined datasets. Select the “Inventory” template and serialize the messages as JSON.

-
Select Continue twice to first review the cost of the connector and then to give the connector a name and confirm the configuration choices.
-
Click Launch to start the connector. It may take a few minutes to provision the connector.
- Once the connector is running, from a terminal window, consume messages from the inventory topic.
confluent kafka topic consume --from-beginning inventoryIn this exercise, we learned how to quickly get started with Kafka Connect and created a simple data-generating source connector. This is just the tip of the iceberg for Kafka Connect, so I encourage you to check out the Kafka Connect 101 course to really get a feel for what Connect has to offer-
Use the promo codes KAFKA101 & CONFLUENTDEV1 to get $25 of free Confluent Cloud storage and skip credit card entry.
Hands On: Kafka Connect
In this exercise, we'll create a source connector for Kafka Connect in Confluent Cloud, which will then produce data to a Kafka topic. Once that's started, we'll consume this data from the command line. Let's dive in. Usually, you'll have an external data source that Kafka Connect will pull data from to produce that data to a Kafka topic. We don't have a data source to use at the moment, so the Datagen Connector will help us by generating sample data according to a predefined schema. The first thing we have to do is provide a topic for the Datagen Connector to produce data into. You can either create a topic ahead of time and select it from the list here or create a new topic right from the screen. Let's create a new topic called Inventory and set it up with all of the default configurations. In order for the Connector to communicate with our cluster, we need to provide an API key for it. You can use an existing API key and secret or auto-create one here as we are doing. Now, we can specify the data model of the sample data to generate. Let's pick Inventory from the available templates. We'll opt to serialize these messages in JSON. Let's confirm the Connector configuration and launch it. It can take a few minutes to provision the Connector, but as soon as the Connector is up and running, we can start to consume these newly produced messages. Head back over to your terminal and run the consume command on the Inventory topic to view your generated data. Throughout this exercise, we learned how to quickly get started with Kafka Connect and created a simple Data Generating Source Connector. But this is really just the tip of the iceberg for Kafka Connect. So I do encourage you to check out other resources on the topic to really get a feel for what else it has to offer.
Be the first to get updates and new content
We will only share developer content and updates, including notifications when new content is added. We will never send you sales emails. 🙂 By subscribing, you understand we will process your personal information in accordance with our Privacy Statement.


