Enhance your career, get your certificate as a Data Streaming Engineer | Get your Certificate
Configuring Cluster Linking (Exercise)


Dan Weston
Senior Curriculum Developer
Configuring Cluster Linking - Exercise
Cluster Linking enables you to directly connect clusters and mirror topics from one cluster to another. Cluster Linking makes it easy to build multi-datacenter, multi-region, and hybrid cloud deployments. It is secure, performant, tolerant of network latency, and built into Confluent Server and Confluent Cloud.
In this hands-on exercise, we'll configure Cluster Linking between two cloud clusters located in different regions and on different cloud providers, Amazon AWS and Google Cloud.
Since we'll be using Confluent Cloud to perform this hands-on, make sure that you've gone through the first hands-on in the course, or that you have an account that allows you to set up and manage environments. For our source cluster, you can use any cluster type, Basic, Standard, or Dedicated. However, for the destination cluster, you will need to have a Dedicated instance.
Set up Confluent Cloud
The first step is making sure that you have an Environment set up on Confluent Cloud that you can use for this hands-on. You'll want to create one using the Essentials Stream Governance Package on AWS near where you are located. I'll name mine ClusterLinking.
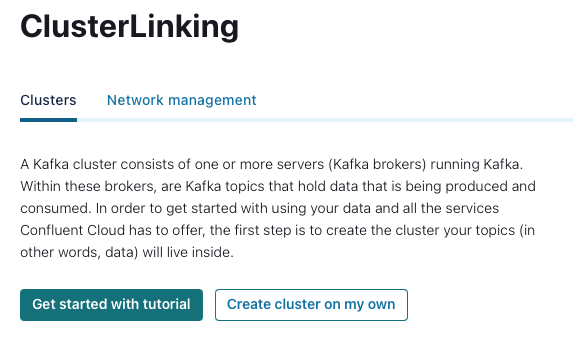
Next, to create a cluster click Create cluster on my own
Select Begin configuration for a Basic cluster.
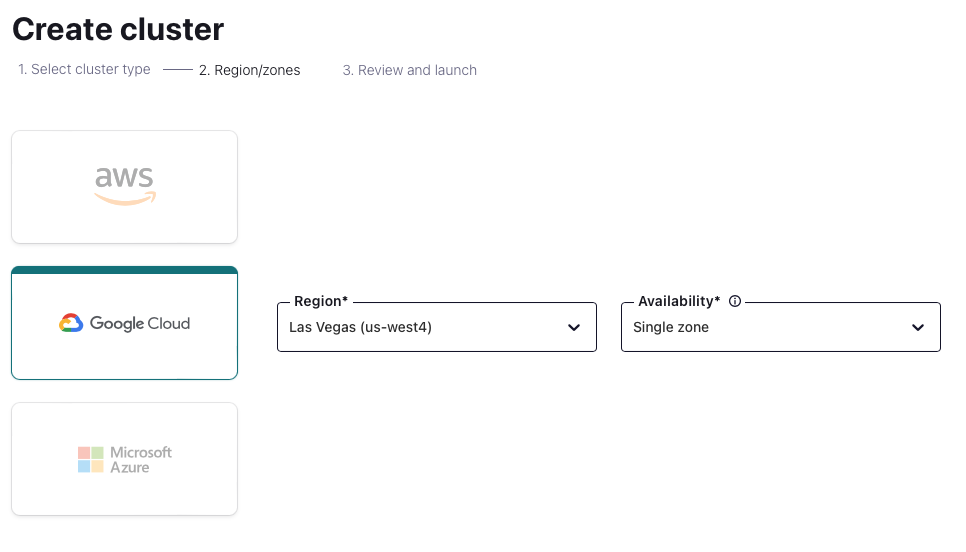
Select where you want your cluster to be located. I'm going to select Google Cloud, Las Vegas, with a single zone of availability.
Since this will be my source cluster, I'll use a name that makes following this hands-on easy. Orders_USWest_Source. You will most likely already have a naming convention you'd like to follow or clusters that have already been named.
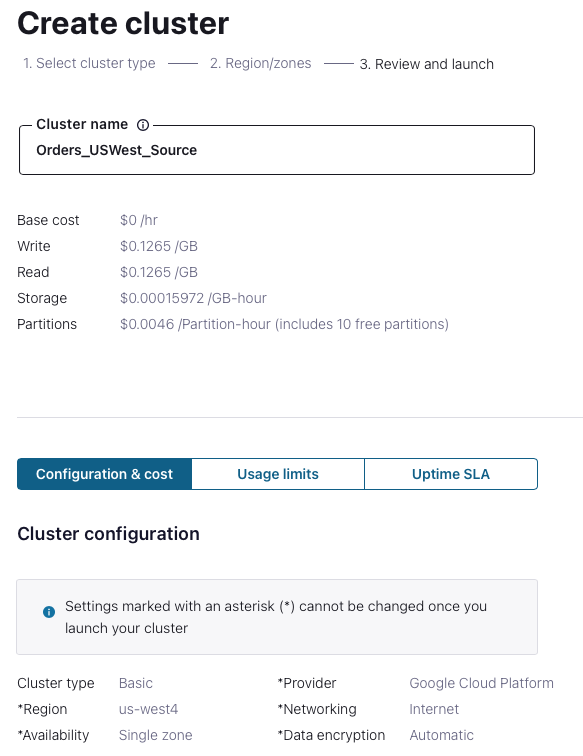
Click Launch cluster
Since we will need another cluster to set up Cluster Linking, navigate back out into your environment and add a new cluster.
As mentioned above, this one needs to be a Dedicated cluster.
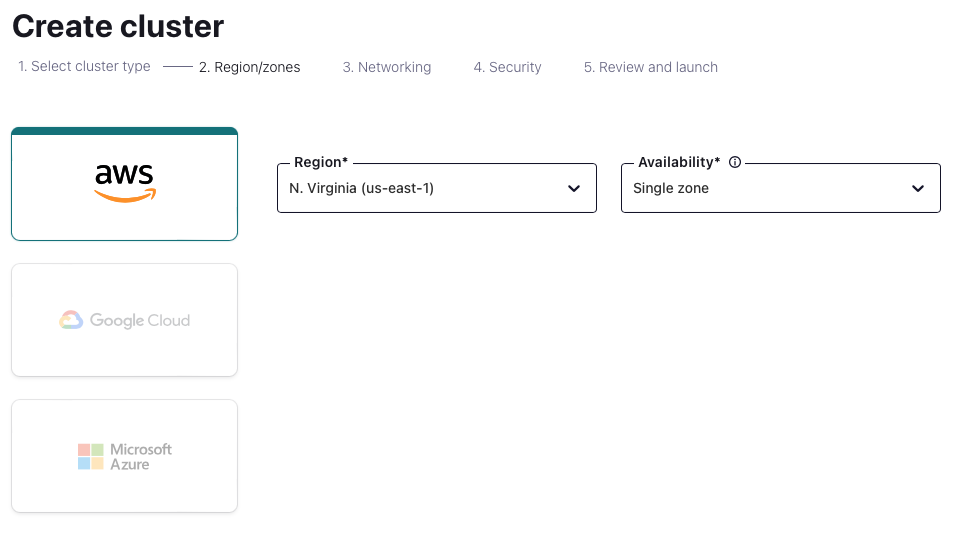
This time I'll select AWS, North Virginia, with a single zone for my availability.
Select Internet and then Continue.
Select Automatic and then Continue.
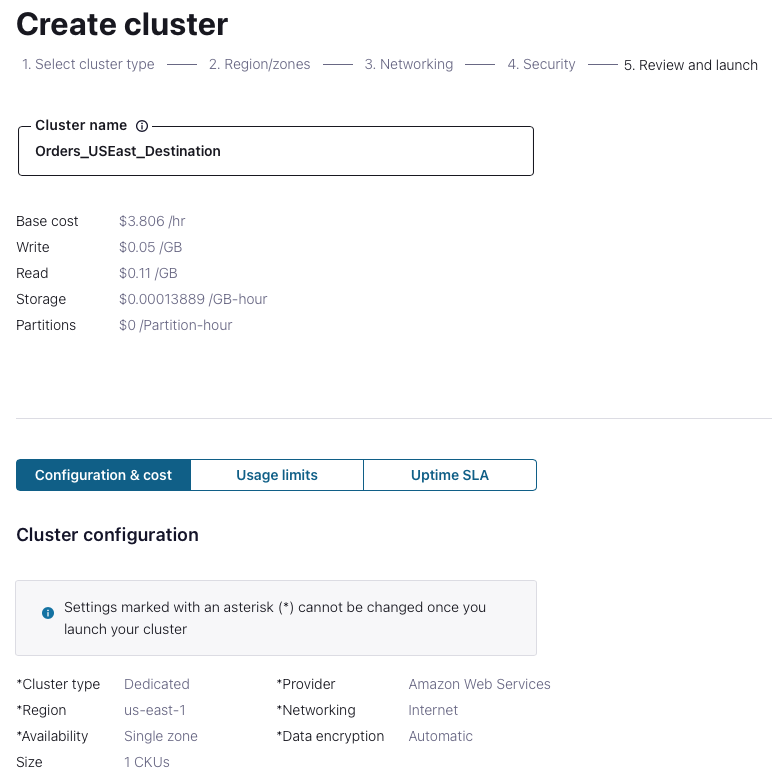
Name your new cluster. Similar to our source, I'll name this one Orders_USEast_Destination. Again, you'll want to name it something that fits in with your setup and naming convention.
Review the summary and click Launch cluster.
While we wait for the dedicated cluster to be created, let's get the data flowing into our source cluster.
Click on the Orders_USWest_Source cluster and navigate into Connectors on the left of the screen.
Select the Datagen Source connector if it appears. If you don't see it in the list, type Datagen in the search box at the top of the screen.
Click Add new topic.
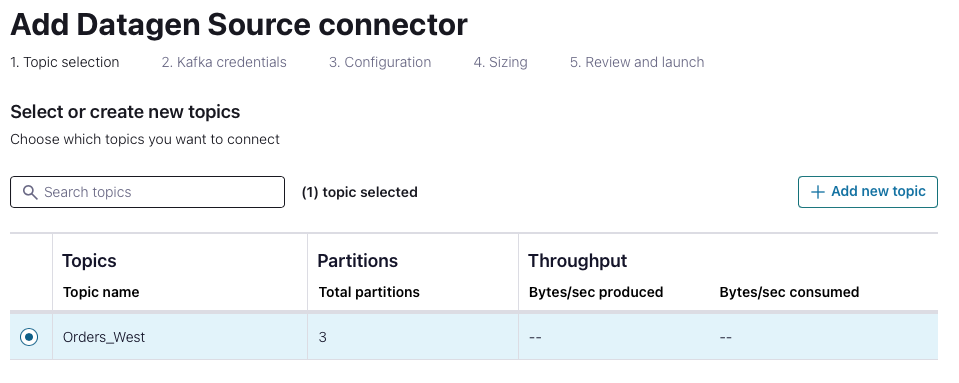
Pick a name and set up the number of partitions you'd like. In this case, I'll name the topic Orders_West with 3 partitions.

Click Create with defaults
Select the topic we just created and click Continue.
Select Global access and click Generate API key & download.
Give the API key a description and click Continue.
Select Avro and the Orders dataset and click Continue.
Leave the Connector sizing at 1 and click Continue.
Name the Datagen connector, or accept the default name and click Continue.
Once the Datagen connector has been provisioned you can go into your Topics, Orders_West topic, and click on Messages to see the data flowing in.
We now have two clusters, one basic that will serve as our source cluster that has our topic and data flowing in, and one dedicated that will be our destination cluster.
We'll now set up our cluster link from the source to the destination cluster.
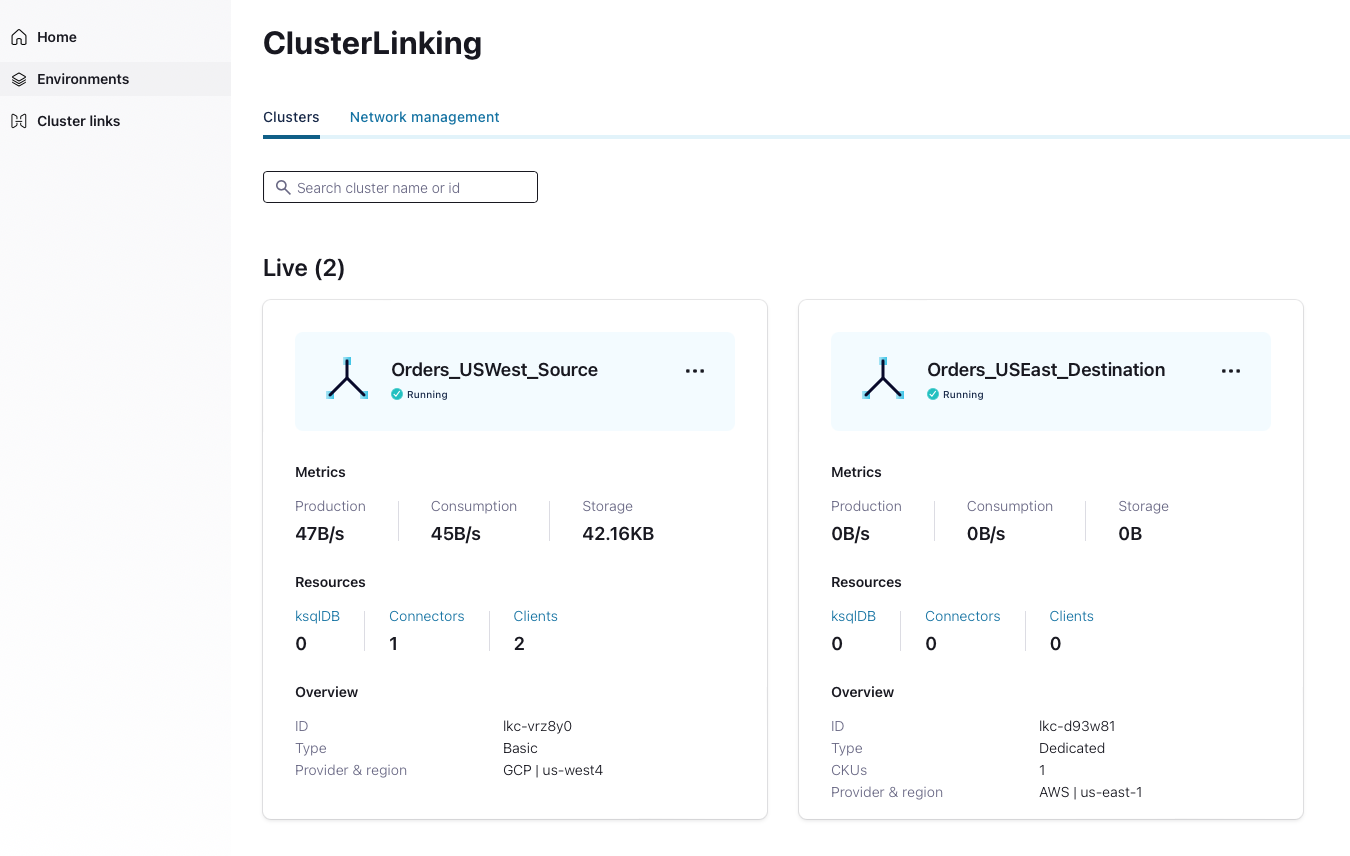
Make sure your dedicated cluster is provisioned before starting the next step. Go to your ClusterLinking Environment. It should look similar to the image below. You should be able to see that your source cluster has data flowing through it, but the destination cluster does not as we haven't configured anything yet.
Let's create the cluster link by clicking on the Cluster Link menu on the left of the screen.
Click Create cluster link
This screen allows you to configure three types of links, in your organization, in another organization, or from either Confluent Platform or Apache Kafka. We will select Confluent Cloud, our ClusterLinking Environment, and the source, Orders_USWest_Source. We will also provide this cluster link with read-all access. You could also configure specific access by selecting Granular access.
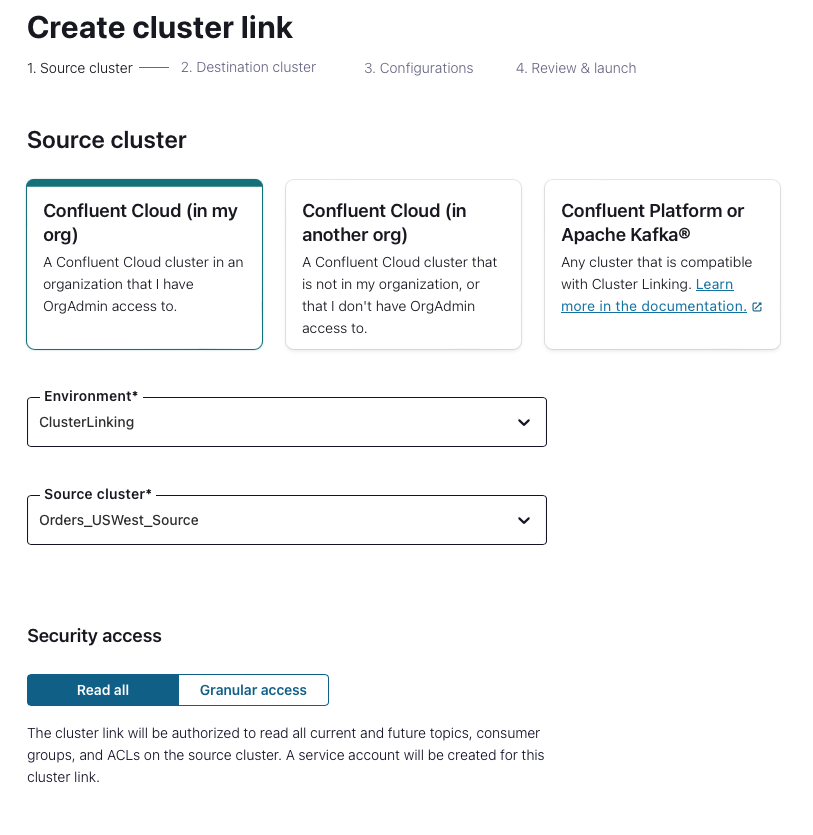
Click Continue.
Now we will select our destination environment and cluster.
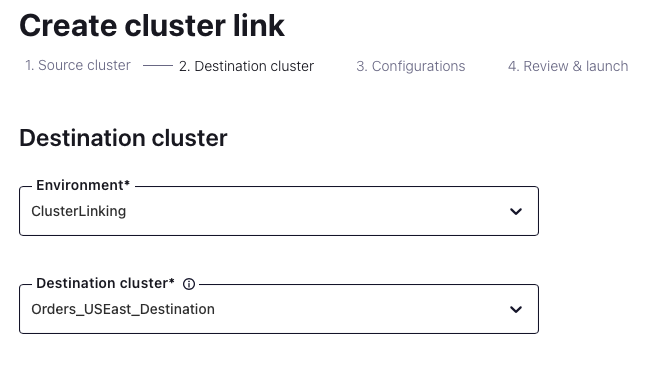
Click Continue.
There are a few different configuration options that need to be selected. In this case, I want the cluster link to Auto-create mirror topics, Add a prefix to my mirror topics and Sync consumer offsets as well.
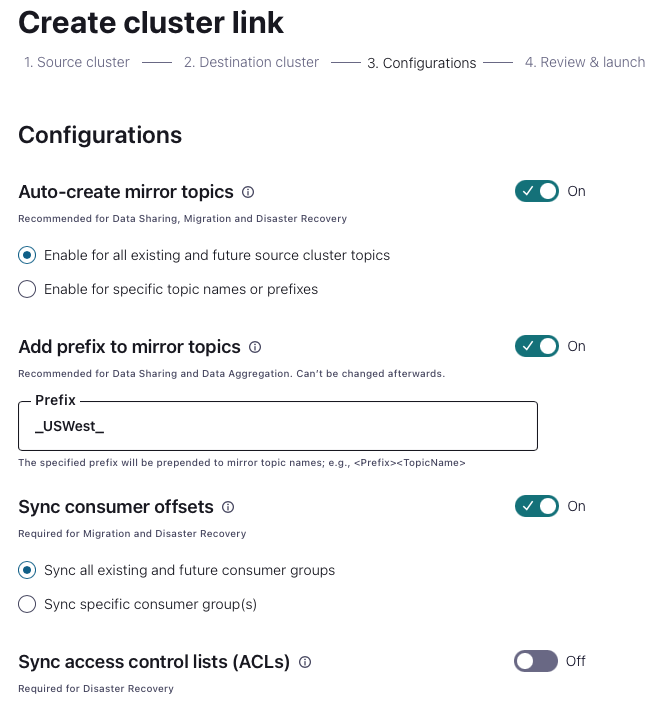
Click Continue.
Name the cluster link, in this case, I'll name it Orders_USWest-East
Click Launch cluster link.
Now we have to set up which topics we want to be mirrored. Click Add mirror topic.
Select Orders_West from the dropdown and click Add.
You can now navigate to your destination cluster and see the newly created mirror topic with all the messages coming in.
Congratulations! You have successfully set up a cluster link.
Use the promo code HYBRCLOUD101 & CONFLUENTDEV1 to get $25 of free Confluent Cloud usage and skip credit card entry.
Be the first to get updates and new content
We will only share developer content and updates, including notifications when new content is added. We will never send you sales emails. 🙂 By subscribing, you understand we will process your personal information in accordance with our Privacy Statement.