Deploying an ETL Pipeline using Flink SQL (Exercise)


David Anderson
Software Practice Lead
Deploying an ETL Pipeline using Flink SQL (Exercise)
Setup Confluent Cloud (Hands-On)
In this exercise, you will first be setting up a Confluent Cloud Cluster that you will be able to use for the rest of the course.
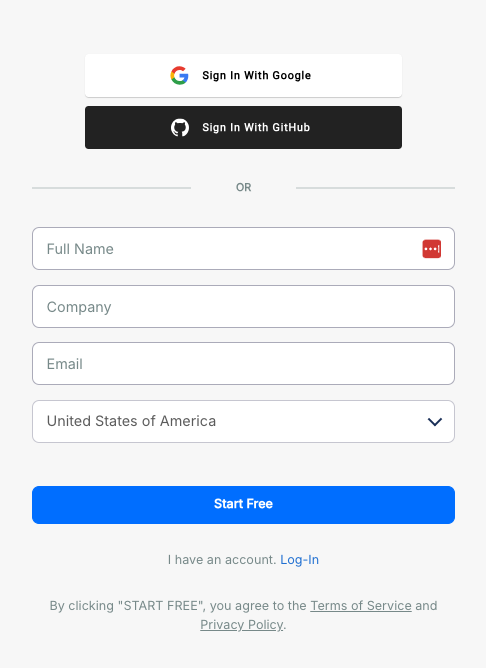
Register for Confluent Cloud
Note: If you already have a Confluent Cloud account, you can skip ahead to Create a New Environment.
- Head over to the Confluent Cloud signup page and sign up for a new account.
-
Watch your inbox for a confirmation email and follow the link to proceed.
-
You will be asked to create a cluster. Feel free to ignore this. We'll be creating a cluster in a later step.
Note: To ensure isolation and easy cleanup, we do not recommend using an existing cluster.
[Optional] Install the Confluent CLI
If you prefer to work from the command line, you can install the Confluent CLI by following the instructions here.
Once you've installed the CLI, you can login using:
confluent login --saveThen, refer to the Command Line Reference sections that follow many of the instructions below.
Create a new environment
We will create a cloud environment specifically for this course. This will ensure isolation and allow for easy cleanup.
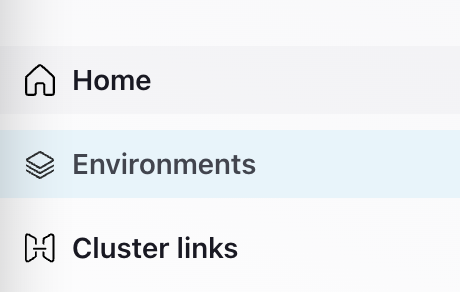
- From the left-hand navigation menu or the right-hand main menu, select "Environments".
- Click + Add cloud environment

-
Name your environment apache-flink-101.
-
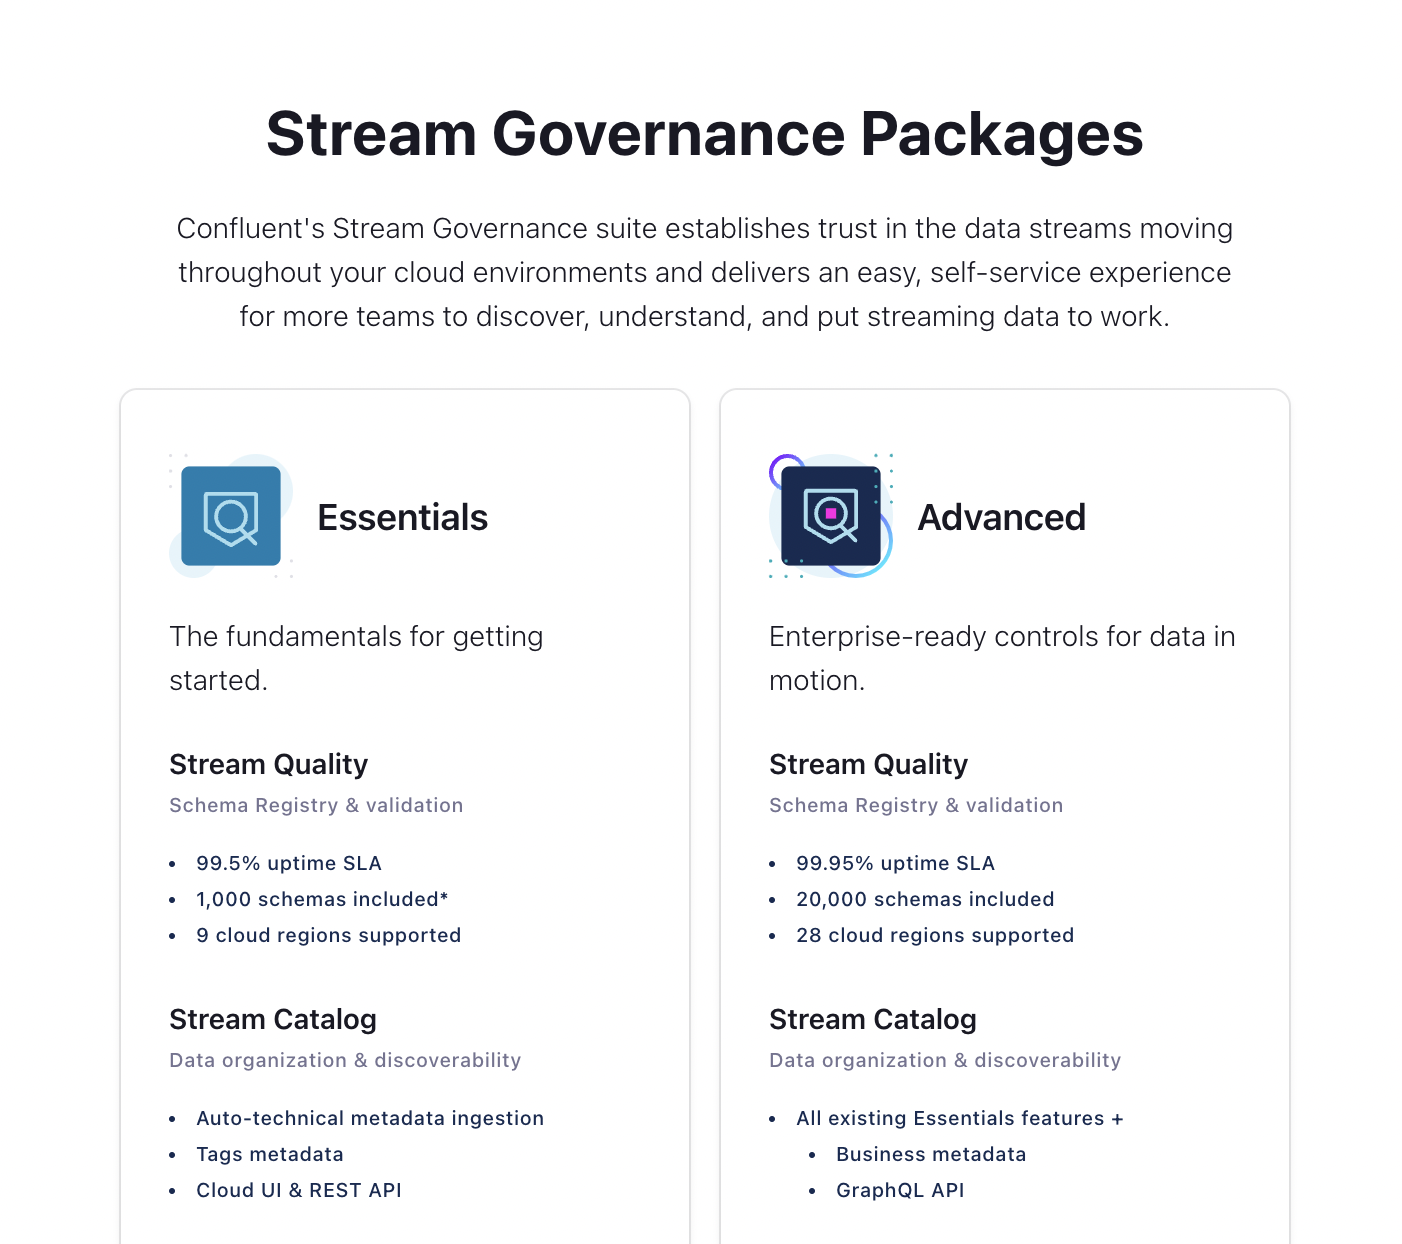
When offered a choice on which Stream Governance Package to use, select Essentials.
-
Select the cloud and region where you want to create your Schema Registry and Stream Catalog (i.e. where you will be storing the metadata).
- Note: To avoid cross-cloud/region traffic, you will want to use the same cloud/region for your Kafka cluster.
Command Line Reference
If you prefer, you can also do this from the command line interface by running:
confluent environment create apache-flink-101Once your environment is created, you will need to make it the active environment.
First, list the environments and locate the Id for the apache-flink-101 environment.
confluent environment listNext, set it as the active environment:
confluent environment use <environment id>Create a cluster
Next, we need to create a Kafka Cluster for the course.
- Inside the apache-flink-101 environment click Create cluster on my own. You'll be given a choice of what kind of cluster to create. Click Begin Configuration under the Basic cluster.
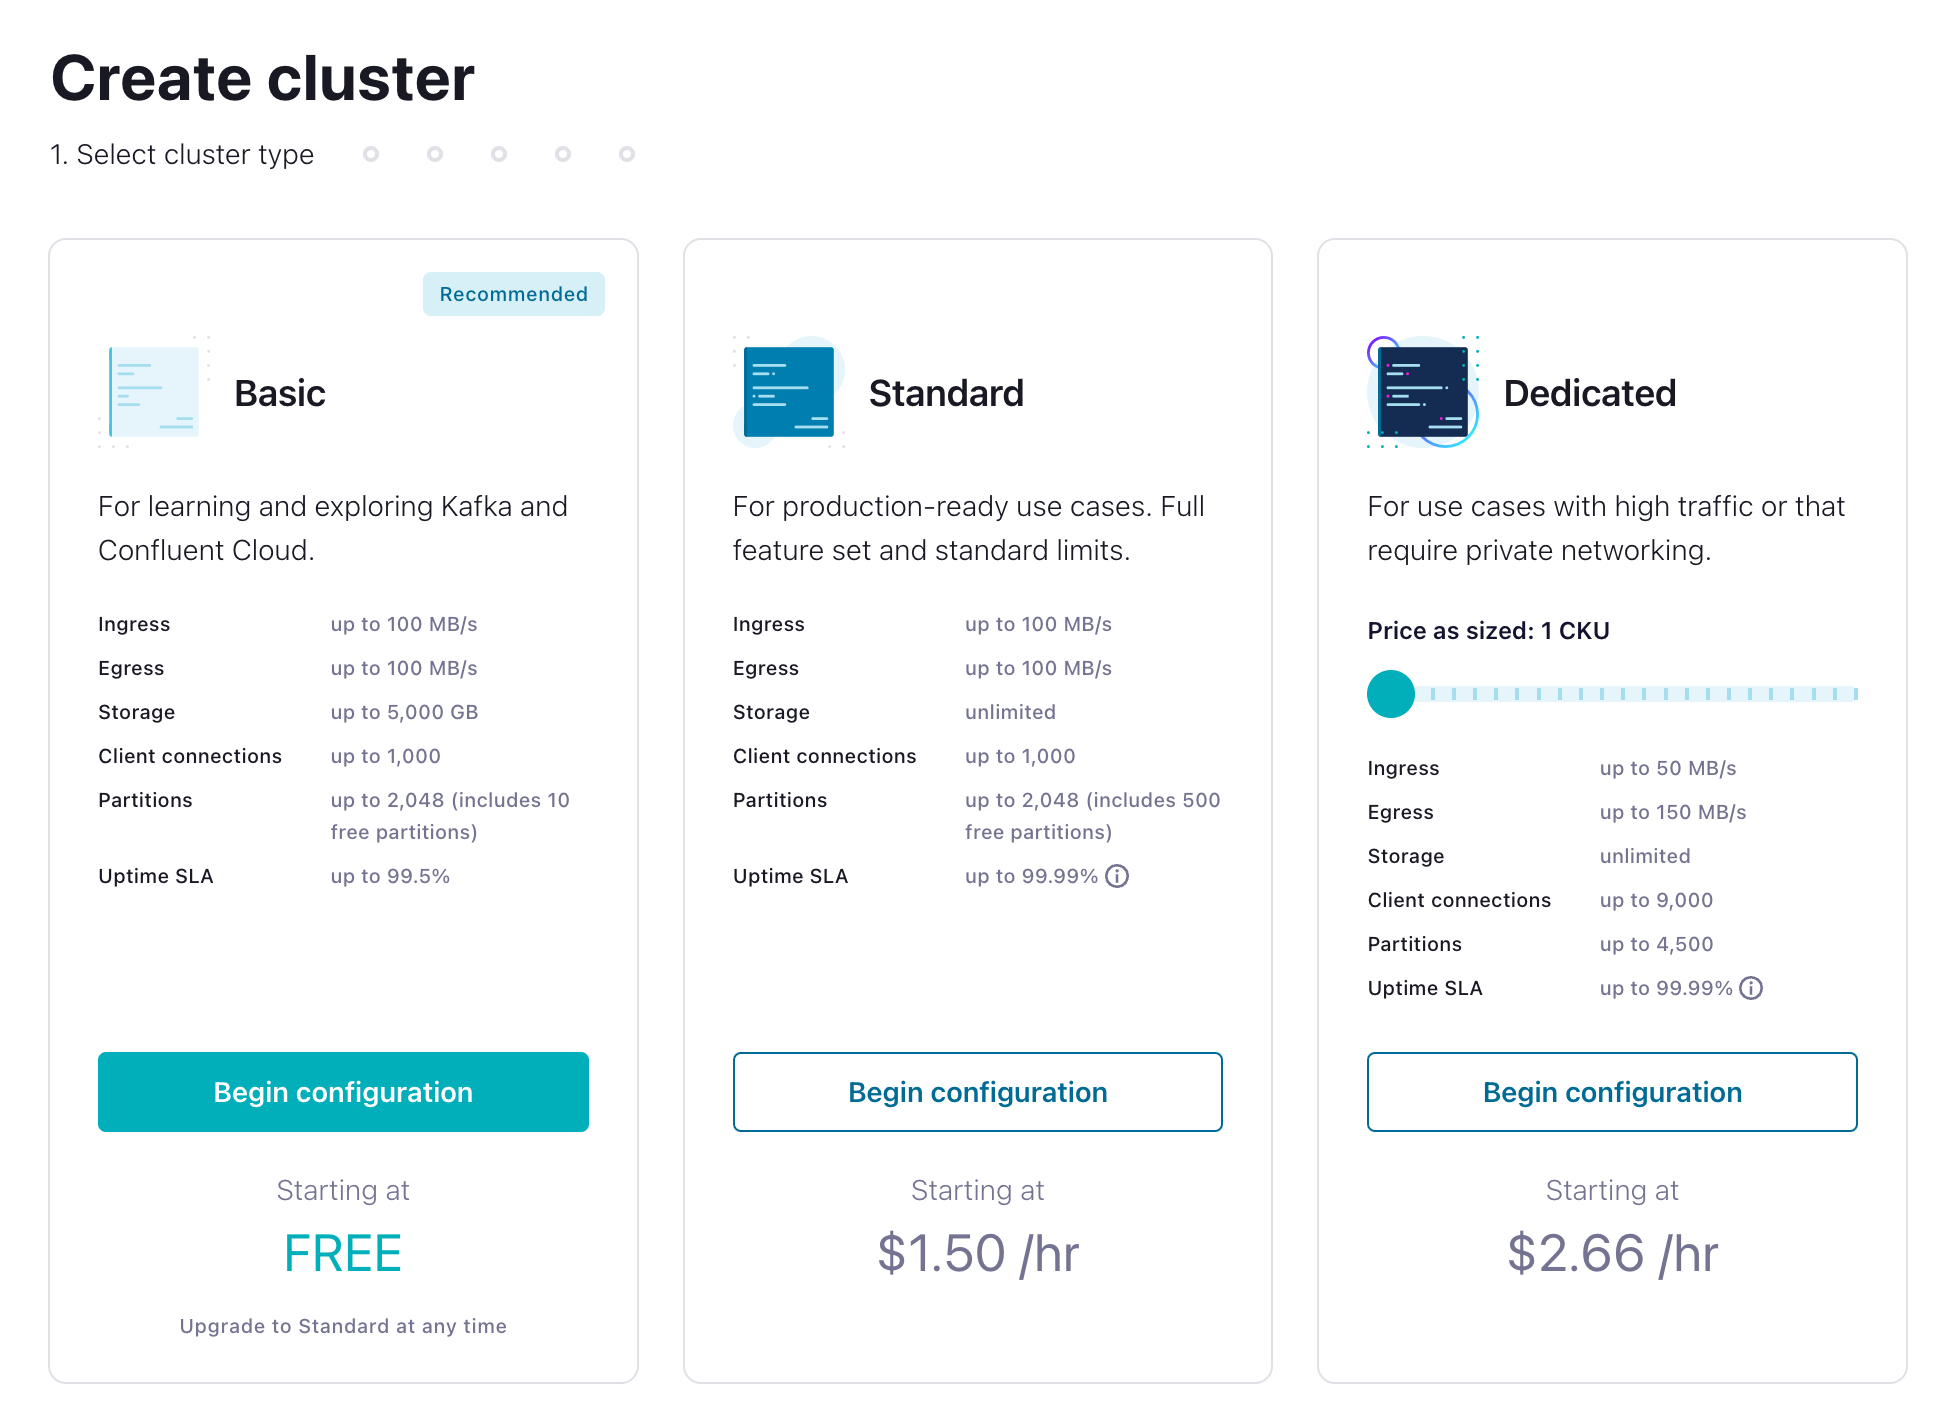
Basic clusters used in the context of this exercise won't incur much cost, and the amount of free usage that you receive along with the promo code FLINK101 for $25 of free Confluent Cloud usage will be more than enough to cover it.
- On the next page, choose your cloud provider, region, and availability (zone). Costs will vary with these choices, but they are clearly shown on the dropdown, so you'll know what you're getting.
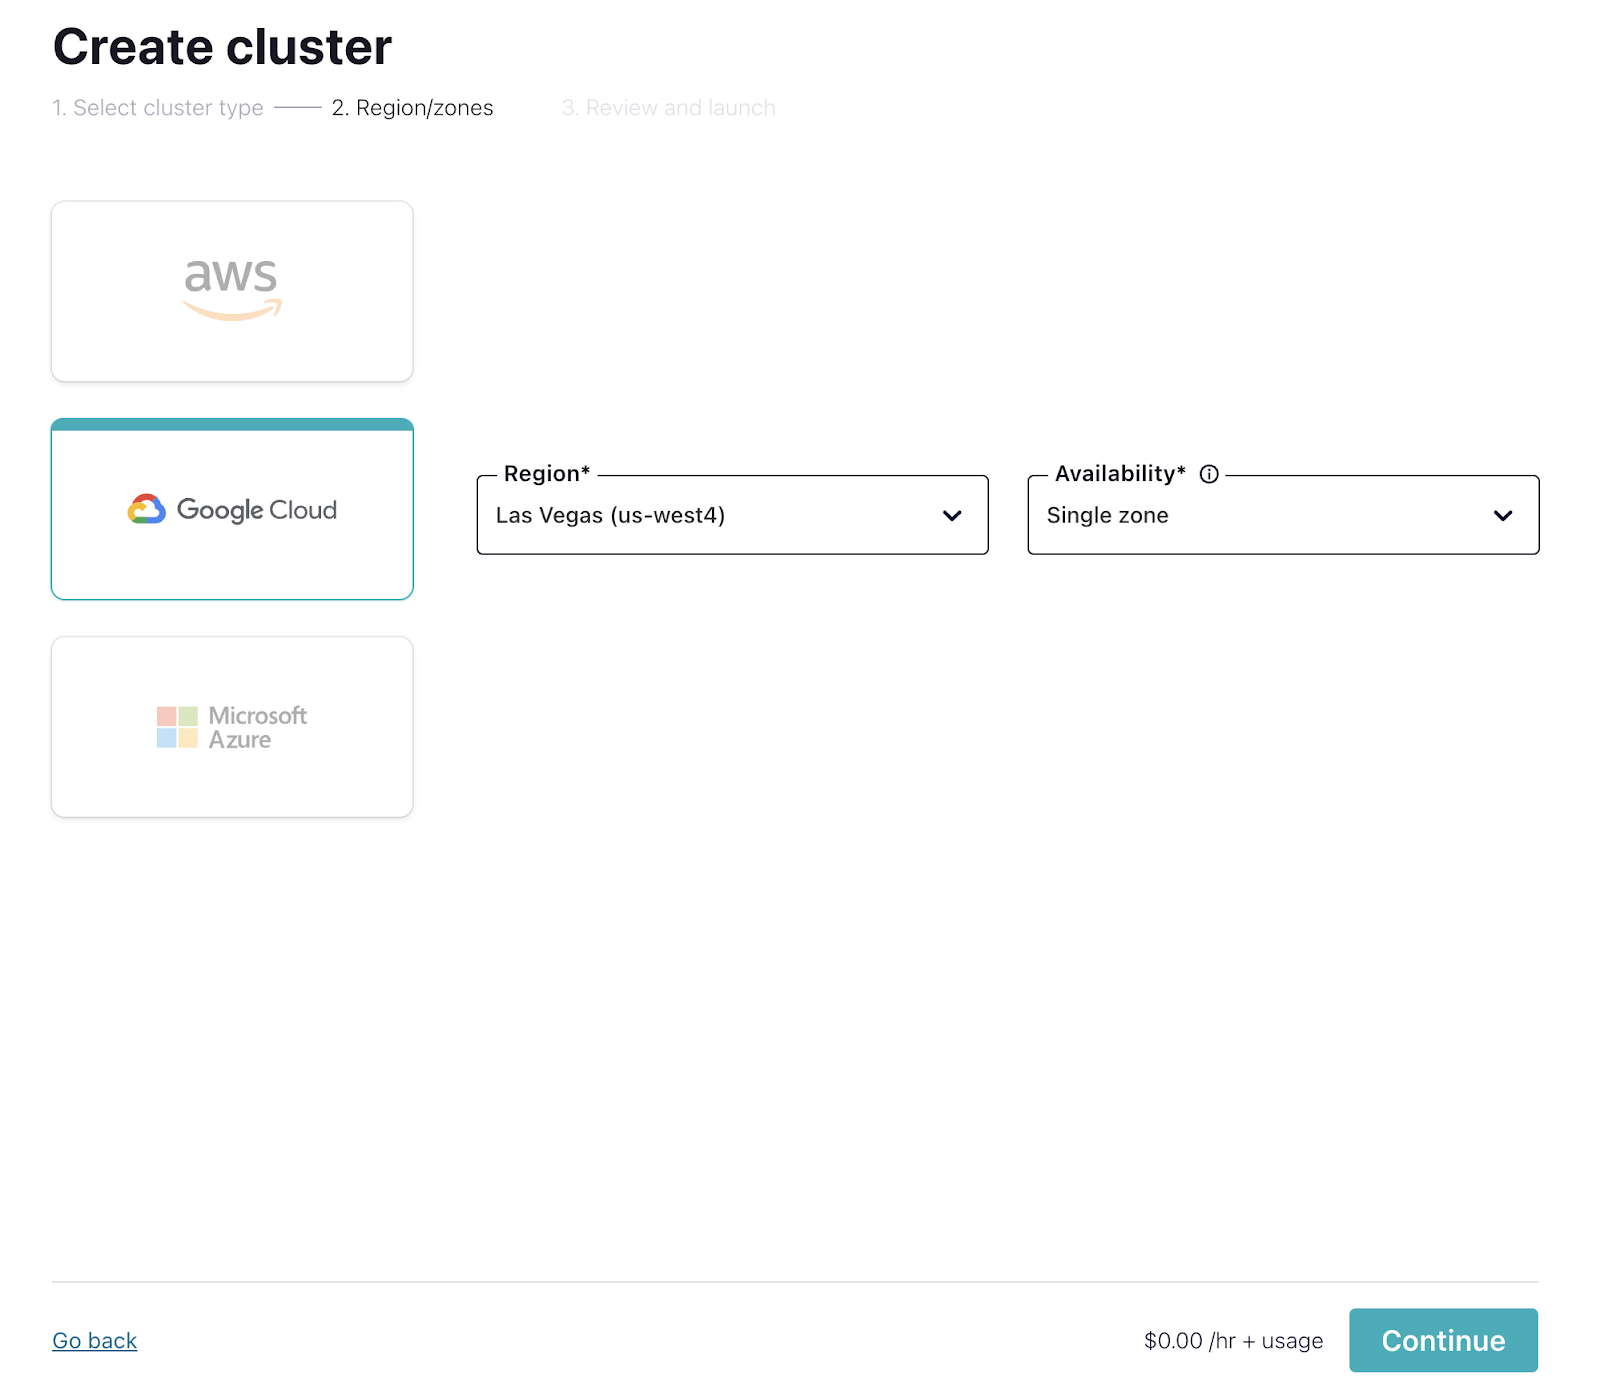
- If you haven't entered a credit card, you will be asked to enter your credit card information. Feel free to choose the Skip Payment option at the bottom of the screen. If you've already entered your credit card it will take you directly to the Review screen.

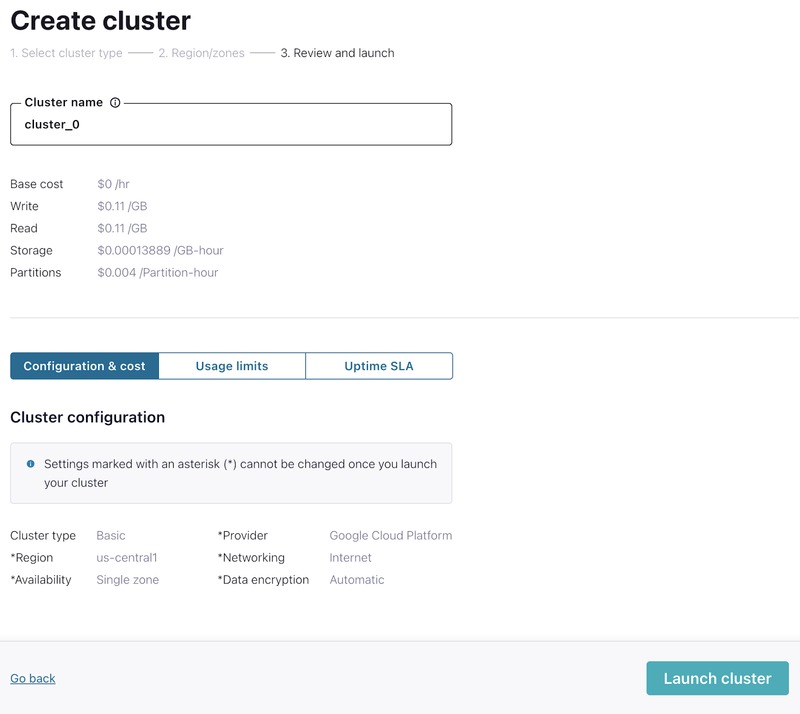
- Click Review to get one last look at the choices you've made. If everything checks out, give your cluster a name, and select Launch cluster.
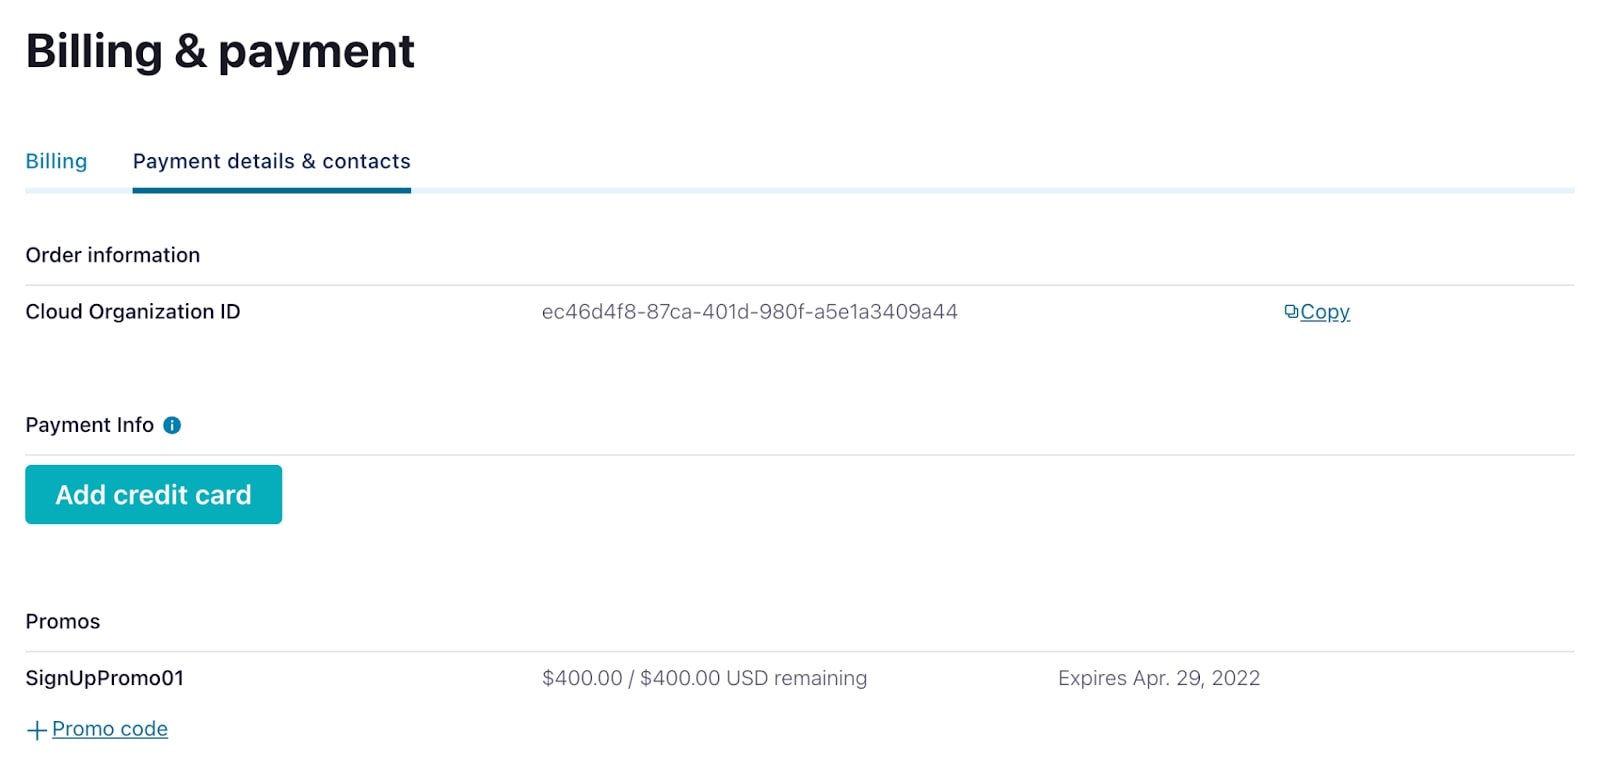
- While your cluster is being provisioned, set up the FLINK101 promo code by navigating to Billing & payment from the settings menu in the upper right. On that screen, go to the Payment details & contacts tab to enter the promo code.
Command Line Reference
If you prefer, you can do this from the command line interface (you should adjust the cluster name, cloud, and region settings as appropriate):
confluent kafka cluster create <Your Cluster Name> --cloud gcp --region us-central1 --type basicAdd an API key
We will need an API Key to allow applications to access our cluster, so let's create one.
- From the left-hand navigation in your cluster, navigate to Cluster Overview > API keys.

-
Create a key with Global access.
Note: For secure production environments, you would want to select Granular access and configure it more securely.
-
Download and save the key somewhere for future use.
Command Line Reference
If you prefer, you can do this from the command line interface (again, adjust the cluster name and id as appropriate):
confluent api-key create --resource <Your Cluster Id> --description <Your Cluster Name>-key -o json > <Your Cluster Name>-key.jsonUse Flink SQL to publish events into Kafka in Confluent Cloud
Now we're going to use the Flink SQL Client to create a job that will write data into Kafka in Confluent Cloud. Unlike the ephemeral jobs we've created so far that depend on the Flink SQL Client to act as the sink, this will be a persistent job that will run independently of the SQL Client.
Create a topic
First let's create a topic this job can use for its sink table.
- In Confluent Cloud, navigate to the apache-flink-101 environment and select your Kafka cluster.
- In the menu on the left, click Topics.
- Click Create Topic.
- Create a new topic named pageviews with the default settings.
- When you are asked if you want to define a data contract you can choose Skip.
Command Line Reference
Alternatively you can create this topic from the command line using the following:
confluent kafka topic create pageviews --cluster <cluster id> --environment <environment id>Create a table backed by Kafka
Now we can use the SQL Client to create a new table backed by this Kafka topic. (If you need help getting the SQL Client running, refer to the instructions in the first exercise.)
To do this, you're going to need to know your cluster's bootstrap server, which might be something like pkc-41973.westus2.azure.confluent.cloud:9092.
You can find this info under "Cluster Settings" on Confluent Cloud.
Alternatively, you can find this info using the CLI, which will show you the cluster endpoint. (And don't include the "SASL_SSL://" prefix when you create the table.)
confluent kafka cluster describe <cluster id>With this info in hand, we can proceed to create the table, replacing these strings with the values you should now have:
- BOOTSTRAP_SERVER
- API_KEY
- API_SECRET
Please note that this is NOT the best way to define this table. A fixed sink partitioner is used here to set something up for a later exercise, but normally you won't want that particular setting.
CREATE TABLE pageviews_kafka (
  `url` STRING,
  `user_id` STRING,
  `browser` STRING,
  `ts` TIMESTAMP(3)
) WITH (
  'connector' = 'kafka',
  'topic' = 'pageviews',
  'properties.group.id' = 'demoGroup',
  'scan.startup.mode' = 'earliest-offset',
  'properties.bootstrap.servers' = 'BOOTSTRAP_SERVER',
  'properties.security.protocol' = 'SASL_SSL',
  'properties.sasl.mechanism' = 'PLAIN',
  'properties.sasl.jaas.config' = 'org.apache.kafka.common.security.plain.PlainLoginModule required username="API_KEY" password="API_SECRET";',
  'value.format' = 'json',
  'sink.partitioner' = 'fixed'
);
The syntax here is a bit delicate, with lots of quoting going on. If you got the syntax right, the SQL CLI will respond with this:
[INFO] Execute statement succeed.Create a source table
We also need a source table. Let's use a table like the one we used before:
CREATE TABLE `pageviews` (
  `url` STRING,
  `user_id` STRING,
  `browser` STRING,
  `ts` TIMESTAMP(3)
)
WITH (
  'connector' = 'faker',
  'rows-per-second' = '10',
  'fields.url.expression' = '/#{GreekPhilosopher.name}.html',
  'fields.user_id.expression' = '#{numerify ''user_##''}',
  'fields.browser.expression' = '#{Options.option ''chrome'', ''firefox'', ''safari'')}',
  'fields.ts.expression' =  '#{date.past ''5'',''1'',''SECONDS''}'
);
Use INSERT INTO to create a long-lived Flink job
Now you're ready to launch a job that will copy data from the flink-faker table into the pageviews topic in kafka. Moving data from one table to another can be done with a insert statement like this one:
INSERT INTO destination_table SELECT * FROM source_table;Modify the statement above to take data from the pageviews table and send it to the pageviews_kafka table, and then execute it.
The SQL Client should respond with something like this:
[INFO] Submitting SQL update statement to the cluster...
[INFO] SQL update statement has been successfully submitted to the cluster:
Job ID: 99022c831a50aa6dc5d17b79d7e9b4cb
Inspect the job
Next, we'll take a look at the running job in the Flink UI.
- In a browser, navigate to http://localhost:8081.
- In the Overview you should see a running job named insert-into_default_catalog.default_database.pageviews_kafka. Click on it.
- This will take you to a visualization of the job where you can see see metrics for the job.
- You will not see values in the Bytes Sent or Bytes Received. These fields only include bytes being sent internally between Flink tasks, and don't include data flowing between Flink and external systems, such as Kafka.
- This does not mean that data isn't being sent to Kafka.
Verify that data is getting into Kafka
You can do this by either going to Confluent Cloud and inspecting the topic directly to see the messages being produced, or by querying the topic with Flink SQL.
The pageviews_kafka table is already being used as sink, but you can, at the same time, also use it as a source. Go ahead and try that now, either with this query, or something more elaborate:
SELECT * FROM pageviews_kafka;If you want to try something more elaborate, the following query will group all of the records by the browser specified in the table (GROUP BY browser). It will then provide the name of each browser (SELECT browser), and a count of how many pageviews used that browser (COUNT(*)):
SELECT browser, COUNT(*) FROM pageviews_kafka GROUP BY browser;If you visit the Flink UI (athttp://localhost:8081) while one of these interactive queries is running, you'll see that the cluster has two active jobs!
Cancel the long-lived job!
The job that's writing into Confluent Cloud is detached from the SQL Client. You should stop it now in order to limit the charges being made to your Confluent Cloud account.
So how can you stop it?
An easy way to do this is to click on the "Cancel Job" link shown in the upper righthand corner of the Flink UI while inspecting that job. You could also shutdown the Docker containers that are running Flink. But one way or another, be sure to stop this job.
Use the promo codes FLINK101 & CONFLUENTDEV1 to get $25 of free Confluent Cloud usage and skip credit card entry.
Be the first to get updates and new content
We will only share developer content and updates, including notifications when new content is added. We will never send you sales emails. 🙂 By subscribing, you understand we will process your personal information in accordance with our Privacy Statement.