Enhance your career, get your certificate as a Data Streaming Engineer | Get your Certificate
Hands On: Creating a Data Generator with Kafka Connect


Tim Berglund
VP Developer Relations
Hands On: Creating a Data Generator with Kafka Connect
In this exercise, you will create a new topic to hold ratings event data, and set up a data generator to populate the topic.
Create the ratings Topic
From the Topics page of your Confluent Cloud cluster, click on Add topic.
Name the topics ratings and ensure that the "Number of partitions" is set to "6."

Click on Create with defaults.
Create a Data Generator with Kafka Connect
In reality, the ratings topic would probably be populated from an application using the producer API to write messages to it. Here we’re going to use a data generator that’s available as a connector for Kafka Connect.
-
On Confluent Cloud, go to your cluster’s Connectors page.
In the search box, enter datagen.
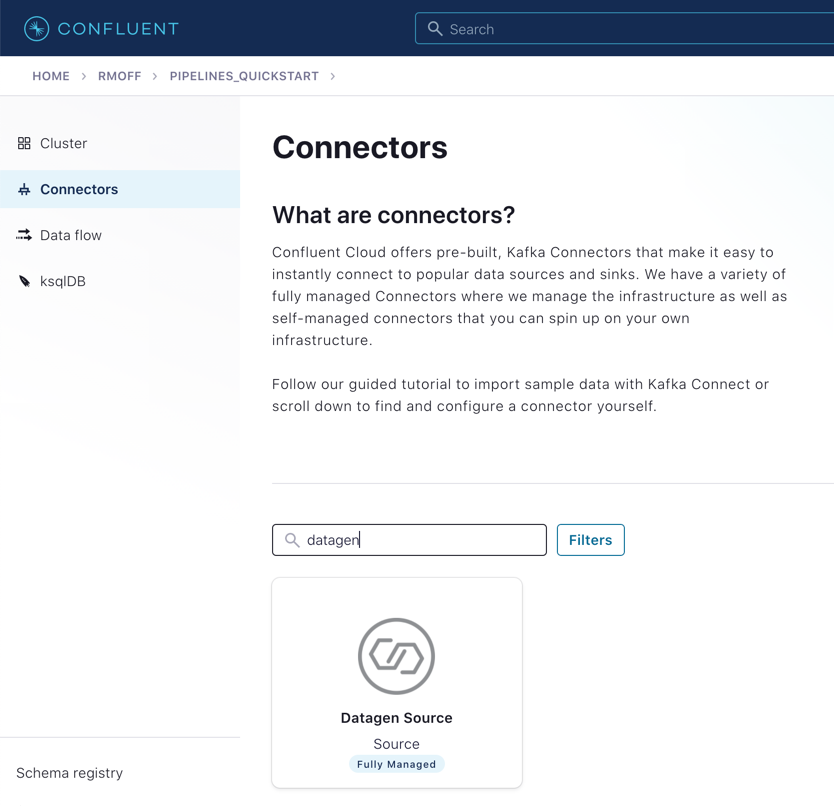
Select the Datagen Source connector
-
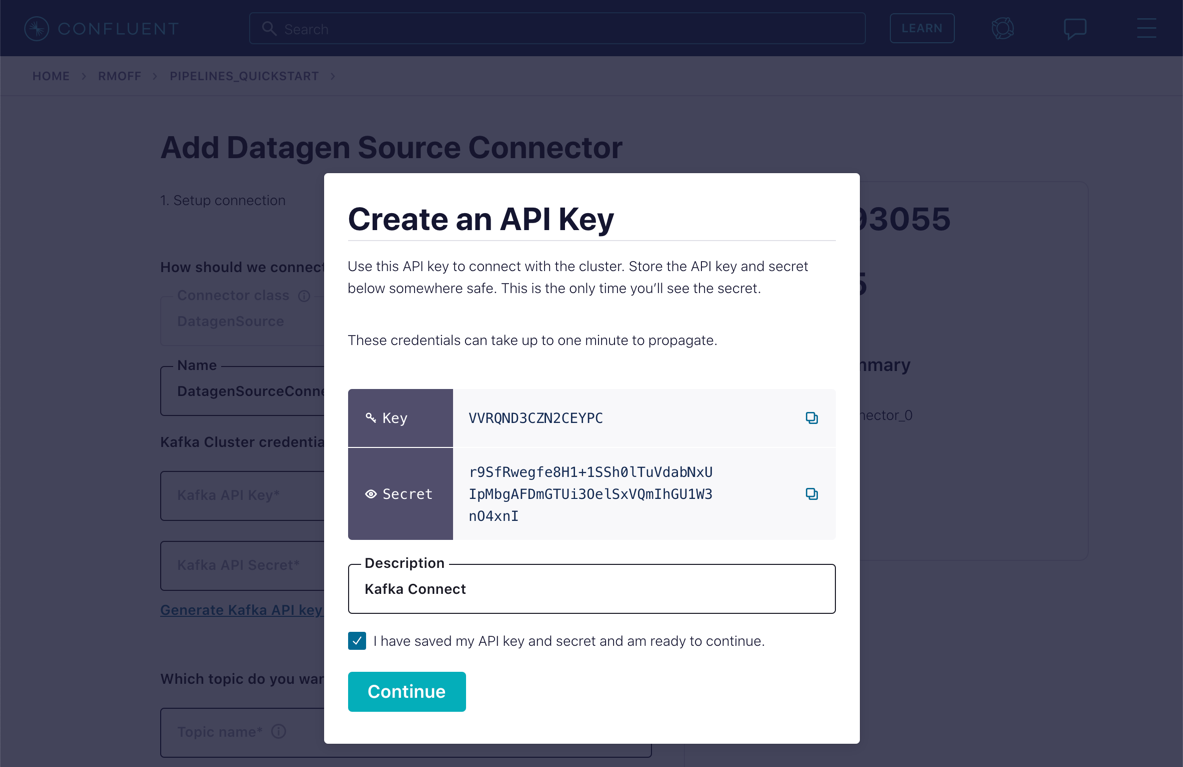
Under "Kafka Cluster credentials," click on Generate Kafka API key & secret.
Give a "Description" for the API key, and make a note of the generated key and secret as you’ll need these in later exercises.
-
Set the remainder of the options as shown below.
Which topic do you want to send data to?
Topic name
ratings (as created in the step above)
Output messages
Output message format
AVRO
Datagen Details
Quickstart
RATINGS
Max interval between messagse (ms)
1000
Number of tasks for this connector
Tasks
1
Click Next
-
On the confirmation screen, the JSON should look like this:
{
  "name": "DatagenSourceConnector_0",
  "config": {
    "connector.class": "DatagenSource",
    "name": "DatagenSourceConnector_0",
    "kafka.api.key": "****************",
    "kafka.api.secret": "***********************",
    "kafka.topic": "ratings",
    "output.data.format": "AVRO",
    "quickstart": "RATINGS",
    "max.interval": "1000",
    "tasks.max": "1"
  }
}
If it doesn’t, return to the previous screen and amend the values as needed.
Click Launch to instantiate the connector. This will take a few moments.
-
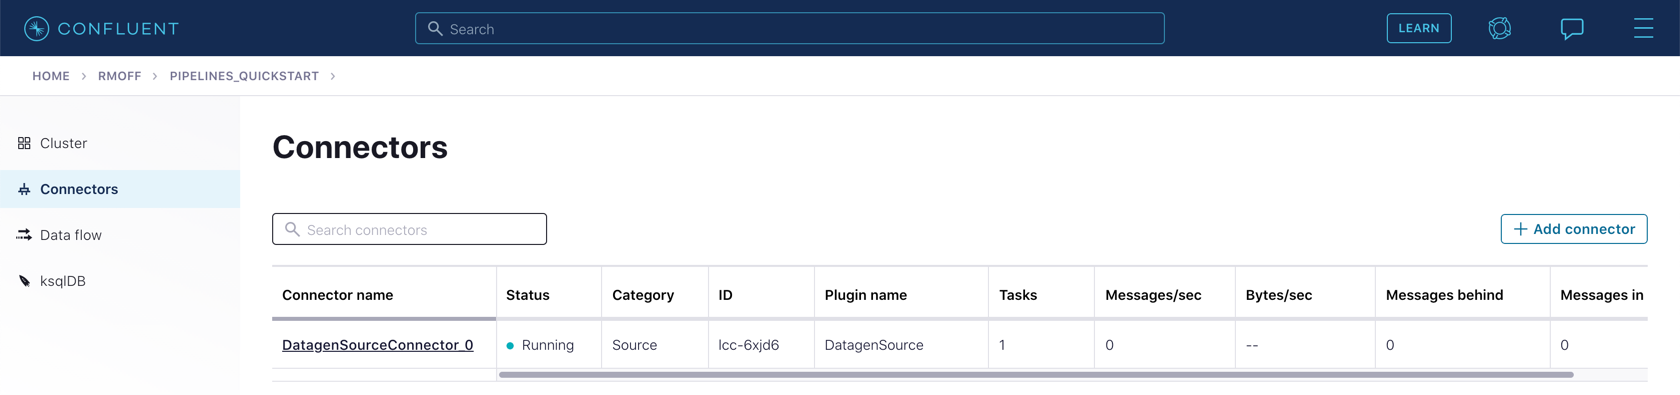
On the "Connectors" page of your cluster, you should see the new connector listed, and after a moment or two in status Running.
-
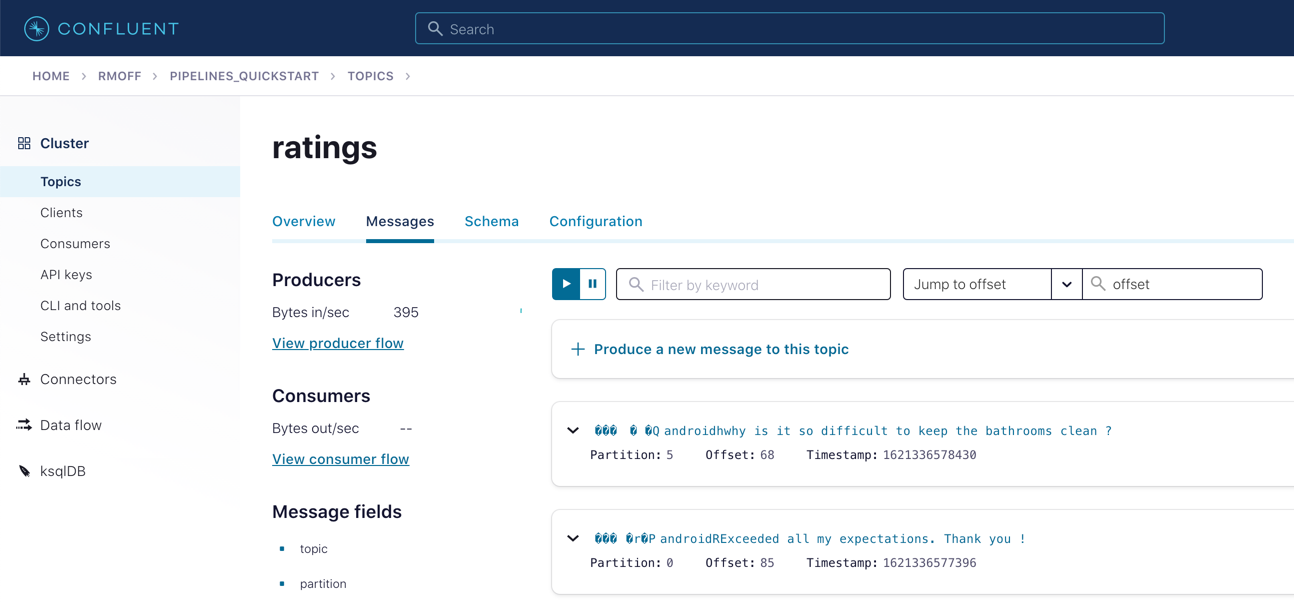
From the "Topics" page of your cluster, select the ratings topic and then Messages. You should see a steady stream of new messages arriving:


Use the promo code PIPELINES101 & CONFLUENTDEV1 to get $25 of free Confluent Cloud usage and skip credit card entry.
Hands On: Creating a Data Generator with Kafka Connect
In this exercise, we're gonna create a new topic to hold those ratings events and set up a data generator to populate that topic with simulated ratings. Let's get started. Many connectors can create a topic by themselves, but we wanna make sure our topic has certain properties like a certain number of partitions so we're gonna do it the slightly hard way. Click on the "Topics" screen and click on "Add topic." Call the topic, "Ratings" and make sure the number of partitions is set to six. That's actually currently the default at the time of this recording. I said this was the hard way, but this actually isn't very hard. It's pretty simple. Now we can create our first connector. This one is just a data generator. It's implemented as a Kafka Connect connector but it's really this program that's randomly generating data according to some schema rather than a real connector to a real external system. We don't have a real external system that's doing customer ratings so we have to simulate those. We will do a real connector in the next exercise though. Don't worry. For connectors to access the Kafka cluster, they need to have an API key. That's for the connector to actually establish a connection to the cluster. It needs that key and secret. You can use an existing one or auto-create one here for your convenience. We'll do it that way. Click on, "Generate Kafka API Key and Secret," and make note of the key and secret that we've been given in case we need those later and give it a sensible label. Now we'll fill out the rest of the config for the connector. We wanna write the messages into the ratings topic. We need to decide on a serialization format; we'll make that Avro. And now we get into the connector-specific configuration. We're gonna use the ratings quick start. These are the ones just generate different data sets and different schemas. We want ratings. And generate a new message every second. Okay, set up one task for the connector, which is plenty for what we're doing here, and click "Next." On the next screen you can sanity check that JSON config that we're looking at there, that beautiful piece of JSON, and then click "launch". The connector will take a few minutes to provision, make yourself a cup of coffee, tea, brandy, absinthe, whatever, you know, time of day and whatever your preference is. And if you think it takes too long, hey, go check out the latest episode of streaming audio linked from developer dot confluent dot io slash podcast. This message brought to you by streaming audio. You can click on the connector name after it's running to see more detail about it, including its status, which is now running. With the connector running, head over to the "Topics" screen again and click on the "ratings" topic. Click on the "messages" tab, and we see messages before our waking eyes. Don't worry about the weird characters, that's just down to how the UI displays Avro. The data itself is perfectly safe and sensible and we'll get to view it properly later on. Now you can also check out the data lineage feature if it's enabled in your cluster. At the moment it doesn't really show a lot, 'cause we just got one source and one target, it's not very interesting, but as we build the example out, you should look back at this and see how this particular feature is really useful for visualizing what's going on. So that's it, we made a topic, we set up DataGen, we got DataGen "DataGen-ing", we've got our simulated ratings, we're ready to move on to the next lesson.
Be the first to get updates and new content
We will only share developer content and updates, including notifications when new content is added. We will never send you sales emails. 🙂 By subscribing, you understand we will process your personal information in accordance with our Privacy Statement.